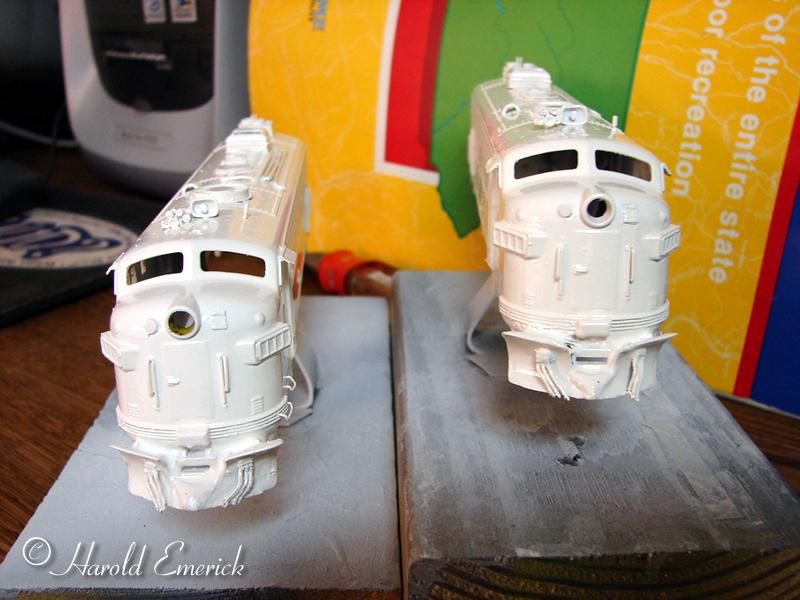
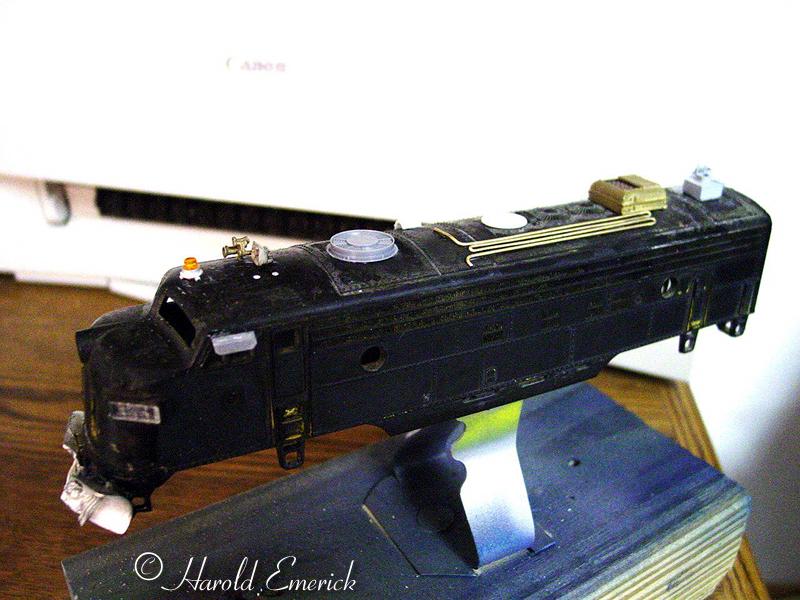
Here are the first pictures of the FP7s before I start to paint them.
This has been a real challenge to get all the different details on the
engine.
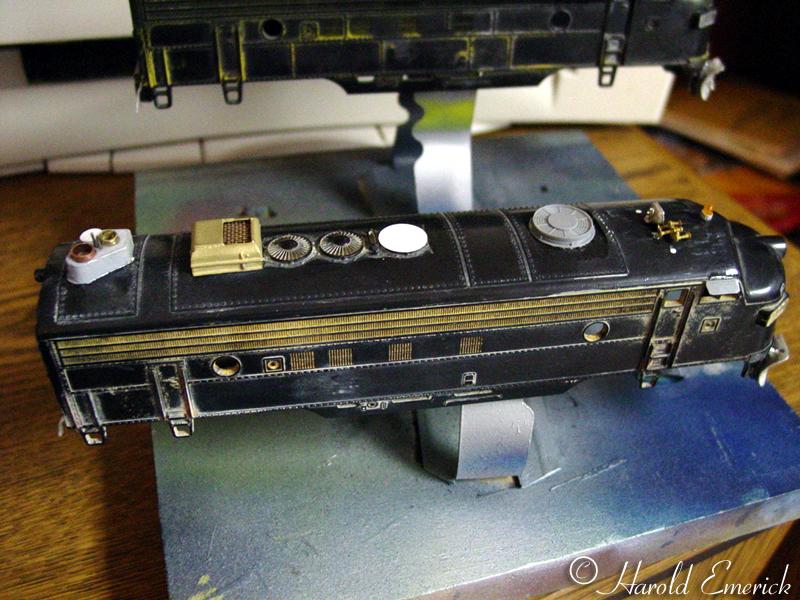
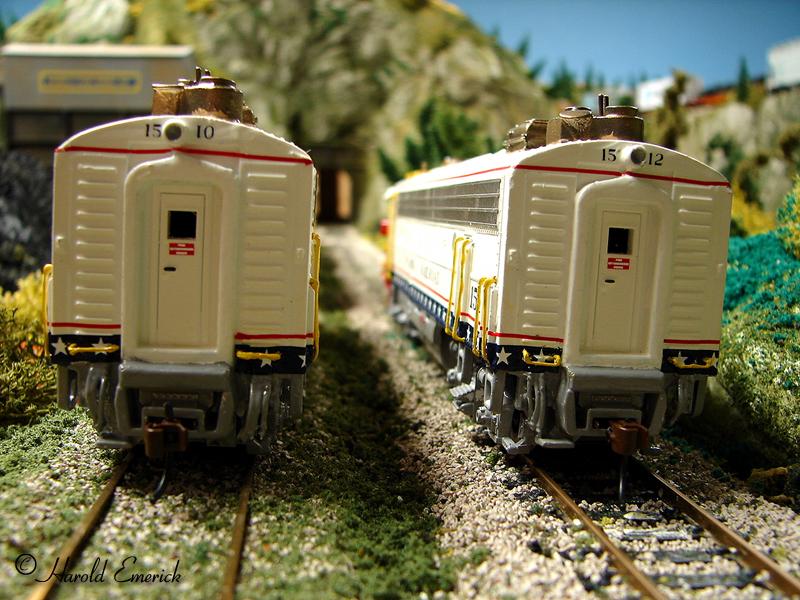
I started out with two Atlas FP7 units. I stripped the paint off, then
cut the roof off the back end to make it smooth. I cut off the detail
of the steam generator area and cut the Dynamic Brake Fan off. After
taking off detail, I reshaped the roof in several areas. The Dynamic
Brake fan area needed the roof flattened and larger to accommodate the
large fan. Then I ground out the center of the first exhaust fan as
the picture of the FP7 roof showed that the guts were removed and a
round plate installed over it. I created a plate to cover the exhaust.
I installed a 48 inch Dynamic Brake fan in the altered flattened roof.
I then fit the double stacked winterization hatch on the end exhaust
fan. I assembled the Heat Exchanger that Pat Durand provided me. One
was assembled and the other I had to put together using the model he
built. I then ground bottom to fit the curve of the roof and added a
beacon, Nathan 5 Chime horn and electronic bell. Using brass wire, I
bent it to create the pipes on the roof and then glued them in place.
On the other side of the roof behind the Dynamic Fan I cut a small piece
of styrene pipe and then in half applied with glue for shield. To the
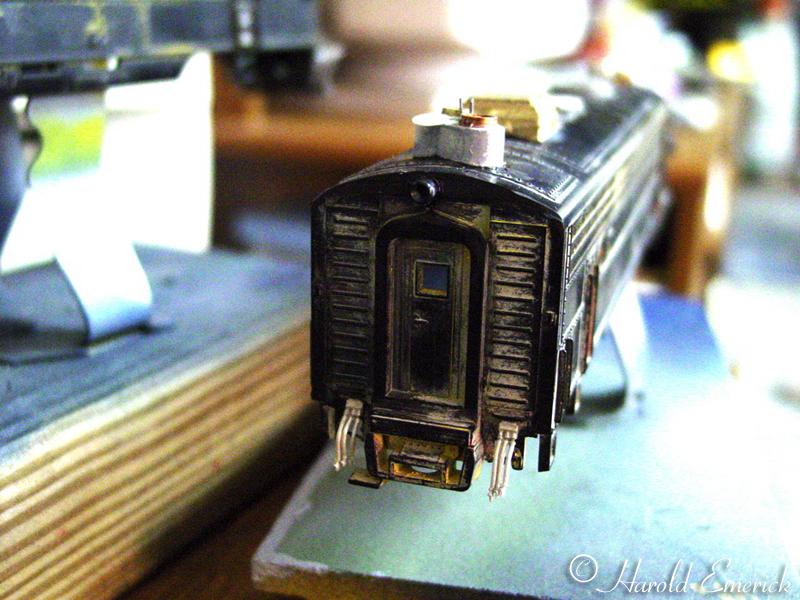
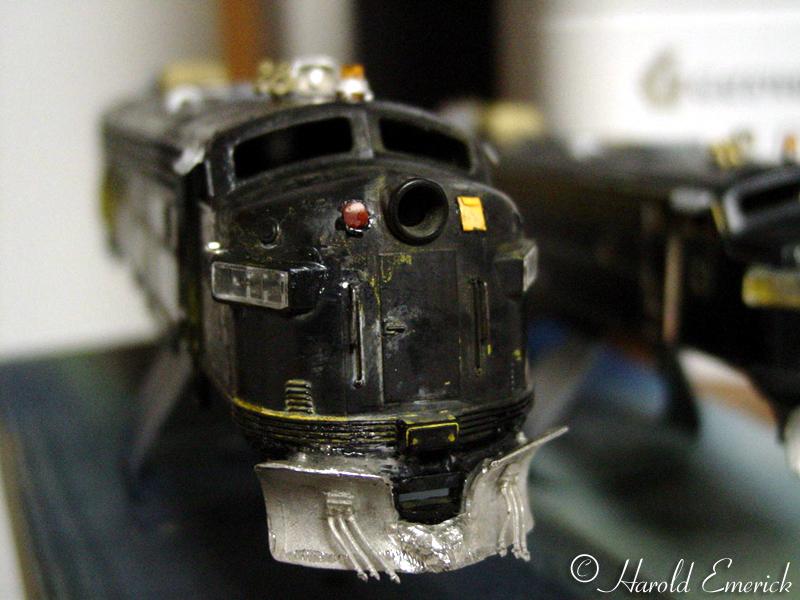
back of the loco just below the roof, I drilled a hole and glued the
rear light in place. In the front, I added the hatch to the left of
the nose light and created the MU connector, drilled hole and recessed
it into the nose. I needed the shades for the windows so I modified
a couple of GP Shades to fit the bill. The plows are the ones that are
available through Roundhouse Hobbies. I took my Dremil and cut off the
back detail and ground the center point down. I then glued MU hoses
to plow and then to the rear of the Loco. The last step before painting,
I drilled all the railing, grab iron etc. These will be added and hand
painted after the locos are painted. |
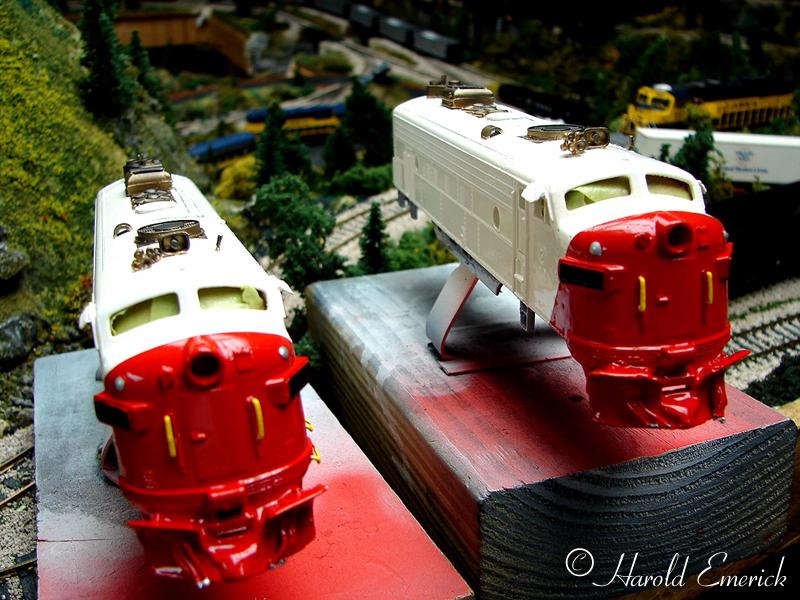
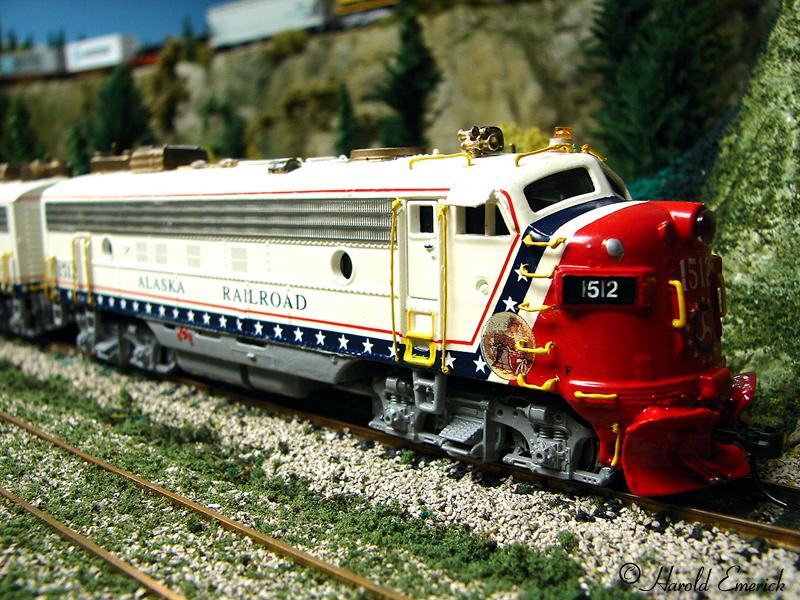
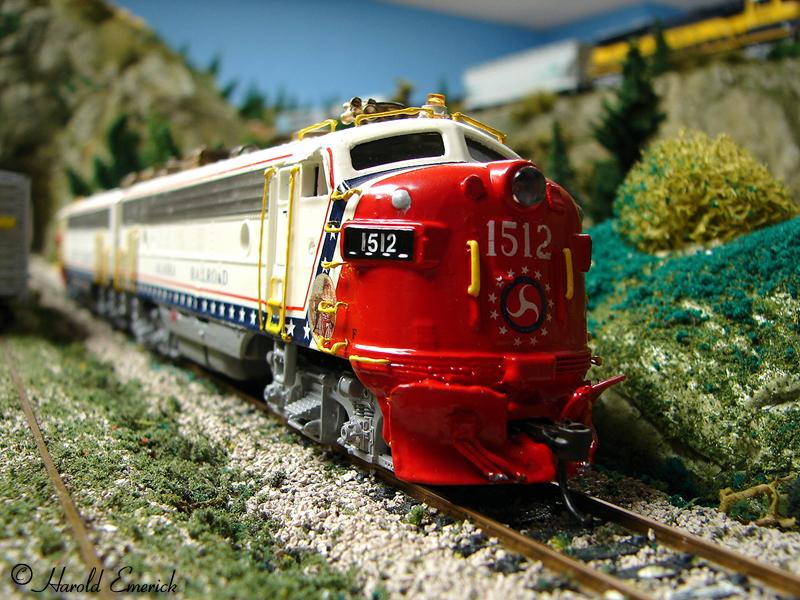
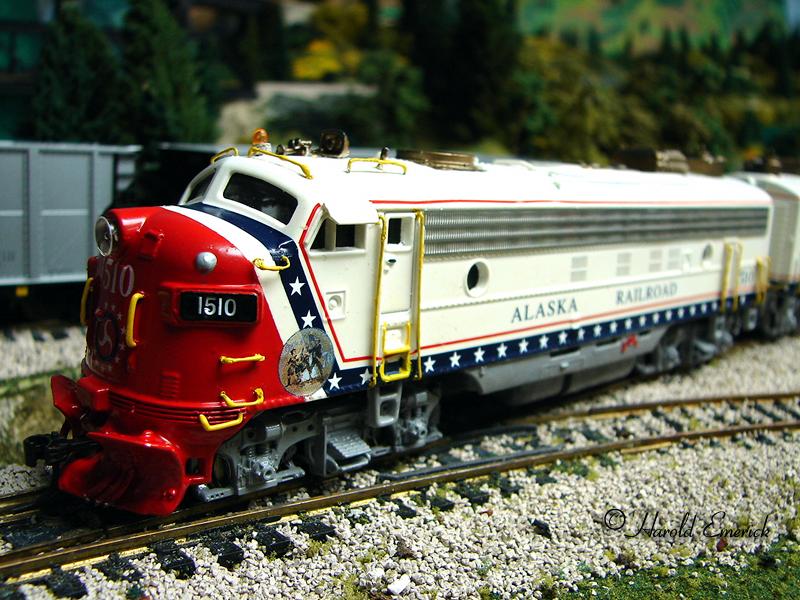
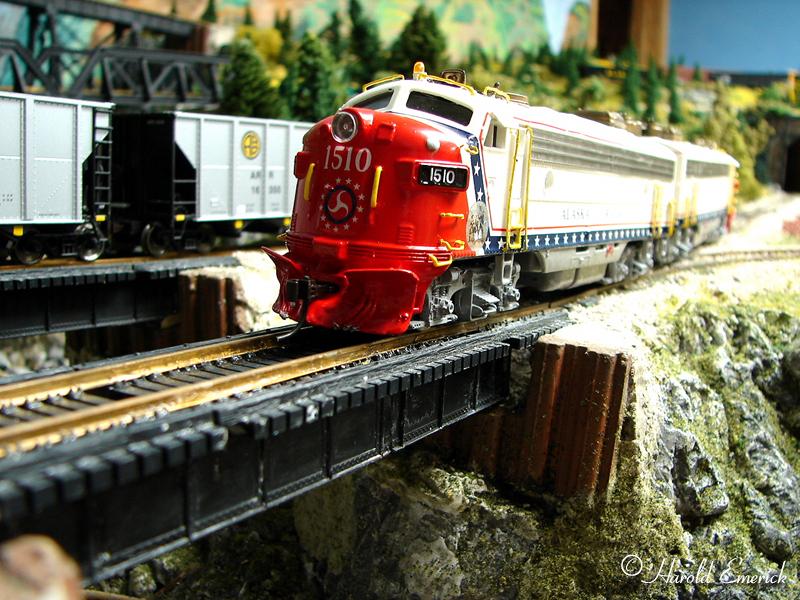
| [8/9/06] The last phase in kitbashing these twin locos was painting
the grab irons,and hand rails yellow and decaling. You need the Microscale
decal set with the Bicentennial decals, the microscale EMD data, Alaska
RR diesel decal set and my revised Bicentennial decal set with the new
emblems, new nose numbers and DOT emblem with the stars. After decaling
I sprayed a couple coats of Semi gloss, then using the Detail Assoc F
unit and E unit Air intake grilles glued them to the engines with special
super glue. I redrilled the holes for the hand rails and grab irons.Then
installed them onto the FP7s. After they were installed. I then touched
up the paint. Lastly, I put the shells back onto the chassis. |