Building the s-160 class Consolidation, the ARR 550 class
Section 1 - A Productive Workbench

(By Pat Durand)


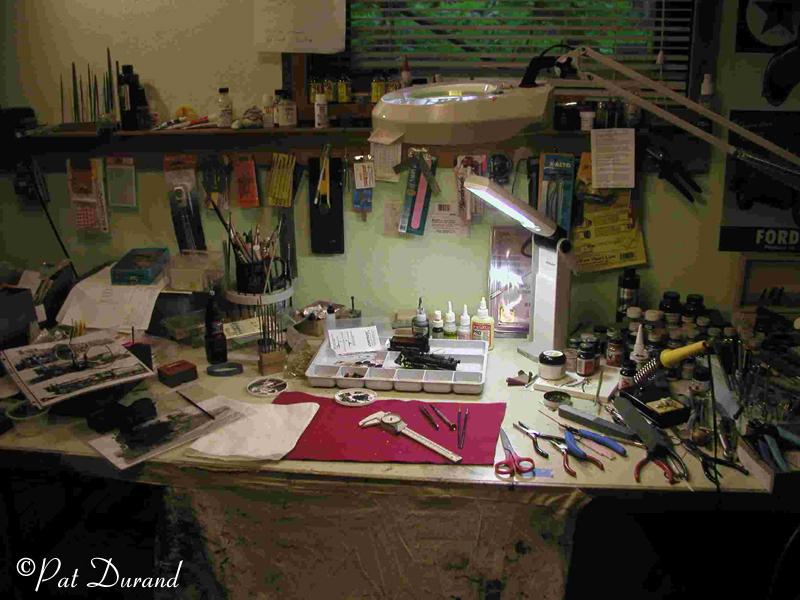
For years my workbench was the kitchen table or a space carved out of the garage or whatever. When I finally got serious about building, I dedicated a spare room in the basement, and moved all my raw materials and reference works in. I stuck nails in the sheet rock all around the room and arranged a 40 year collection of packaged materials from floor to ceiling. About 20 lineal foot of book shelves handle just the reference materials and two file cabinets host miscellaneous printed material.

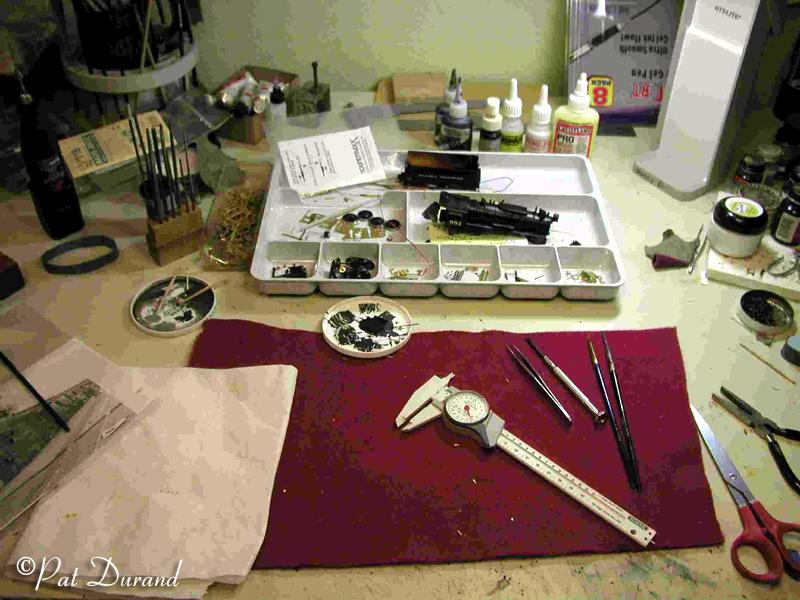
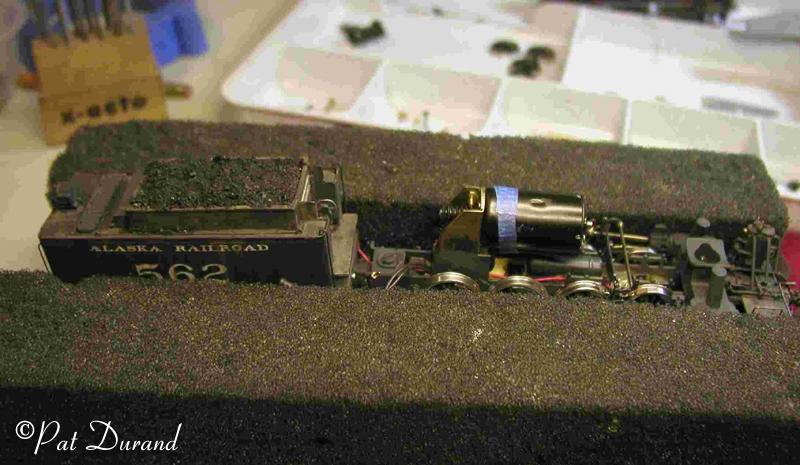
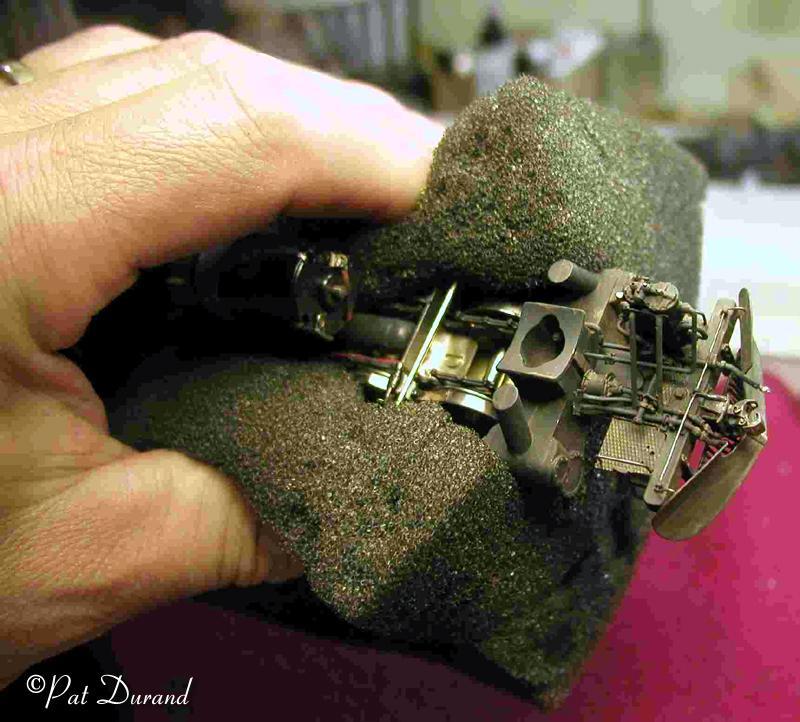
Along one wall I laid a solid core door on top of two double drawer file cabinets as a work bench. You will not all have the luxury of this much space but I find it handy. Now when I want that little bit of wire, detail part or a prototype photo, it is in view and at hand. That is provided it is not three layers down on the work bench. Several steps have been taken to increase productivity on the bench. Little things that help avoid frustration and wasted time. Several photos of my bench are linked here for some clarity.

  1. Have decent light coming from several sources that are adjustable. Ott lights are nice full spectrum.
  2. Install a modified jewelers apron. Any scrap of cotton fabric about 36" X 30" taped to the front edge of the work bench so it can be draped across your lap. Now those little parts have a 50 percent chance of landing between your legs on the apron instead of going missing in the carpet. You always have a rag handy to wipe fingers, brushes etc., on the edge of the apron. When soiled, just pitch it and replace.
  3. Use a solid color piece of polar fleece or felt about 18 X 15 inches on your work bench top. Again loose pieces will not bounce or roll away and the color makes a strong contrast with the part. When it gets dirty just pitch it.
  4. Parts trays are vital. Visit the dollar store or yard sales and look under the kitchen cabinet. Look for stable flat bottom containers about 1 inch deep that allow easy retrieval of parts from the individual sections. When you are working on a locomotive, the parts for the pilot truck go in one slot, the motor parts in another, tender truck another and the screws that hold the boiler to the chassis in another. You can avoid the constant search for the right piece.
  5. Start saving the plastic lids from: yogurt, cottage cheese, sour cream, etc. etc. These are disposable pallets for adhesives and paints. No adhesive ever gets close to my models with out first being expressed on one of these lids and then applied to the model with a strait pin or toothpick. The same with paint. I mix and blend the pigment with the vehicle from the bottle along with alcohol or water on the pallet before it goes on the model. This in the long run saves adhesives and paint because the original container does not become contaminated from repeated opening and closing.
  6. Measuring devices. An HO calibrated caliper is fantastic. Add a caliper that is calibrated in metric and english divisions.. HO scale ruler and a dividing ruler in flexible stainless steel are both handy.
  7. Take a piece of foam rubber the length of your finished project and about 4"X 4" on the end section. Cut a notch about 3/4 inch deep and 10 scale feet wide, the length of the foam. You now have a cradle to hold your work in proper attitude to be worked on. You can also get a firm grip on your work piece with out doing damage. I have several of these in various lengths. It is also a good means of transporting the model to the test bench. Next section will be a list of tools and adhesives I find invaluable.
     

Main | Section 2 >>