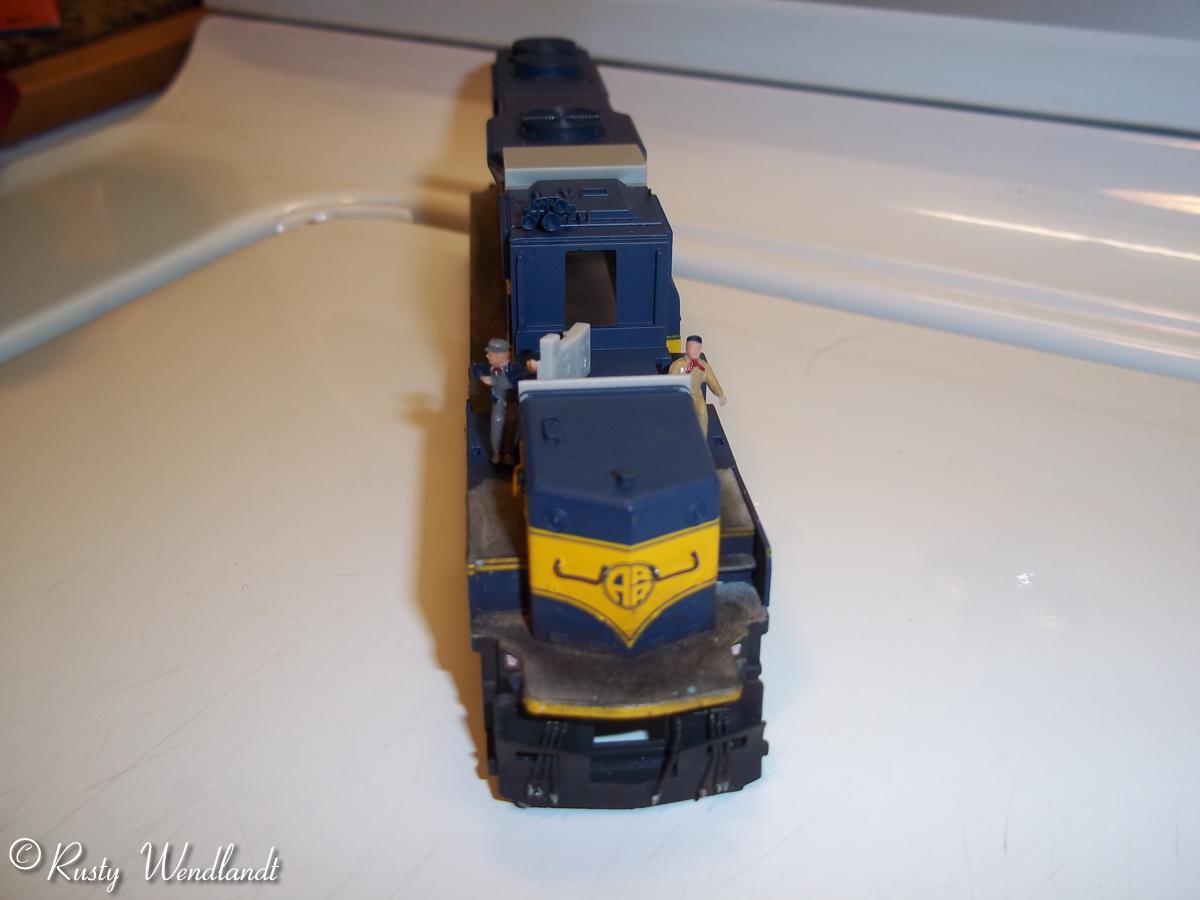
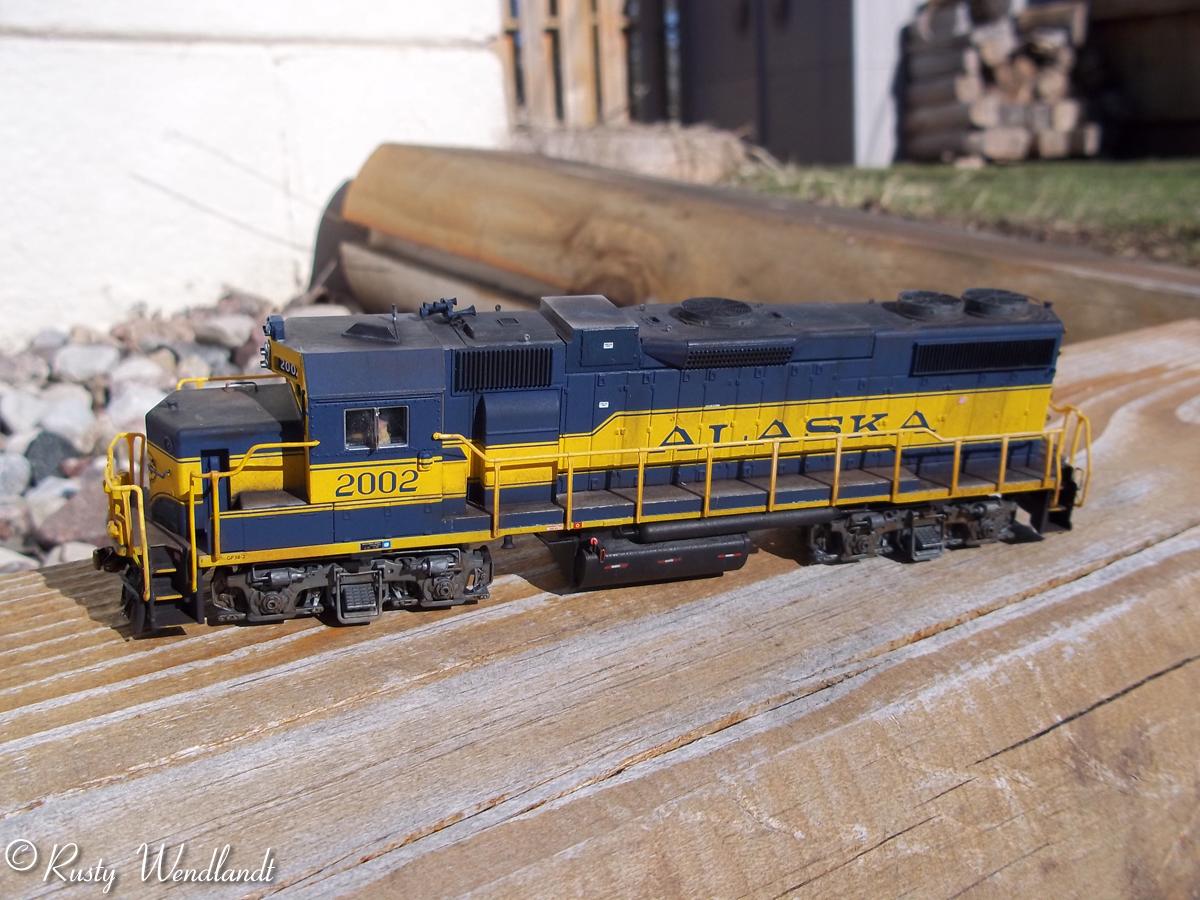
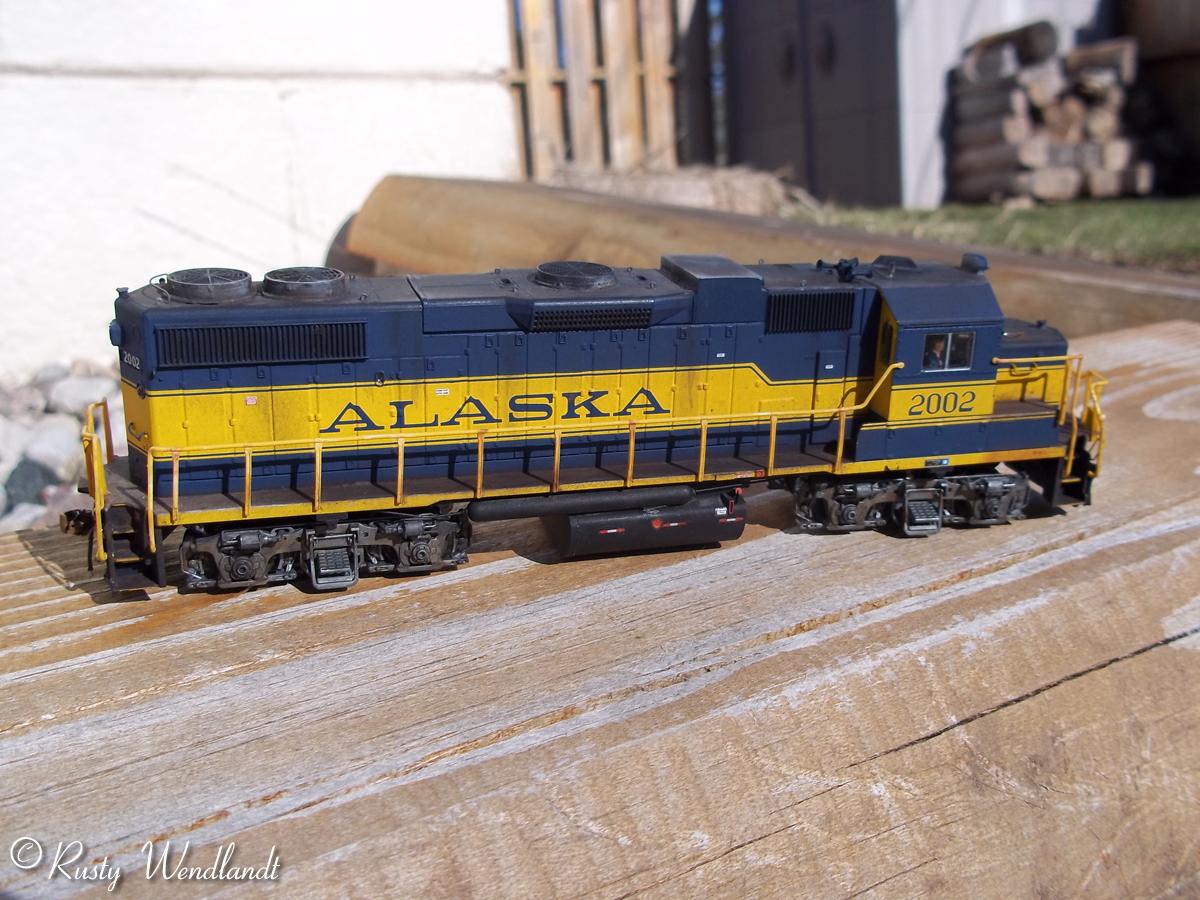
The build started off with a Atlas Trainman GP38-2 painted for the Alaska Railroad and numbered 2002. The locomotive is a great runner but needs a lot of work if you want it to match the prototype.
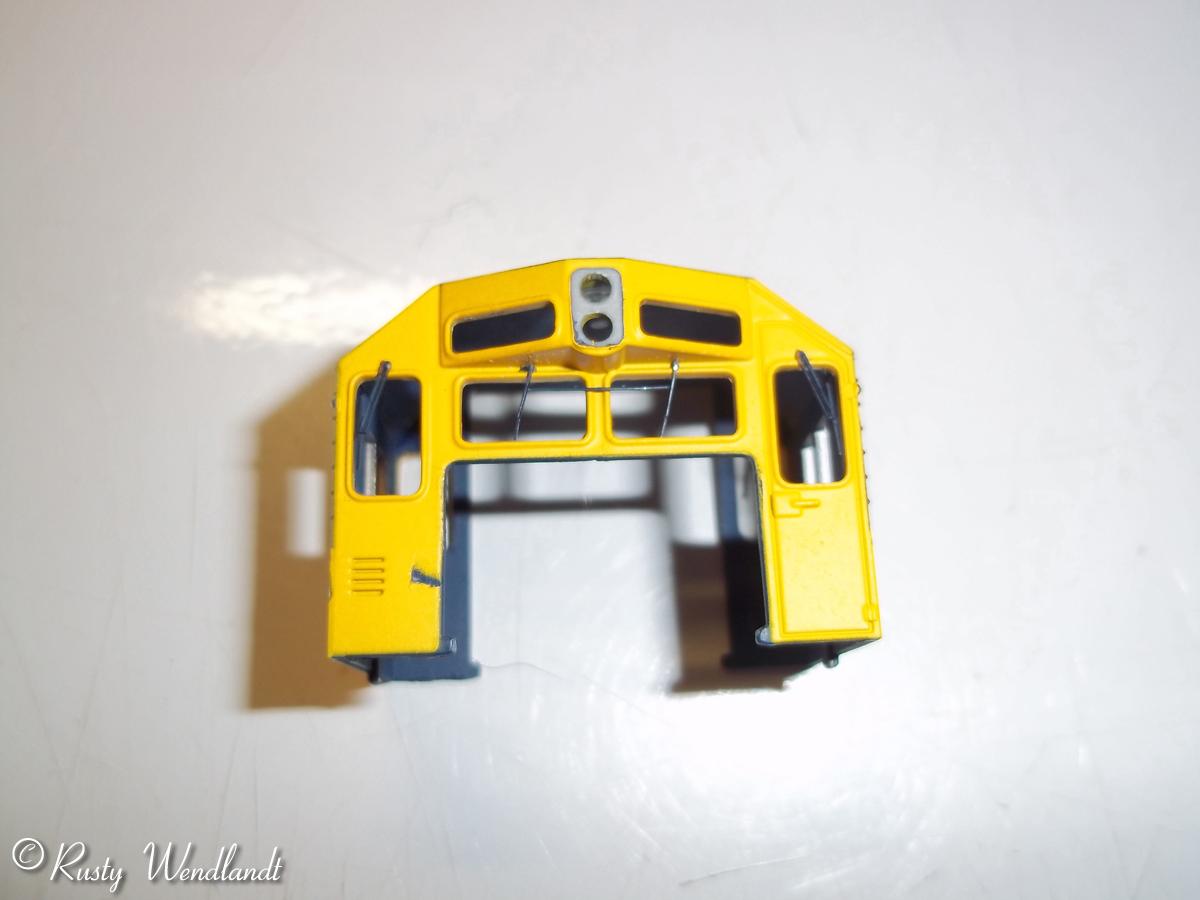
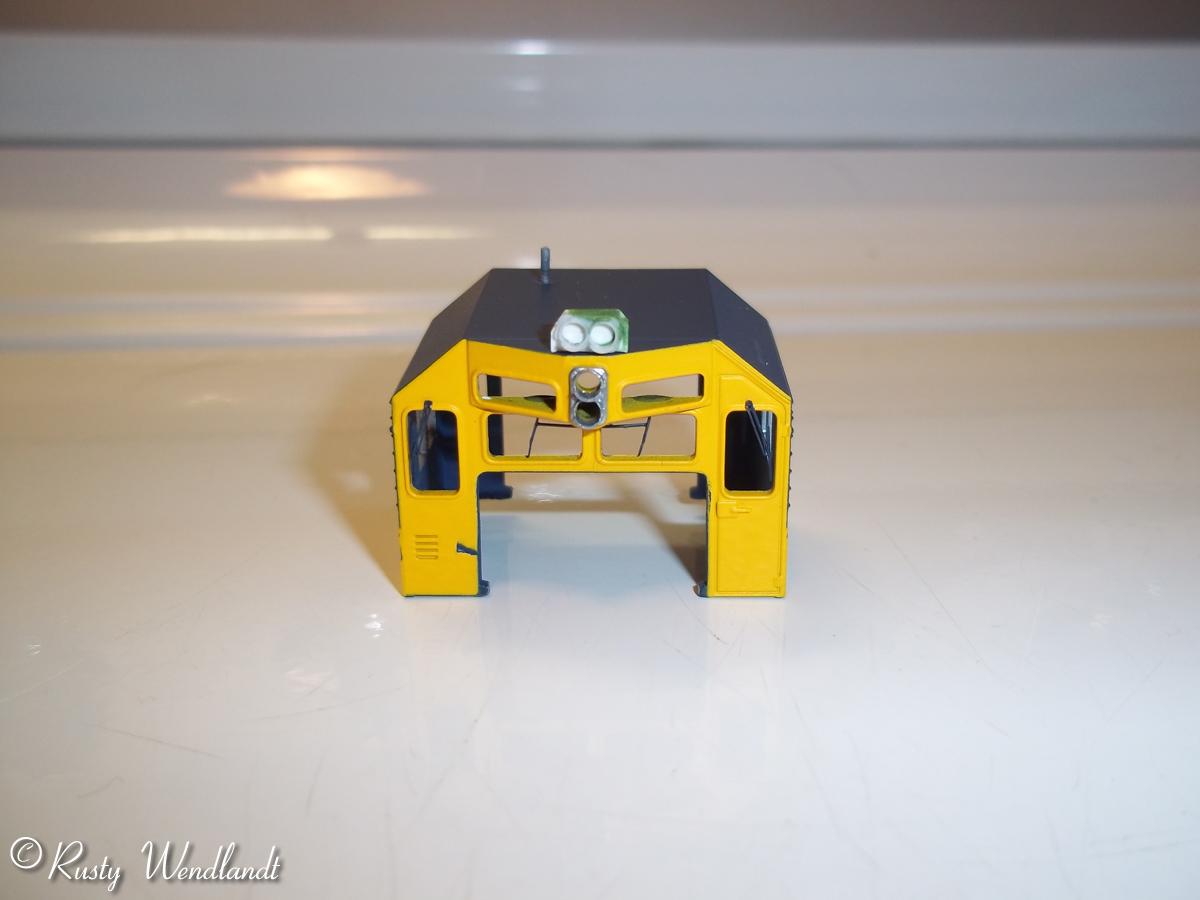
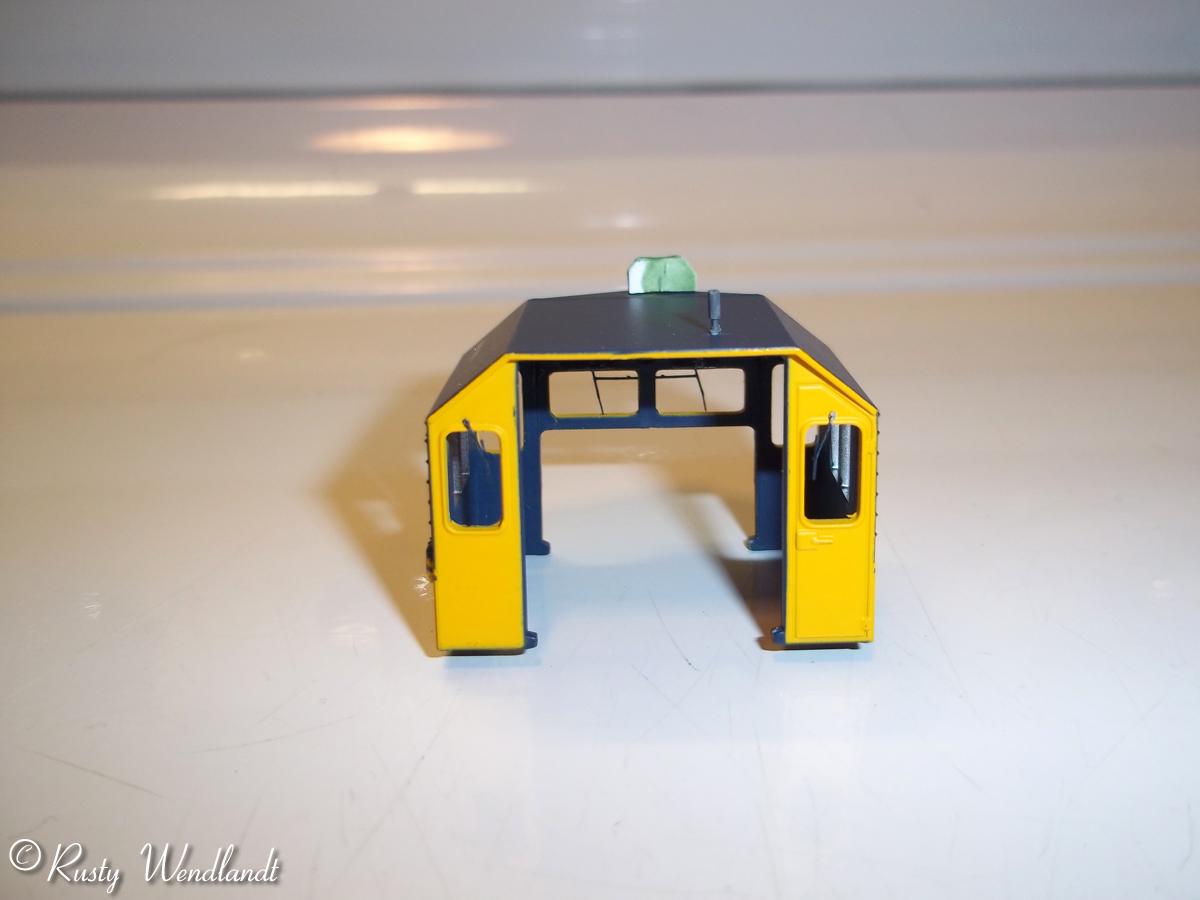
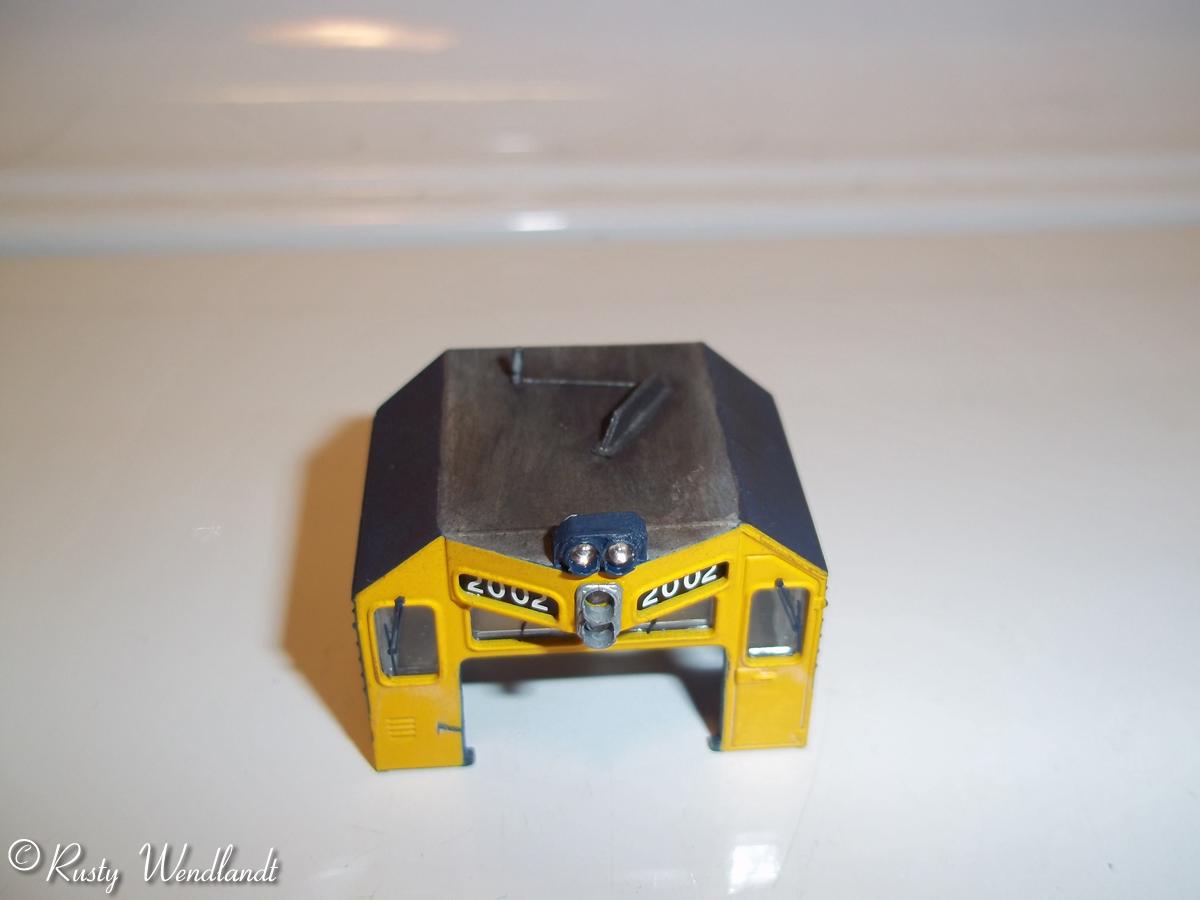
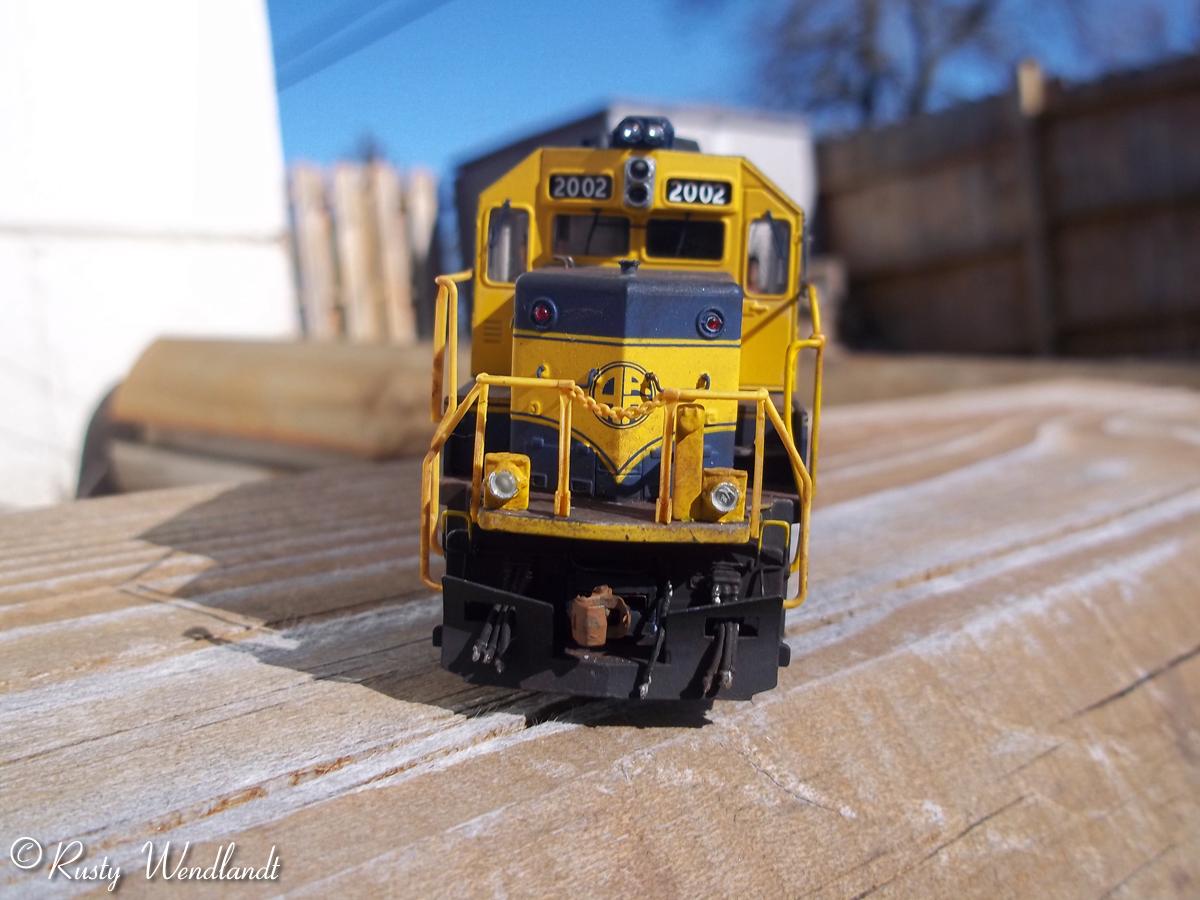
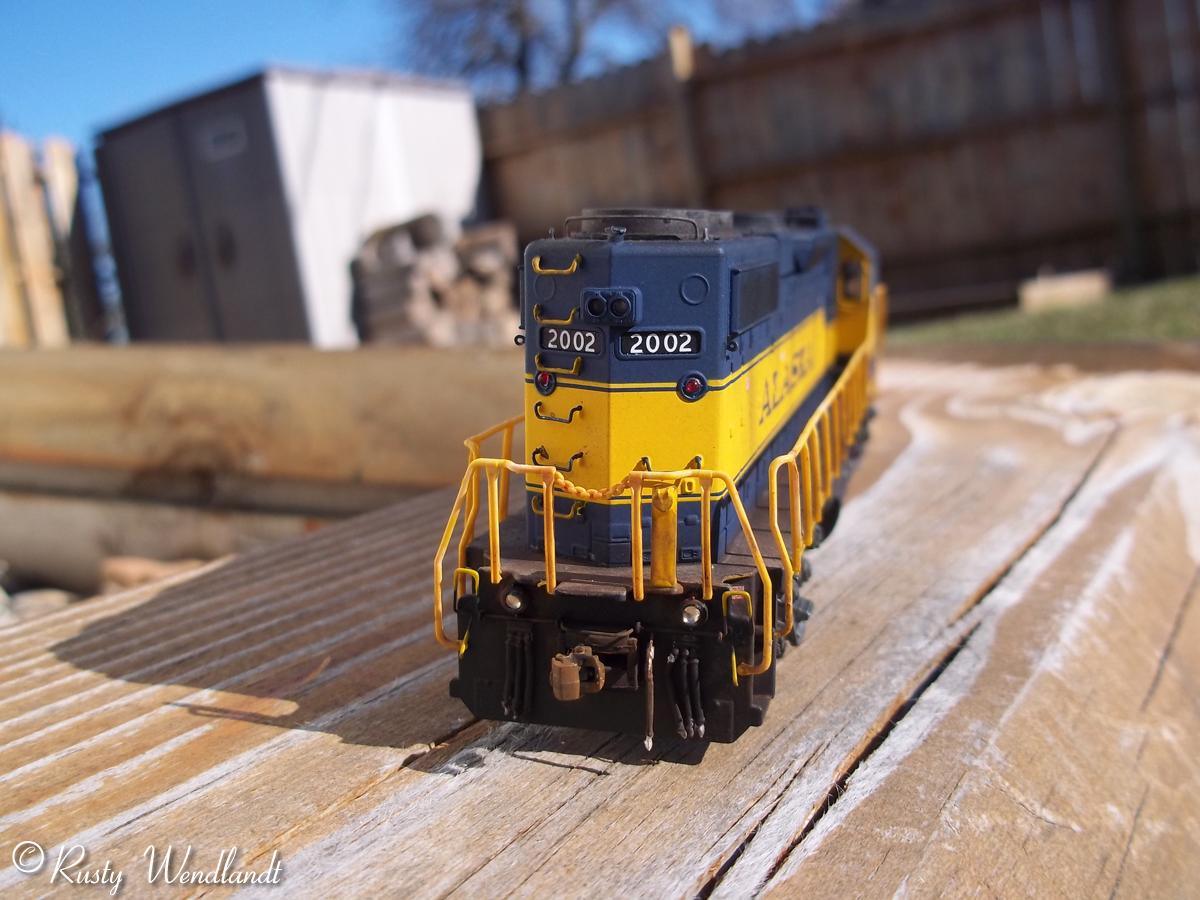
First off I disassembled to make it easier to handle and work with. Removing the cab took a lot of patience but it finally came off. Don't pry too hard on the cab or it might break. Make sure to remove the number boards and all the windows and set them aside. Start by removing the molded on headlight, being careful to not take too much off. Paint the new headlight housing Aluminum then glue in place when the paint is dry. Use a piece of .060" styrene and glue the horizontal headlight to it. Use filling putty if there are any gaps between the two. Cut angles in the top corners of the headlight. I painted the headlight with a 50/50 mix of Pollyscale CSX blue and B&O blue. Glue the headlight into place on the top of the cab. Tape off the angled part of the roof leaving only the flat top part of the cab exposed. Use a 2 parts PollyScale SP lettering gray to 1 part Pollyscale reefer white mix and paint the top of the roof. This represents what looks to be an antiskid paint used on the top of the locomotive. Install the firecracker antenna and paint. For the long antenna I cut a piece of .125" styrene I-beam to length and removed one side of the I; then cut the angles on each side. Set antenna in place and cut a piece of .010" brass wire to fit between both antennas. Paint both pieces aluminum and glue on the roof. Use the wiper blades as a drill guide for installing the wipers. The wipers on #2002 are blue (or at least look like it from the pictures). Paint the wipers on the sprue first; then touch them up when they are installed on the model. Set the cab aside.
|
|
|
|
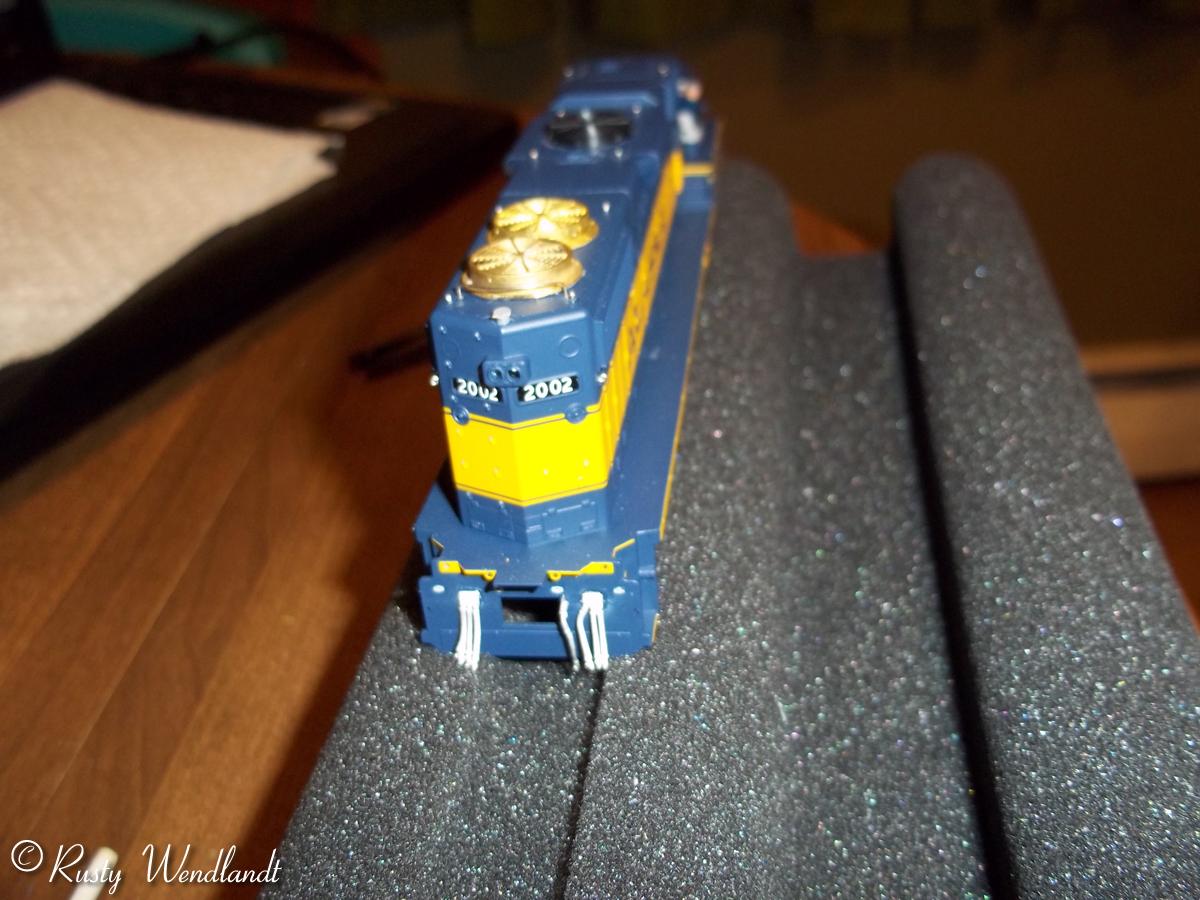
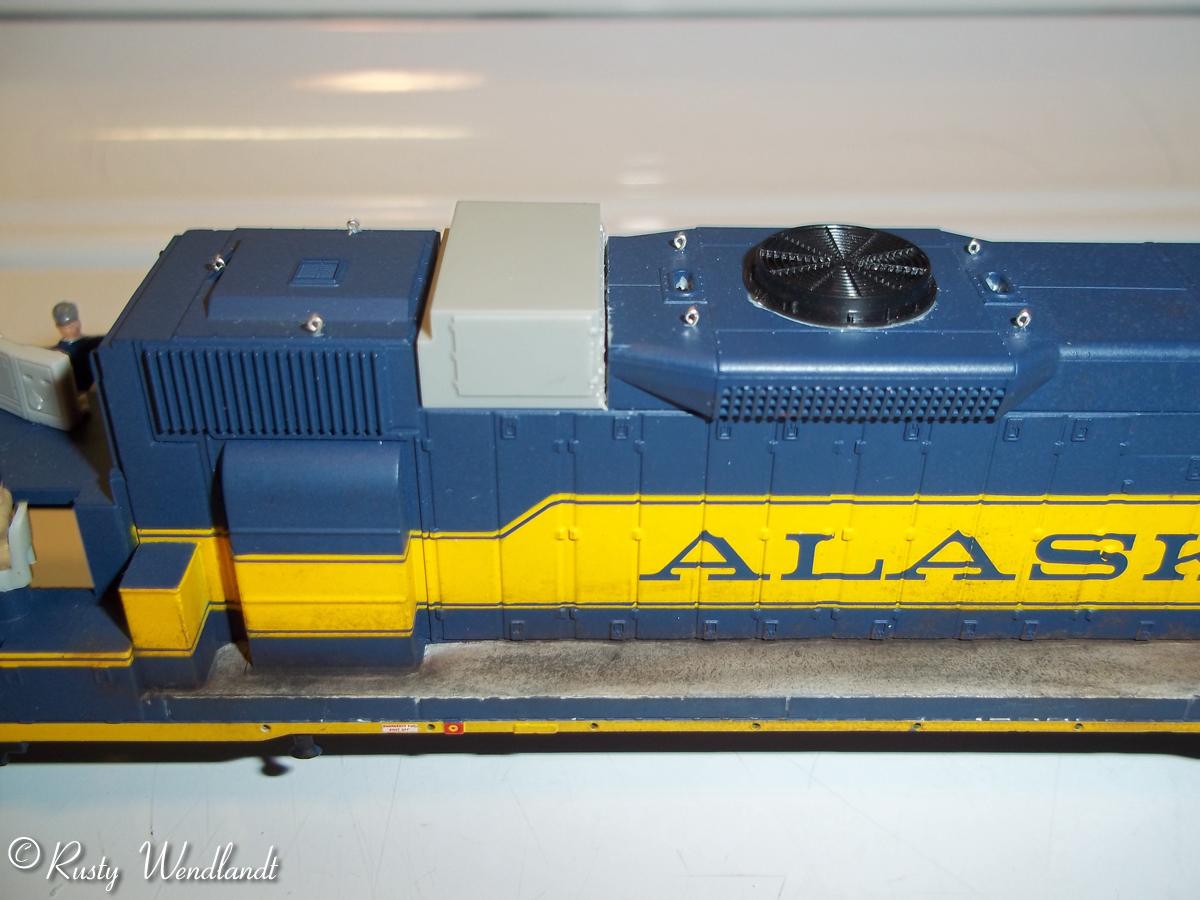
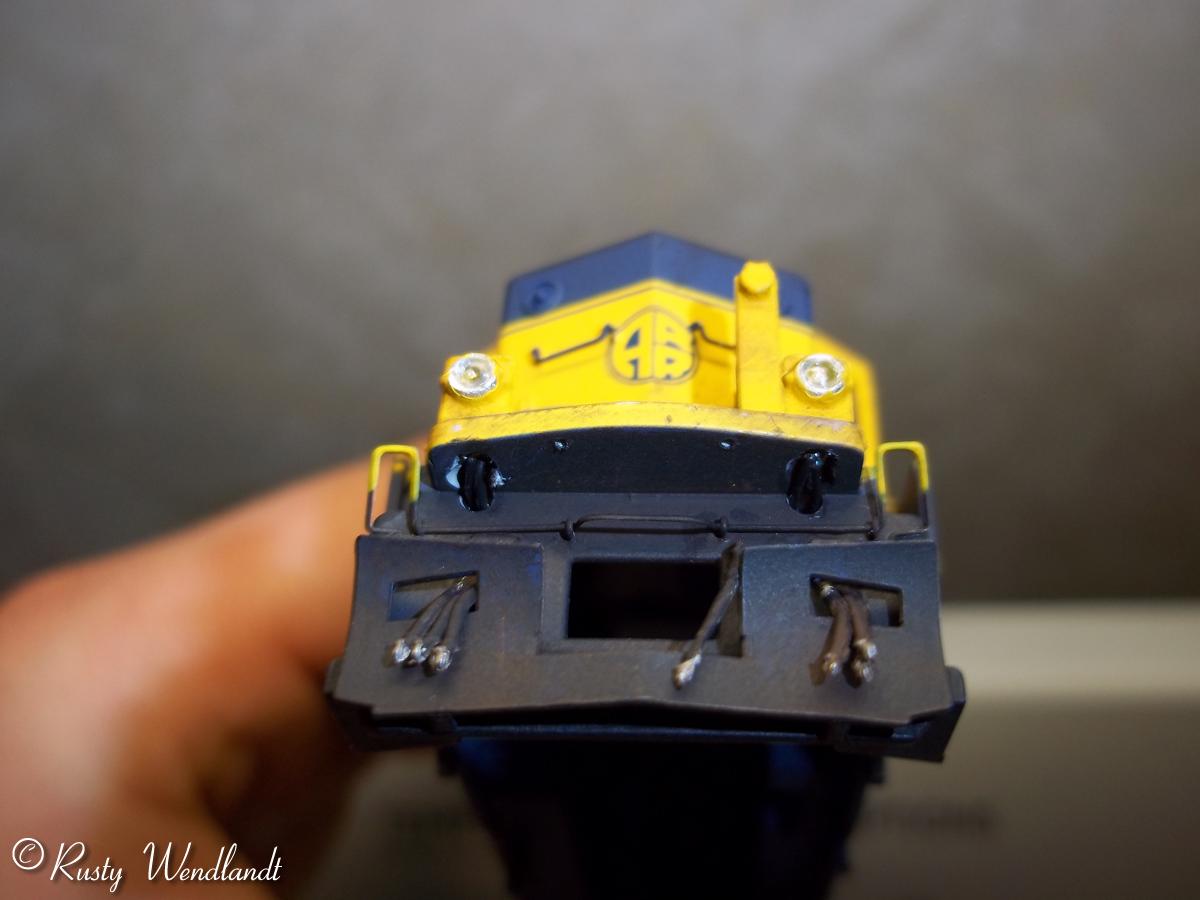
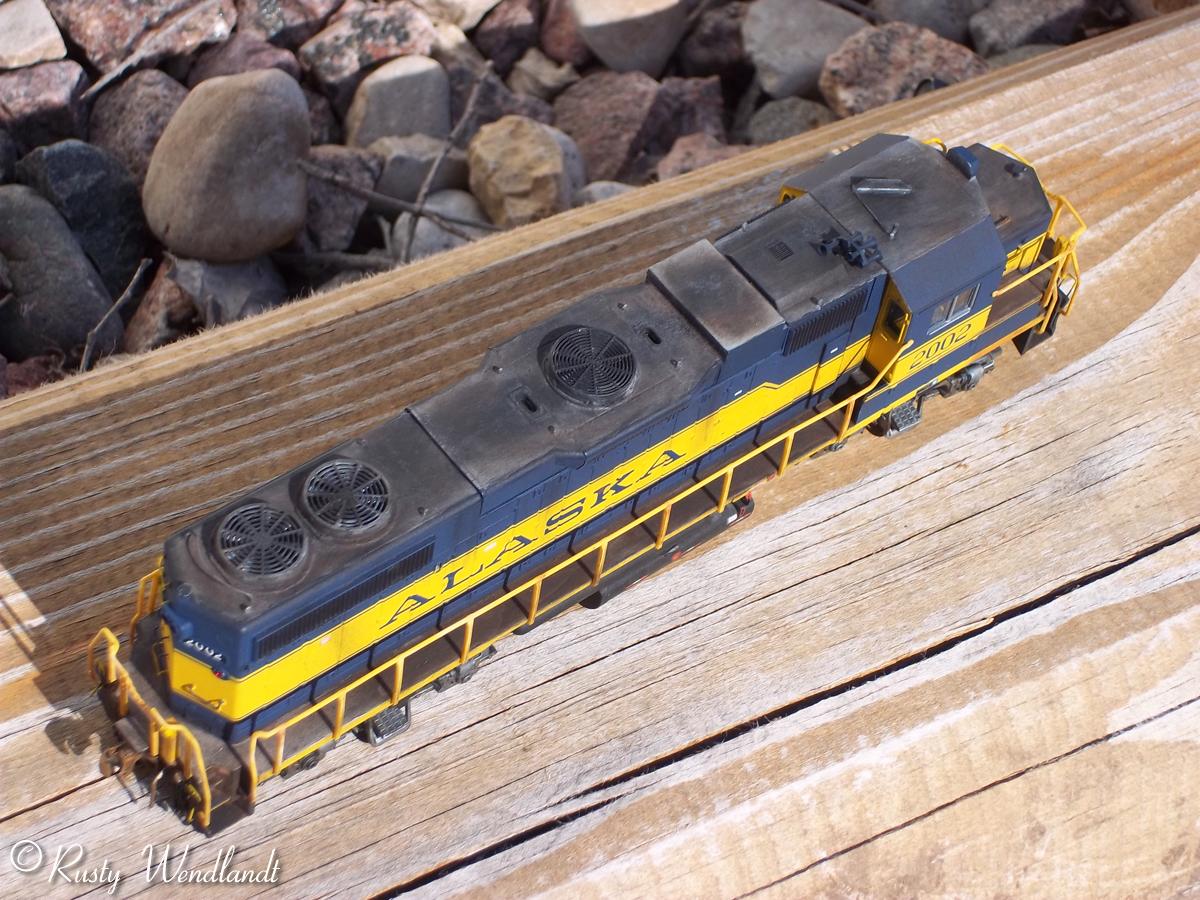
Using a sharp awl or other tool; mark each of the fans in the center. This is to make it easier for the drill bit to start. Drill out the fans (making sure to go up bit by bit and take your time) being careful to stay in the center. Depending on the fans you are using the openings might be different so only make the openings that big. Take a flat hobby blade and trim the rest of the fan moldings flush with the body. Use the same blade and remove the molded sand filler hatches. Drill the holes for the grab irons and lift rings using the molded dimples (don't forget the lift rings under the radiator grill). Glue on the new fans, lift rings and sand filler hatches; and paint them blue. Paint the grab irons off the body then glue them on when they are painted. Remove the snowplow and set aside. Drill the holes for the train line hoses, m.u. hoses and coupler lift bars. Glue on the train line hoses, m.u. hoses and coupler lift bars. On the rear also glue on the round housing from the Detail Associates ditch lights. At this time if you are adding operating ditch lights drill the holes for the lights. Paint the snow plow, steps, pilots, hoses, rear ditch lights and lifts bars black. Don't forget to paint the front of the couple pockets black. Using pictures paint the yellow safety marks on the uncoupling levers. Next I sprayed the body with gloss paint and installed the safety decals. When they were dry I sprayed a coat of Dulcote over the body. There is also a window on one of the service door on the right side. Paint the inside of the window black to look like a gasket and use clear window glazing glue to make the window.
 |
 |
 |
 |
 |
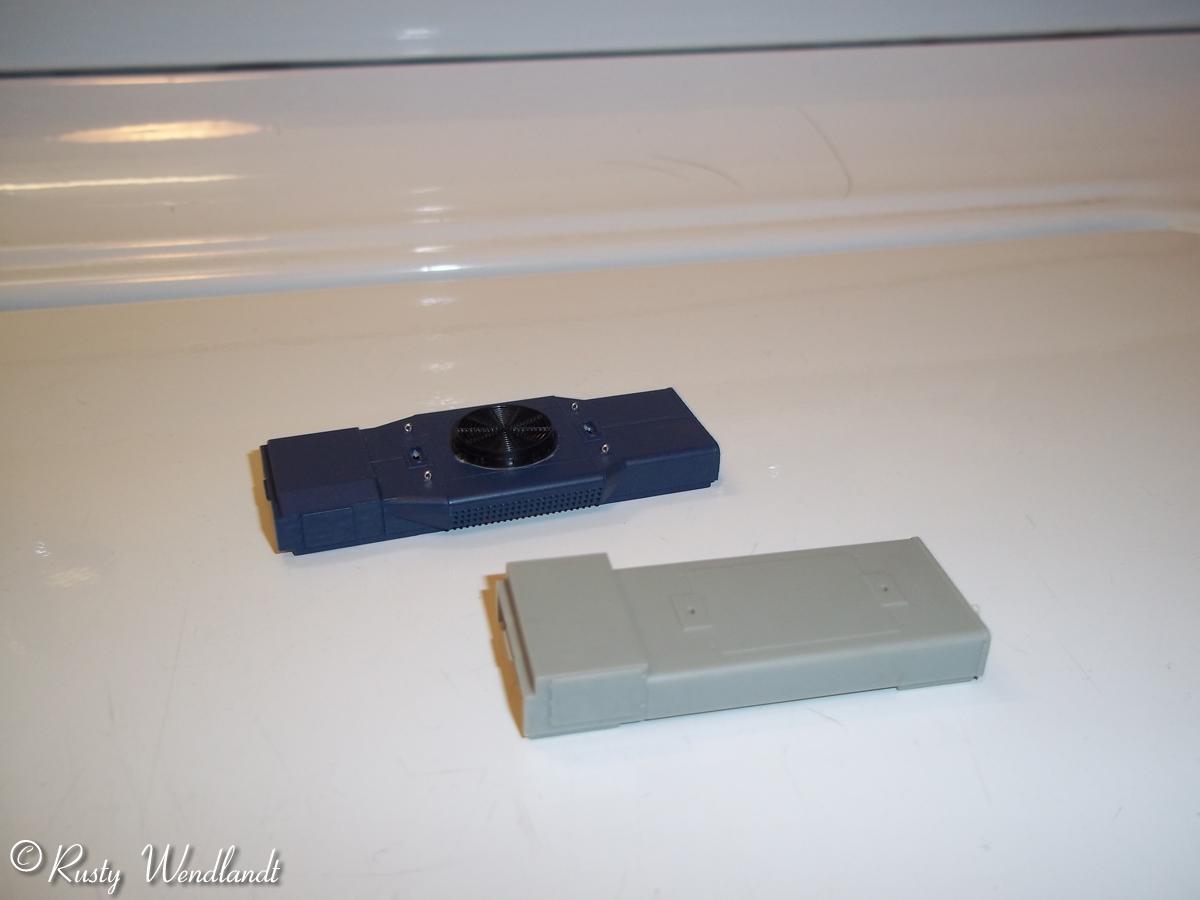
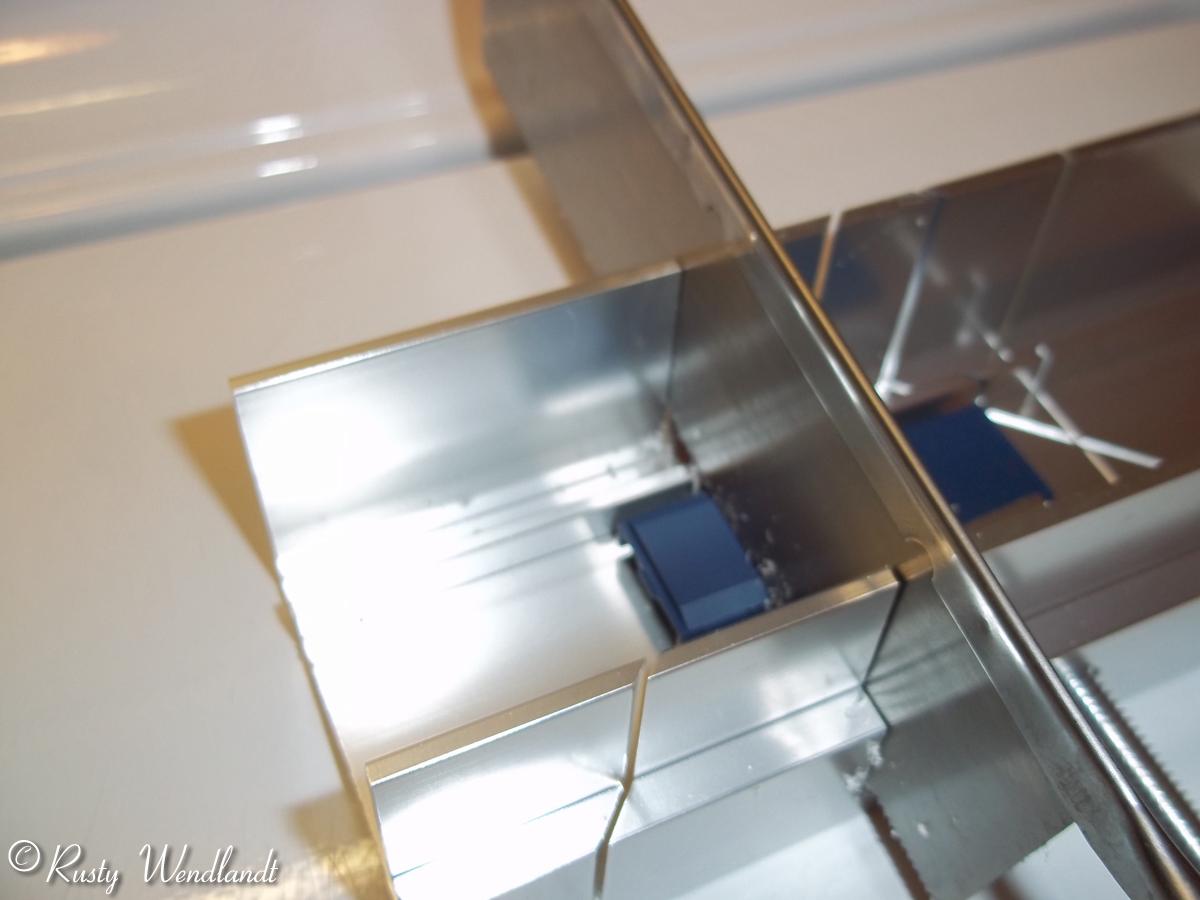
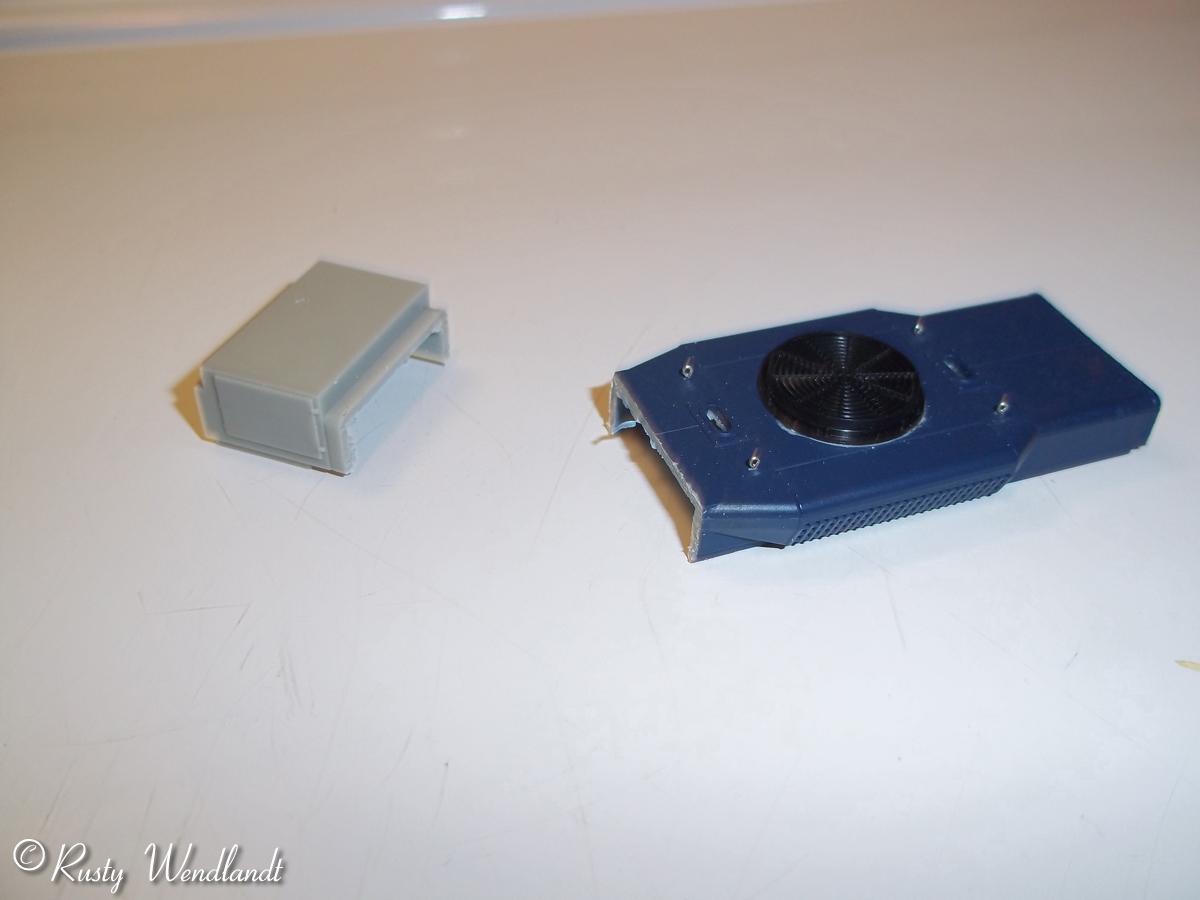
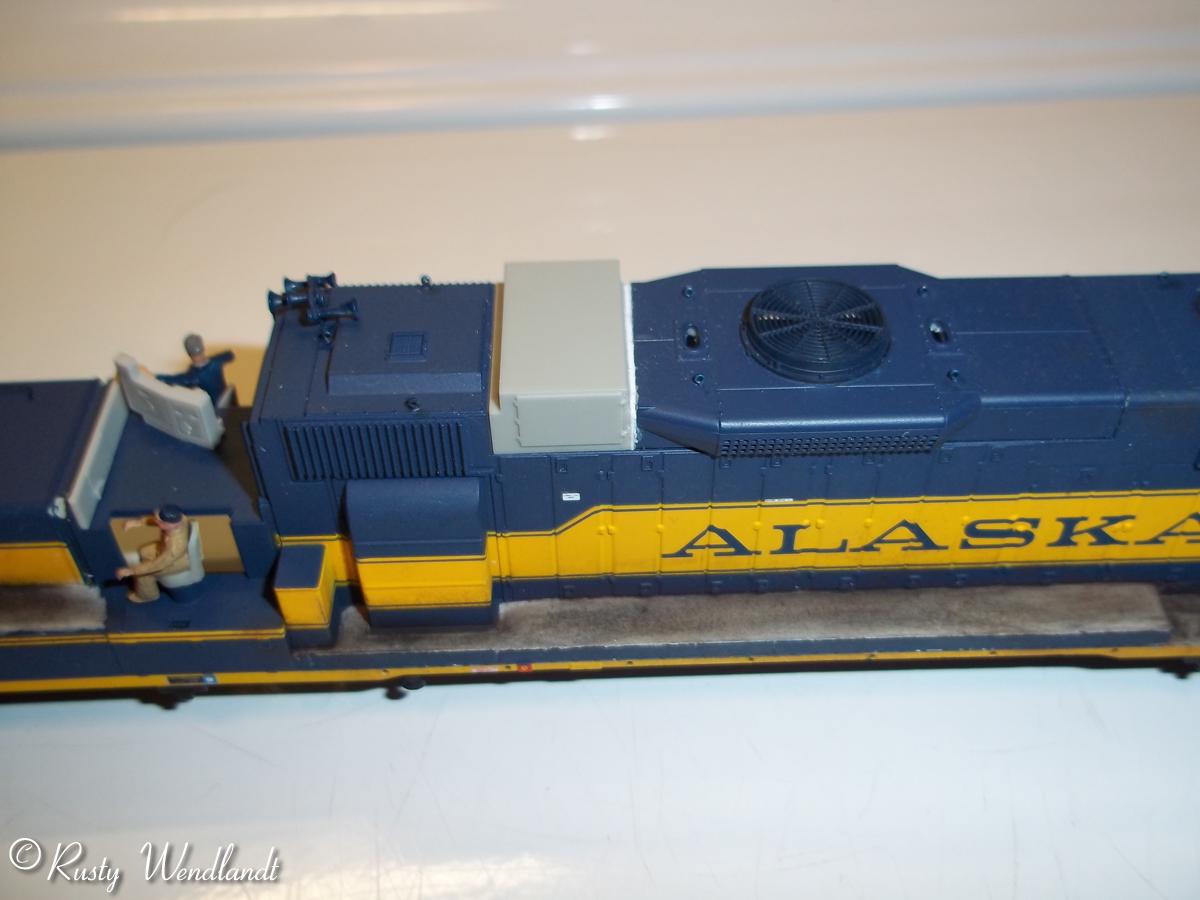
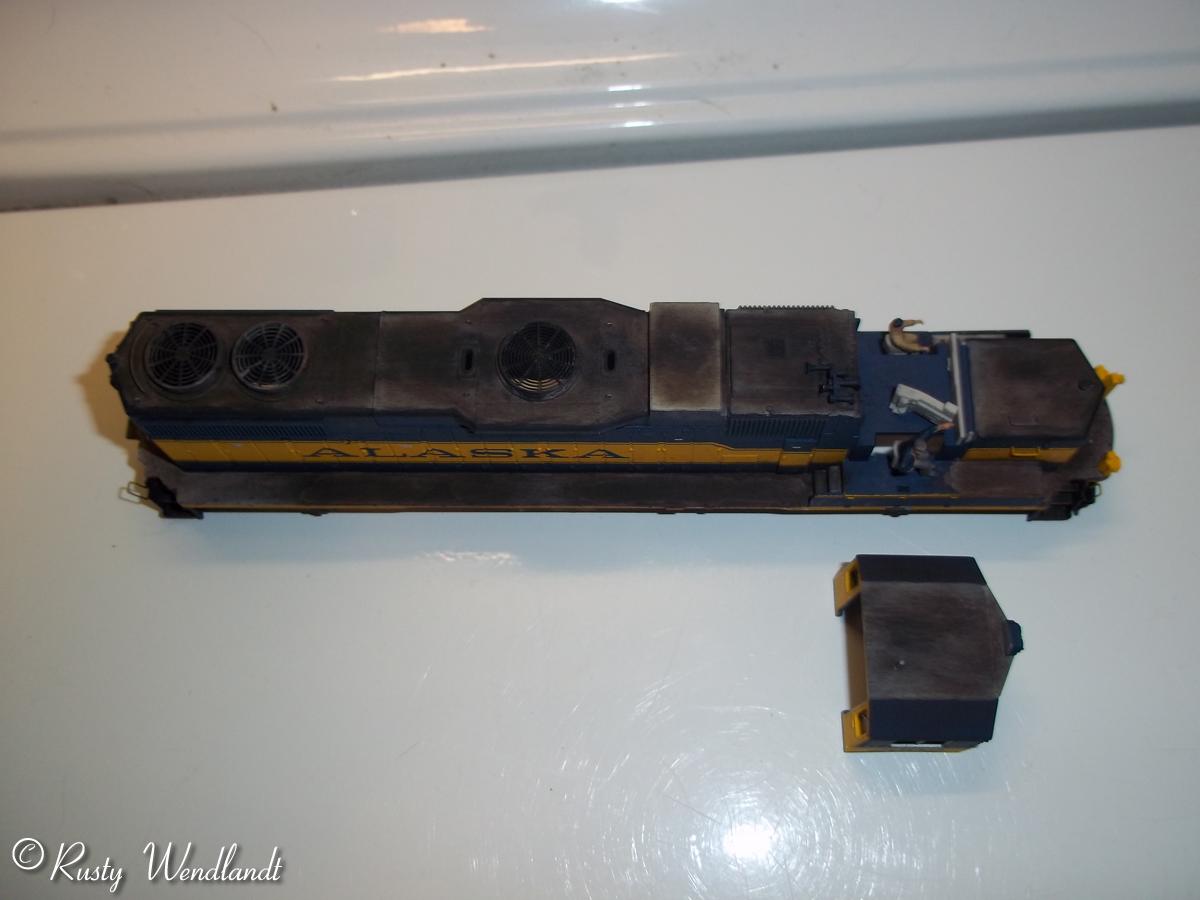
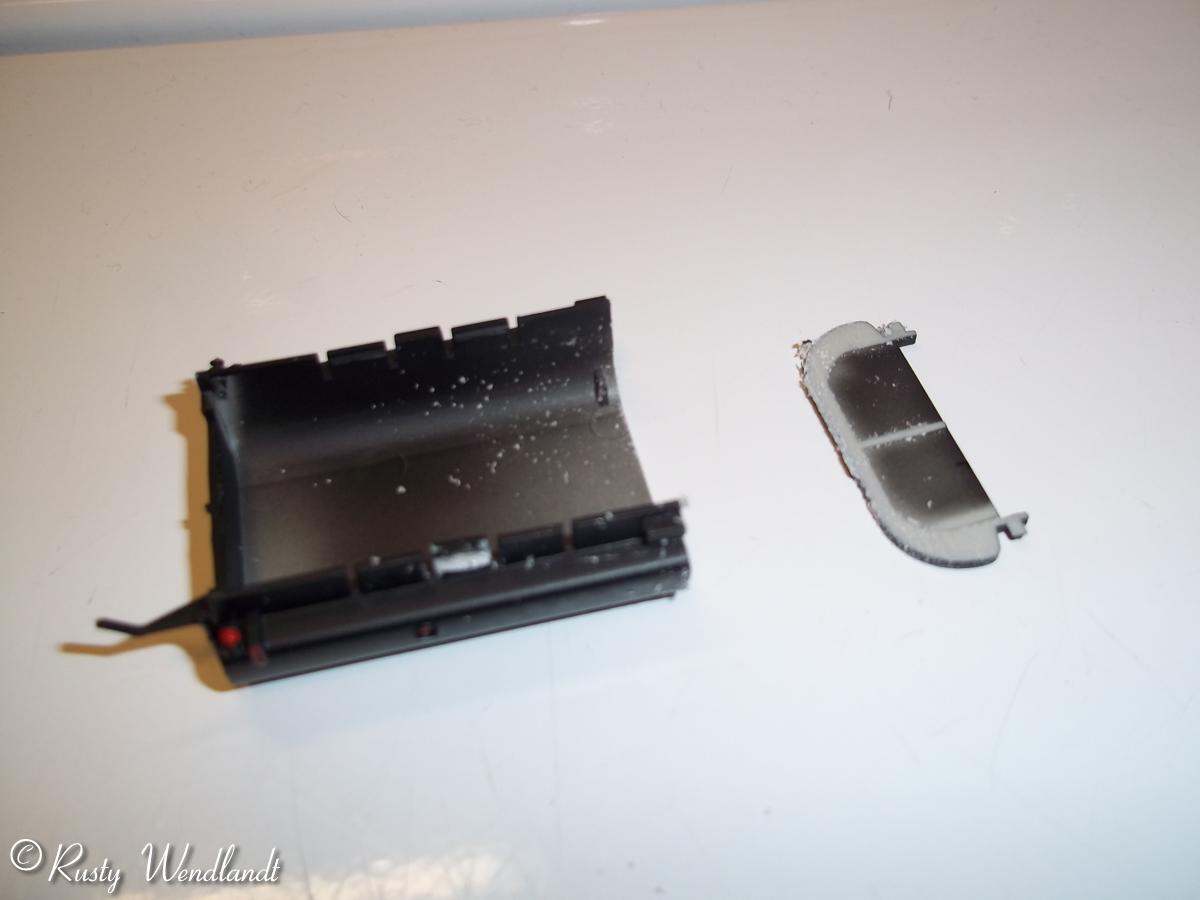
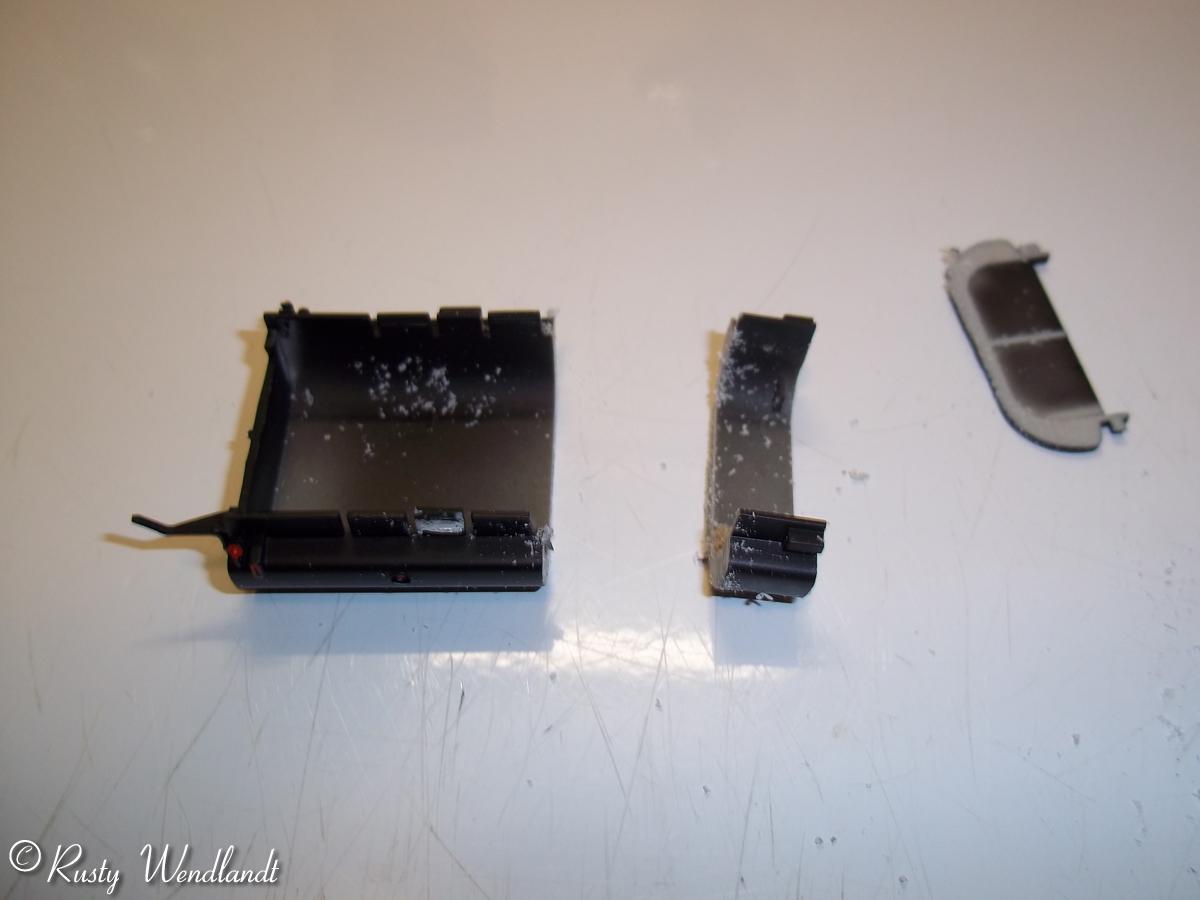
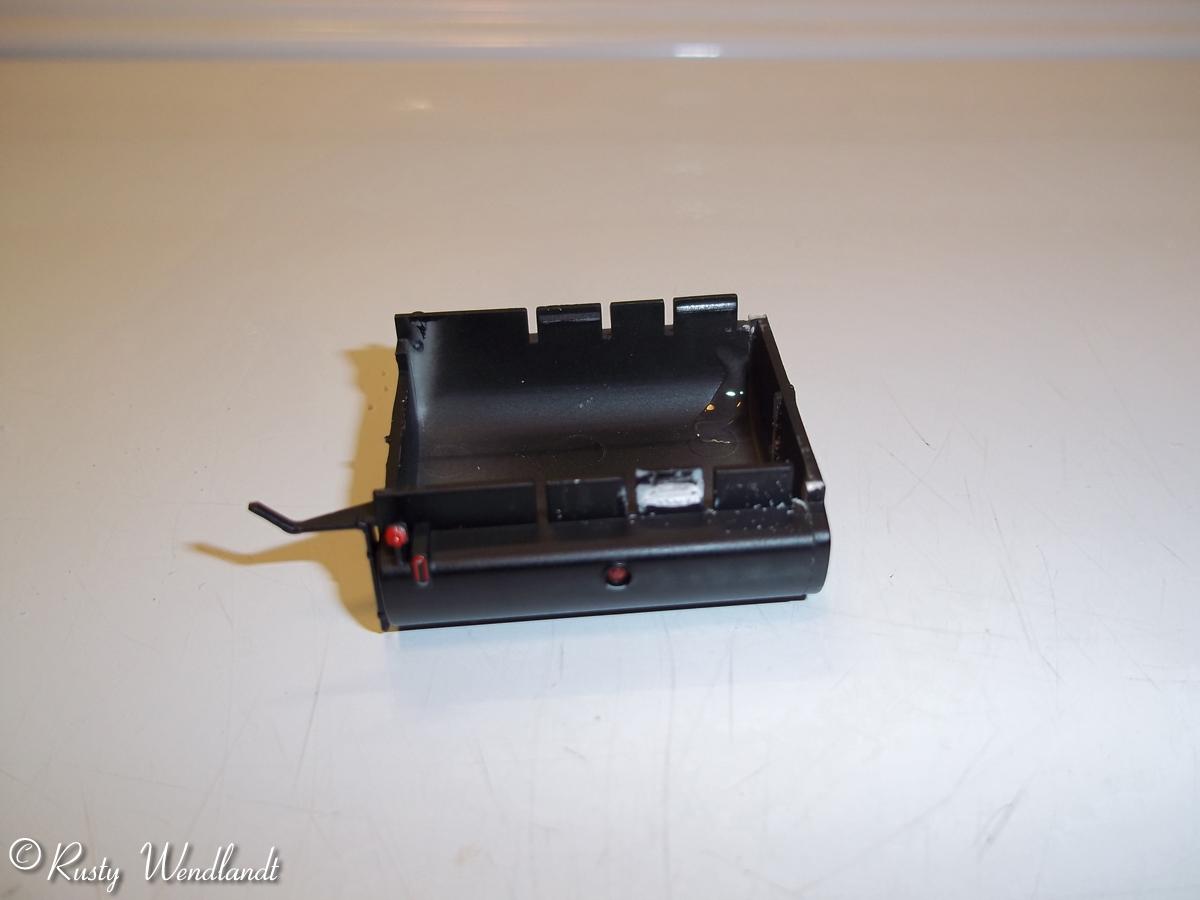
Put the body aside and grab the dynamic brake housing. The angled air filter housing on the unit is not correct. Using a miter box I cut the angled one flush with the rest of the housing. For the correct housing use one from a Atlas GP 38. Cut that one in a similar spot. Make sure that the cut ends are square and test find them into the body. If there are any gaps thin styrene can be used between the air filter housing and the dynamic brakes. Use mek to glue (melt) the pieces together. I also added a piece of styrene underneath for a little more strength. When it fits good and is glued, paint the air filter housing and add the decal on the door. Tape off all but the top of the body and the dynamic brake housing. Paint the same gray mix on to the top like what was done to the cab. I used a brush to vary the gray for the wreathing later. If no weathering is going to be done use an airbrush. When the roof paint is dry tape off around all the walkways and paint them gray also. Then drill out the exhaust stacks to make them see through also. They can be painted grimy black to add depth. Drill the hole for the horn in front of the internal filter hatch on the right side. Paint the horn and test fit it; but don't glue it in place because the cab will hit it when it is reinstalled.
 |
 |
 |
 |
 |
 |
 |
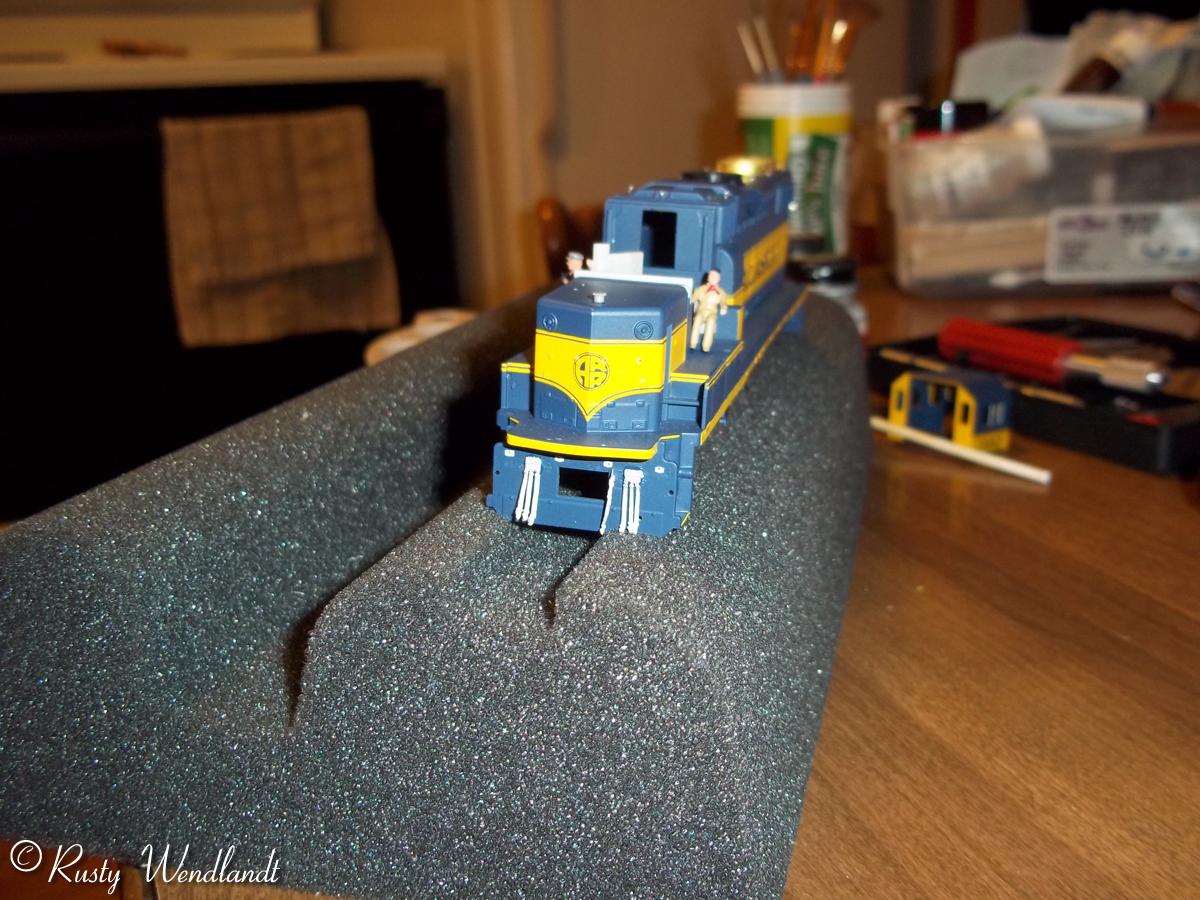
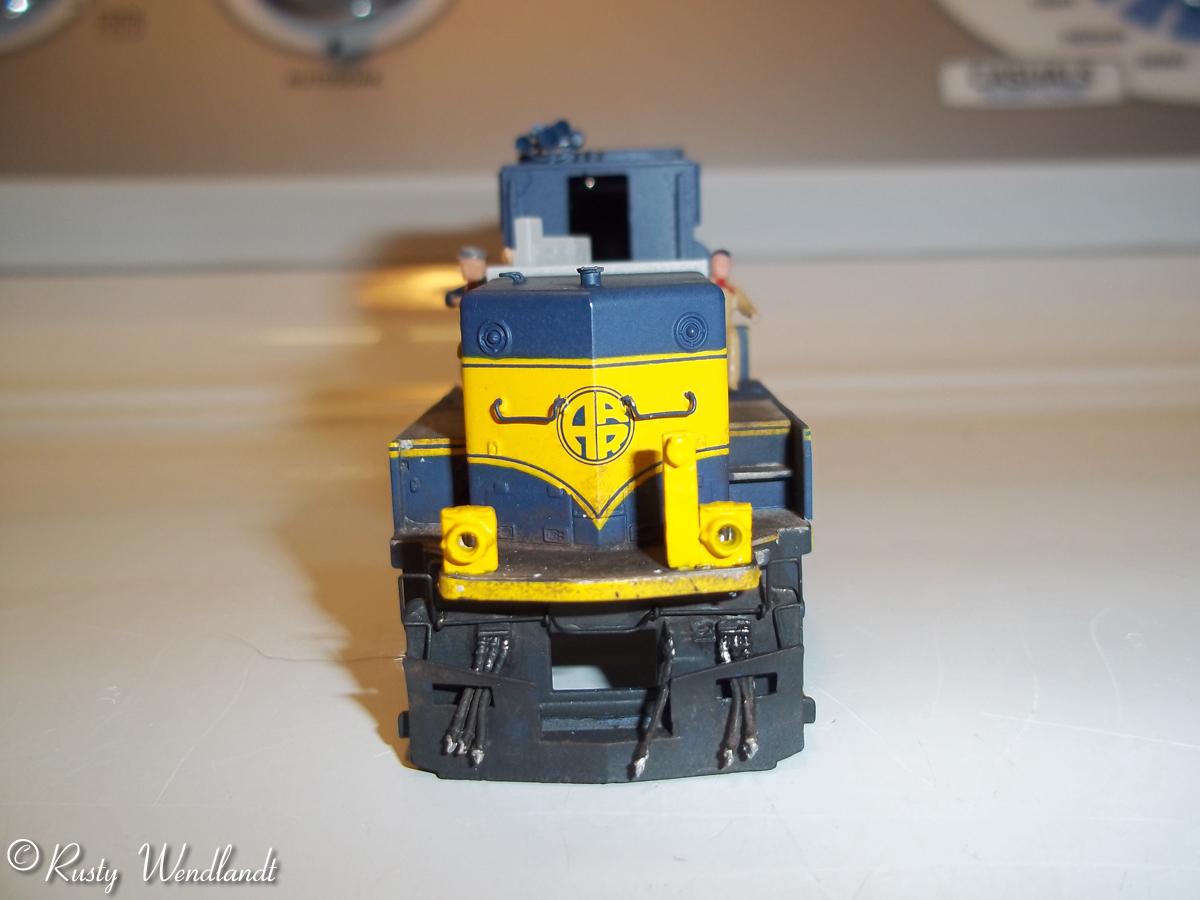
Paint the tall m.u. stands and the ditch lights housings yellow. Glue them in place and test fit the bulbs into the ditch lights to make sure they fit well. Weather the unit according to the era and pictures of the locomotive. After the top is weathered paint the fan blades aluminum and install them. Using the clear window glue; glue the ditch light lenses in place and fit the bulbs. Using clear M.V. lenses glue them in the upper cab light that is not going to be lit. Reinstall the cab windows and light shields. Drill holes for the wind deflector/ mirrors and glue them into place with clear glue (CA will haze the windows). Use a flat hobby blade and trim the round part of the maker lights so they are flat. Use a sharp point to mark the starter for drilling the holes. Don't drill in to far or the red marker lights will sit in too far.
 |
 |
Spray the handrails with a coat of dull coat. Use 70% isopropyl alcohol on a q-tip to fade the handrails slightly. Make some rust spots and streaks where the stanchions meet the handrail. That will help blend the detail from the body with the handrails.
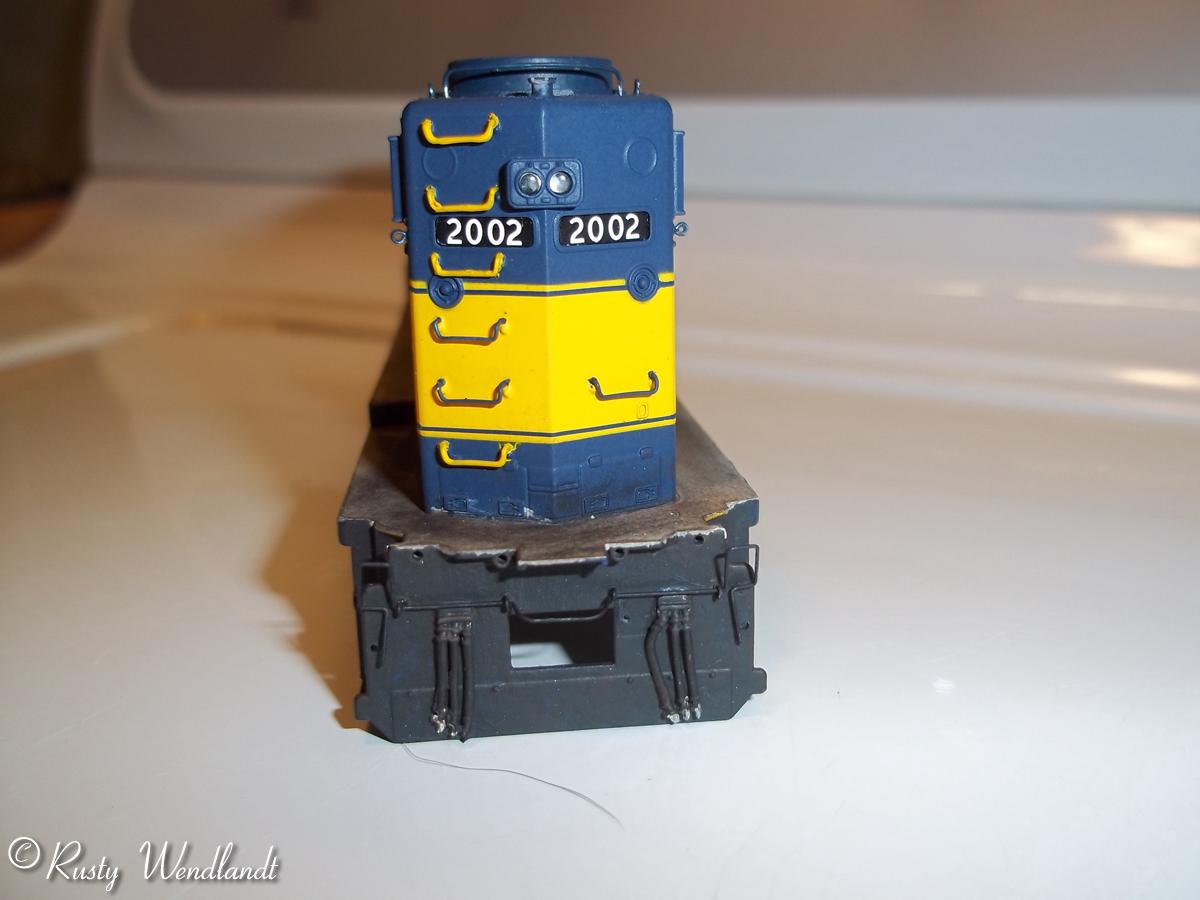
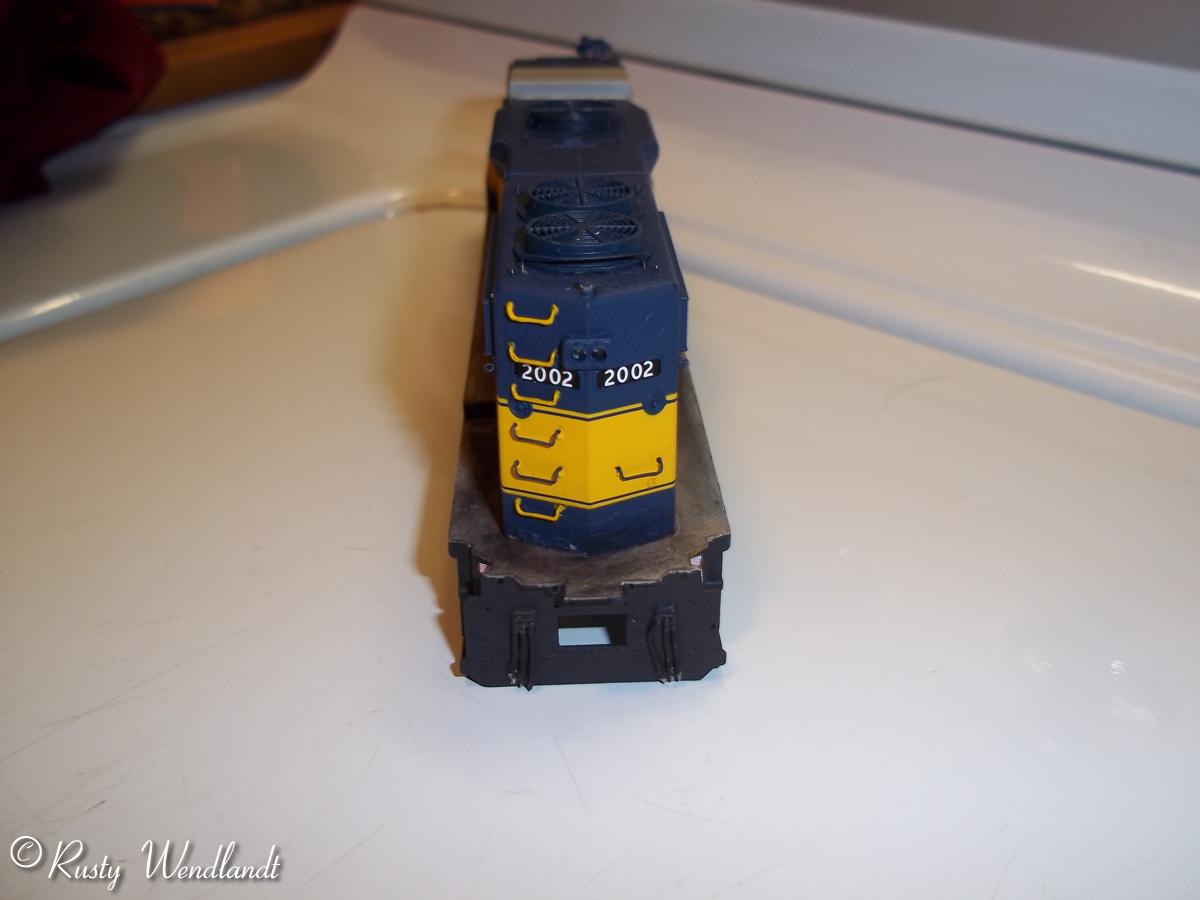
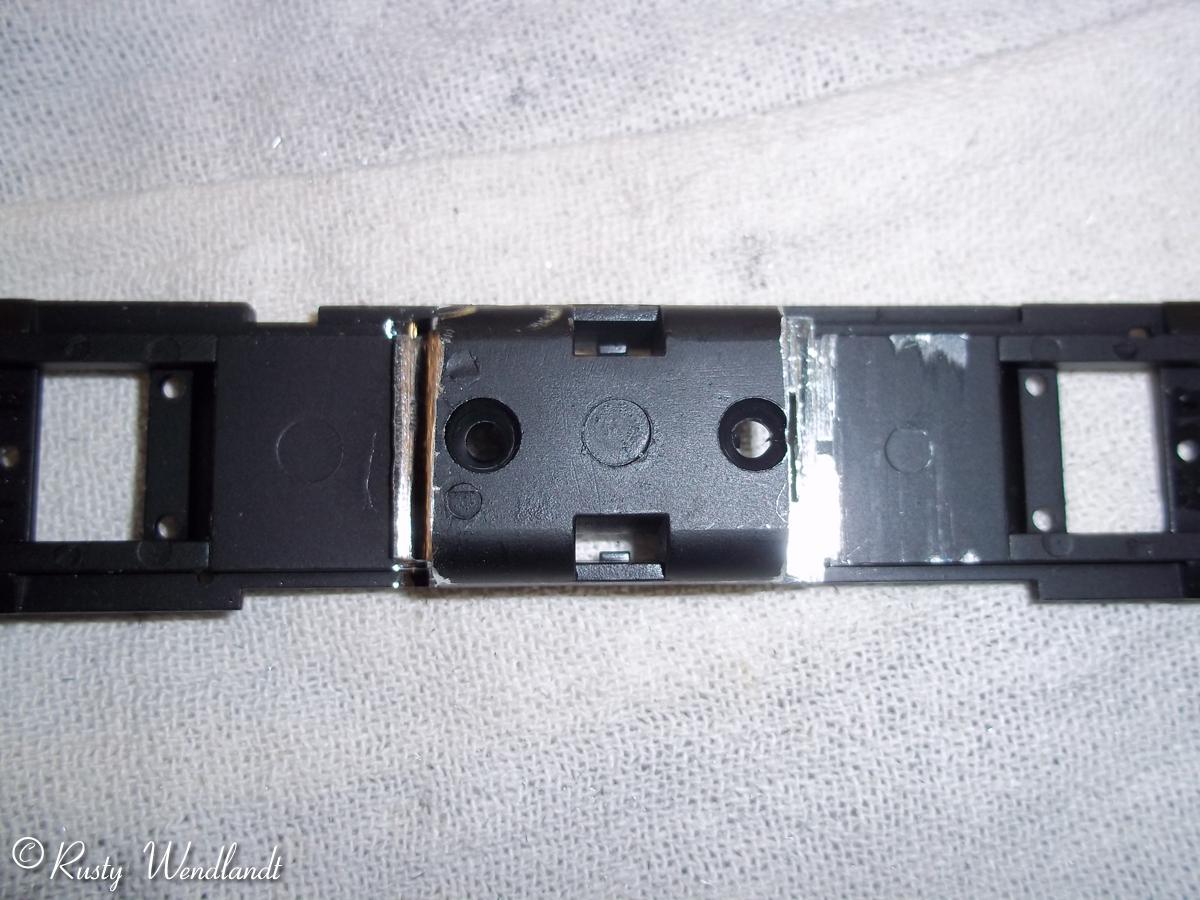
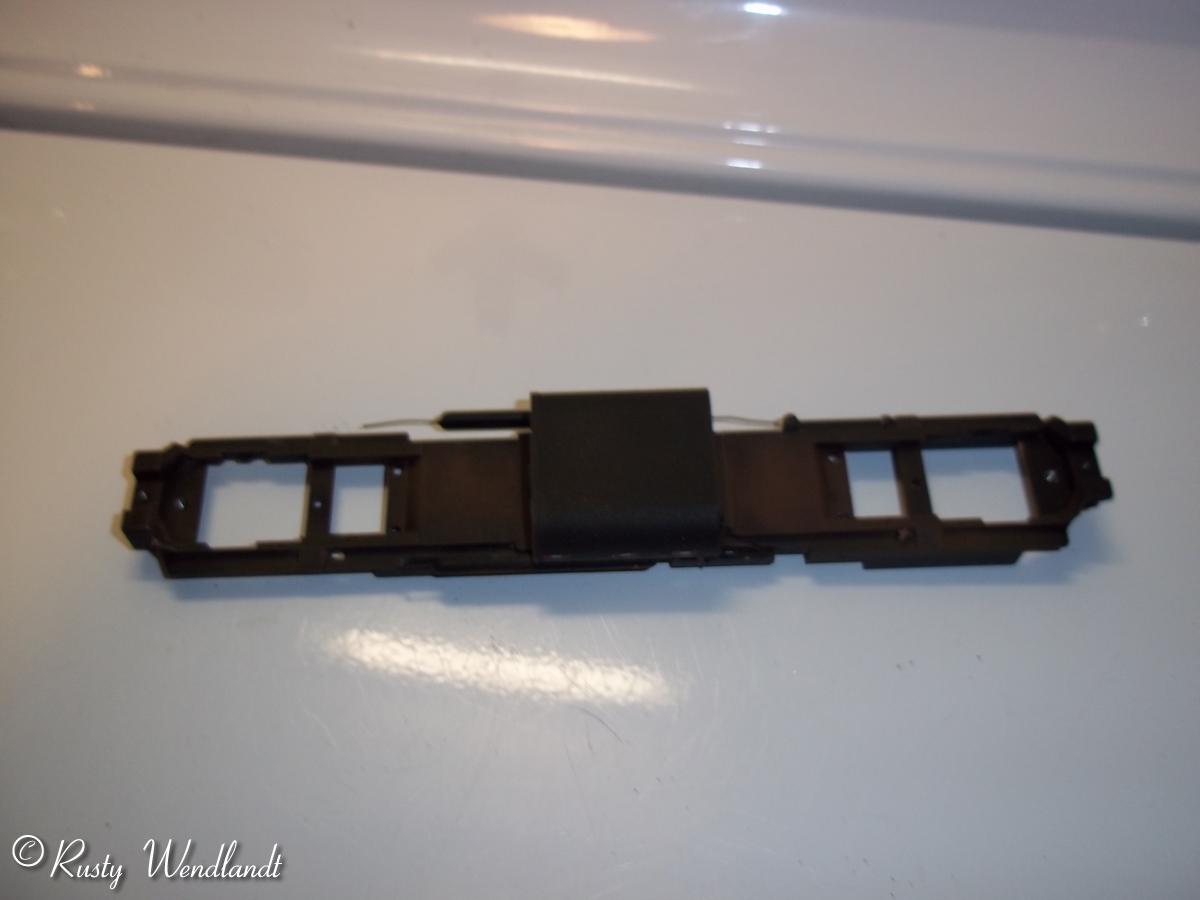
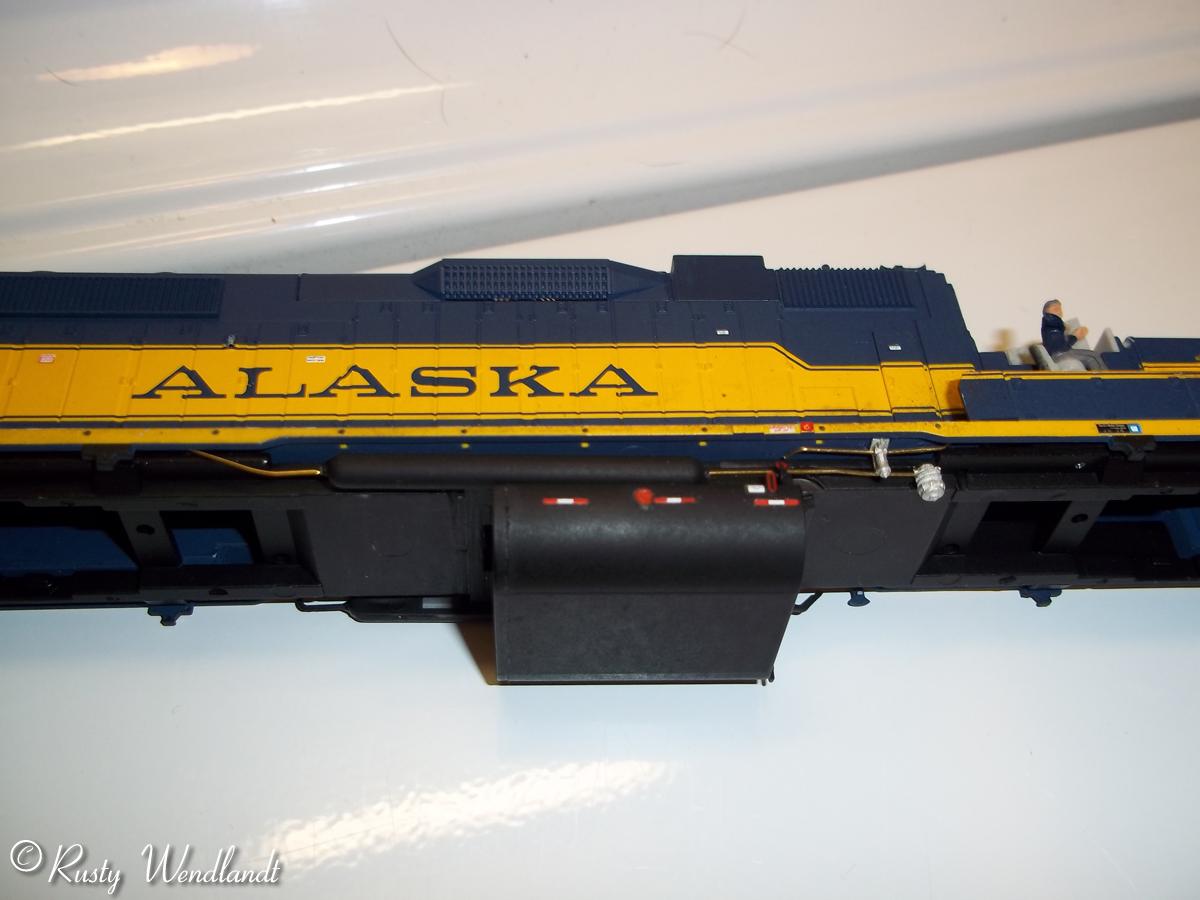
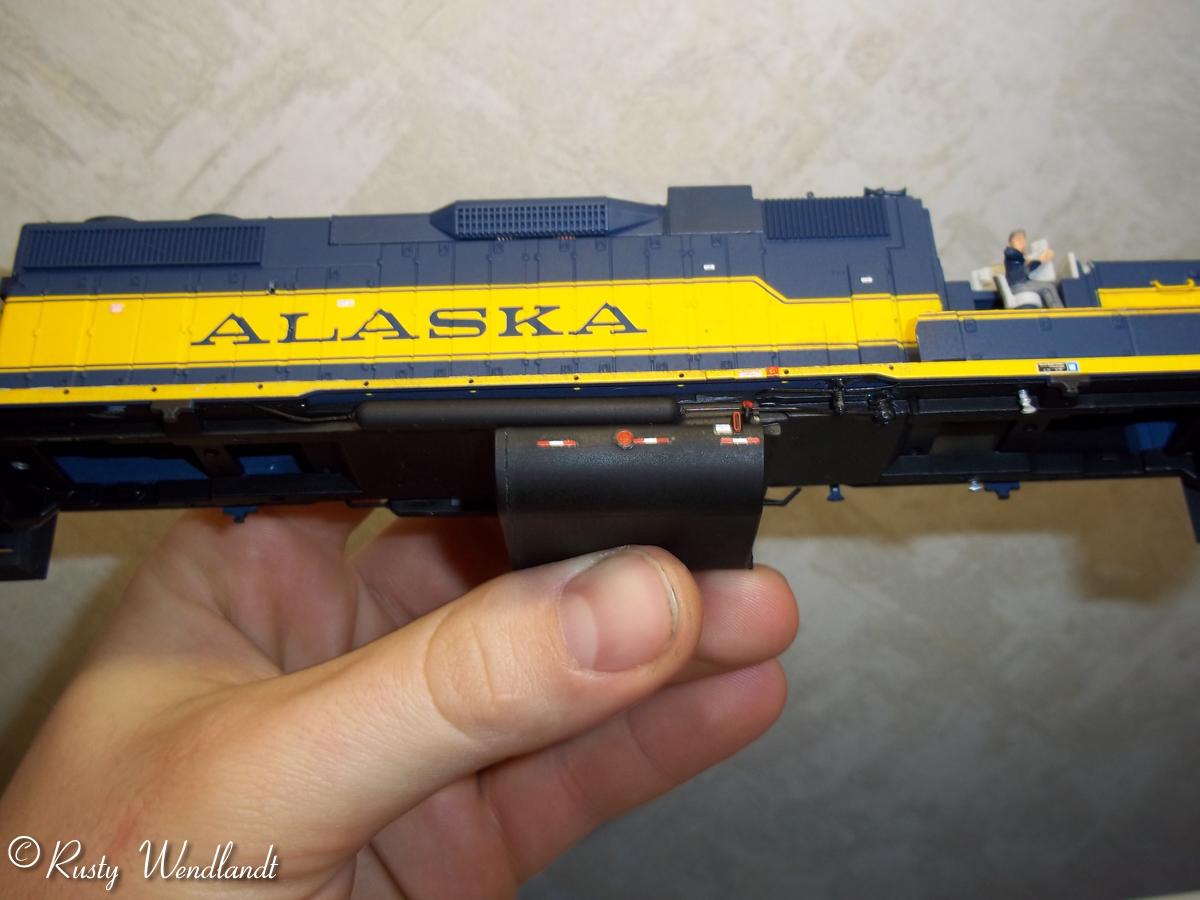
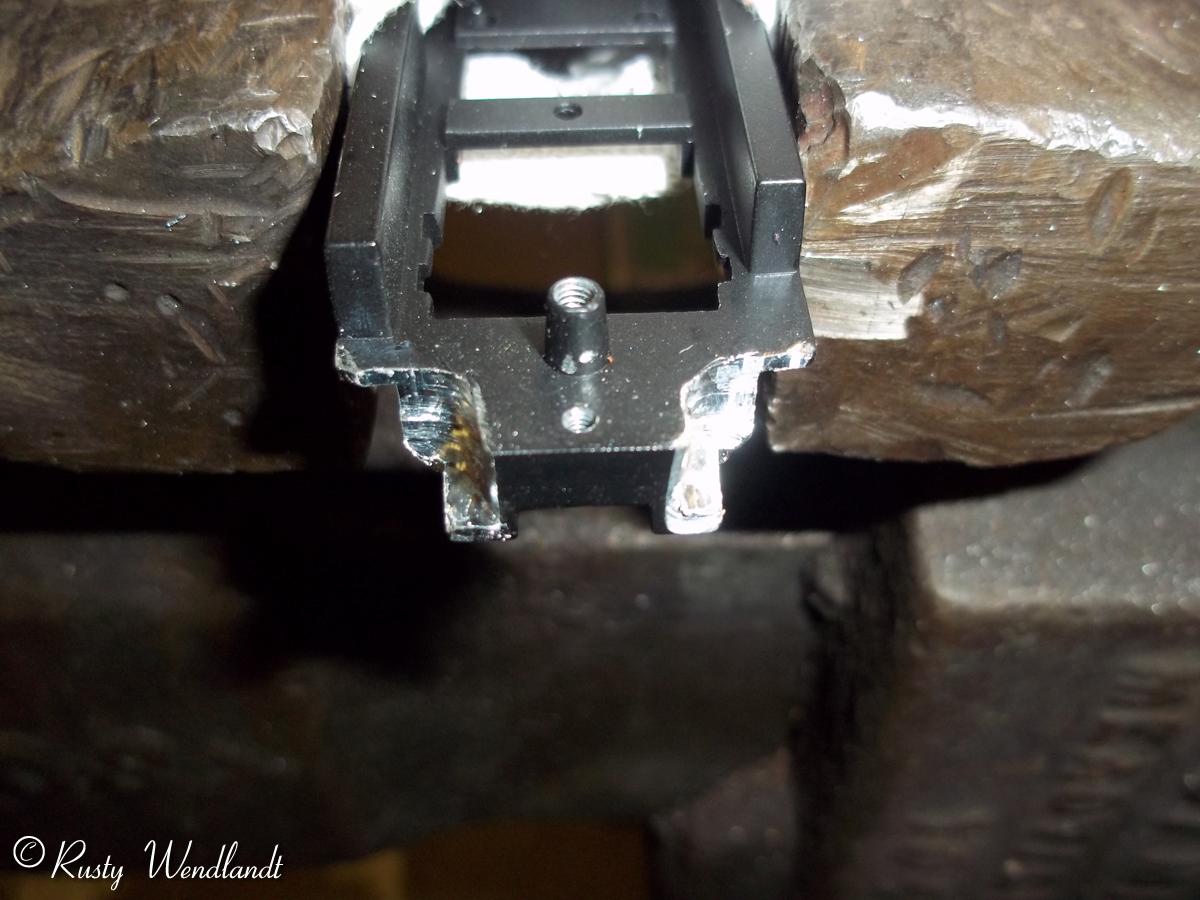
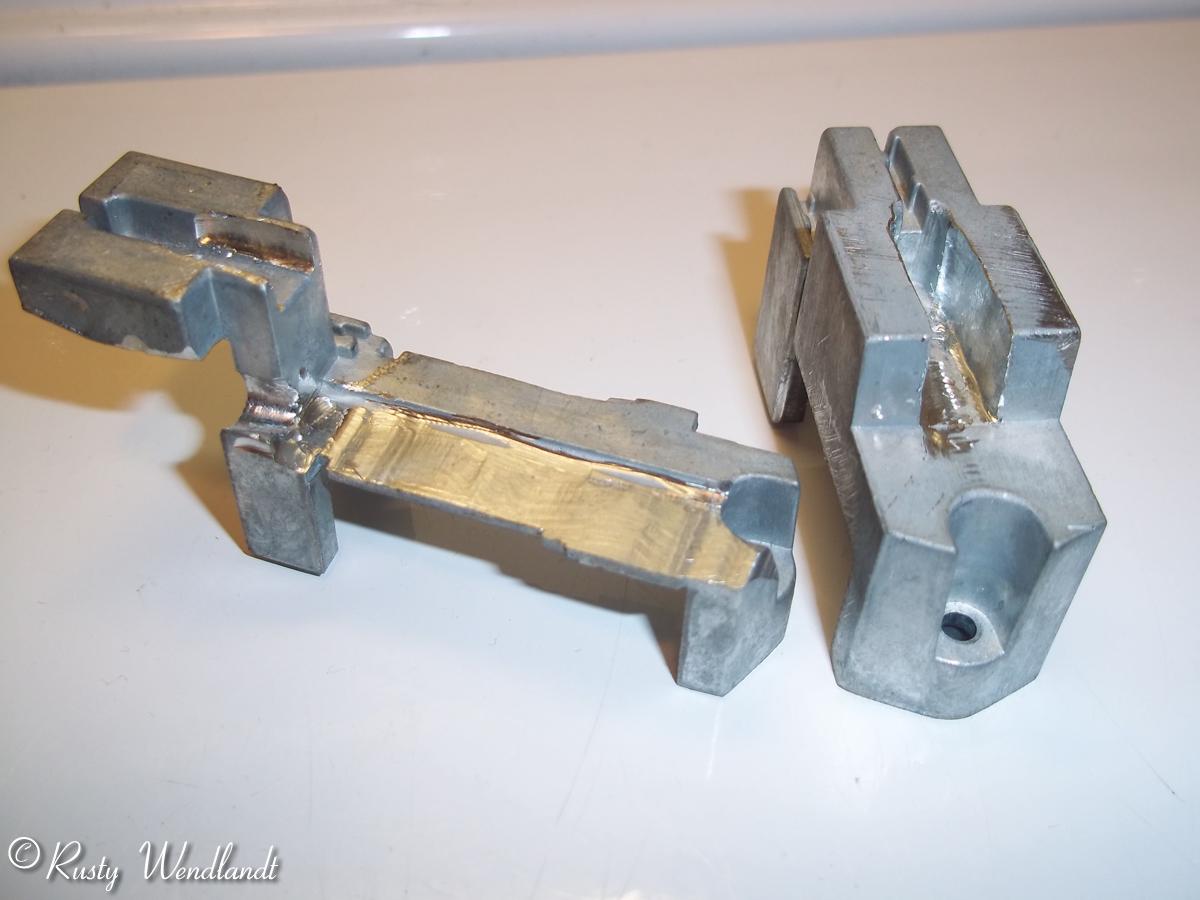
The fuel tank that Atlas used isn't close to the prototype. The fuel tank needs four scale feet removed from the rear. Using a miter box cut the rear of the tank off and remove four feet from the tank. When that is removed make sure the ends are straight. Fit the rear back on the tank. Glue the rear on the tank itself. The frame will also have to the same amount of material removed. The motor and trucks will have to be removed from the frame. I used a die grinder to remove the material but a milling machine would be best. The problem with making the tank the right length is the screw holes for the motor don't allow just removing all the material from the rear end. Some will have to be taken off the front also. So the fuel tank will sit back a few inches further back than it should but the catch 22 is the fuel tank would be to long if that wasn't done. Paint the milled metal black just to make sure none of the shiny metal shows. Once the fuel tank fits snugly the air reservoirs will have to be reinstalled. They should be glued on because the second mounting tab was cut off for the shorter tank. Spray the tank with gloss cote. For the red and white safety strips use decals for semi-trailers (I used decals form a Lonestar trailer but Microscale makes them as well). Dulcote the decals to seal them. Cut the molded air lines from the reservoirs and drill holes for .015" brass wire. Install the air filers on the frame. Glue the wires on the small filter in place. Then glue the wires in the air reservoirs (don't glue the wire from the reservoir to the large filter or you won't be able to remove the fuel tank) and the large filter. Paint the wires and filters. Drill the holes for the step lights that shine down on the trucks. Paint and install the lights. Before installing the trucks and motor; weather the underside of the chassis and the trucks. I painted the faces of the wheels railroad tie brown. Reinstall the motor and the trucks.
 |
 |
 |
 |
 |
 |
 |
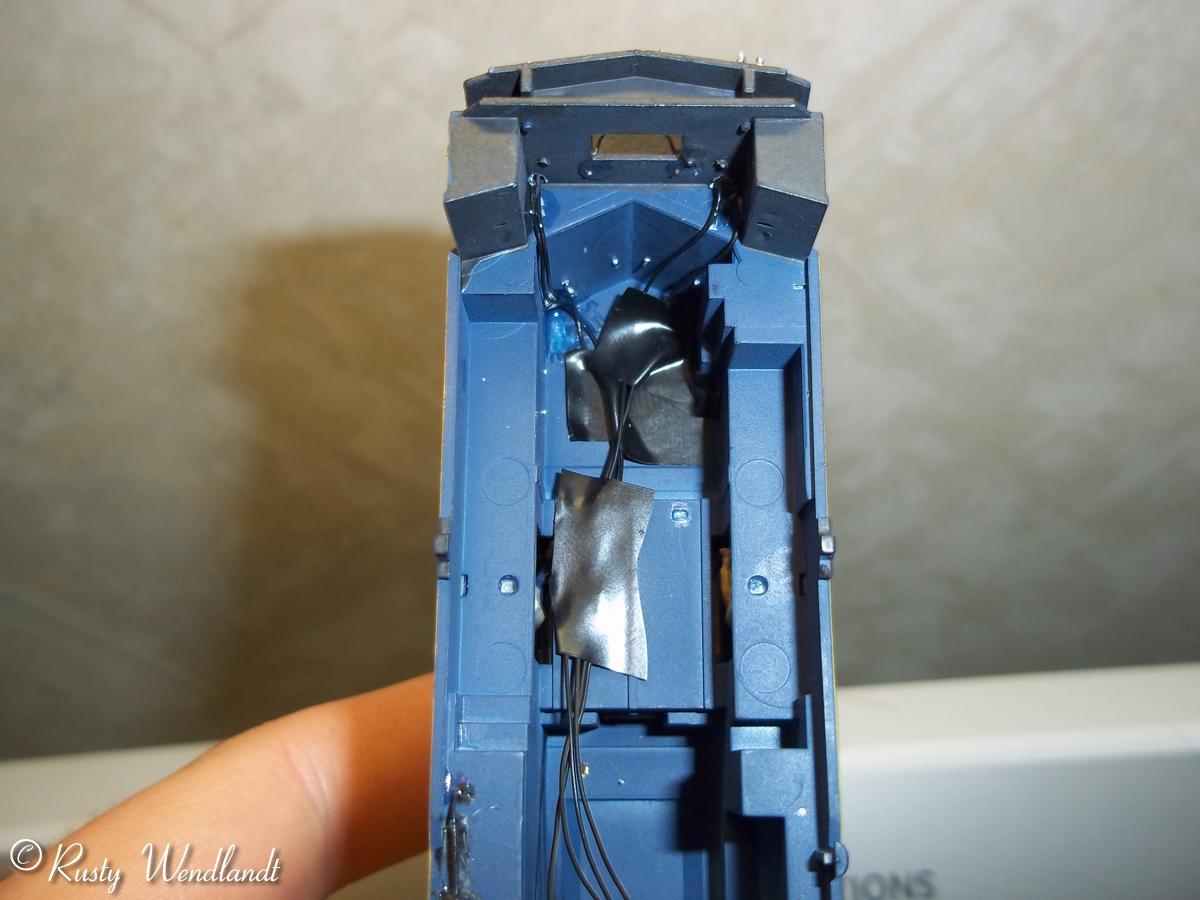
At this point a decoder can be installed along with wiring the ditch lights. There isn't a lot of room left when a sound decoder is installed. When reassembling the body use Kadee #58 couplers with the trip pins removed and a light coat of rust paint on them.
 |
 |
 |
 |
 |
This may seem like a lot of work but when it is complete you will have an outstanding model. This is the first major locomotive build I have done. Just take your time and do as much or as little as you would like.
 |
 |
 |
 |
 |
DETAIL PARTS - all parts are Walthers part numbers
DA- Detail Associates
DW- Details West
CAL- Cal-scale
Thanks to Ben Greuel for all the help!