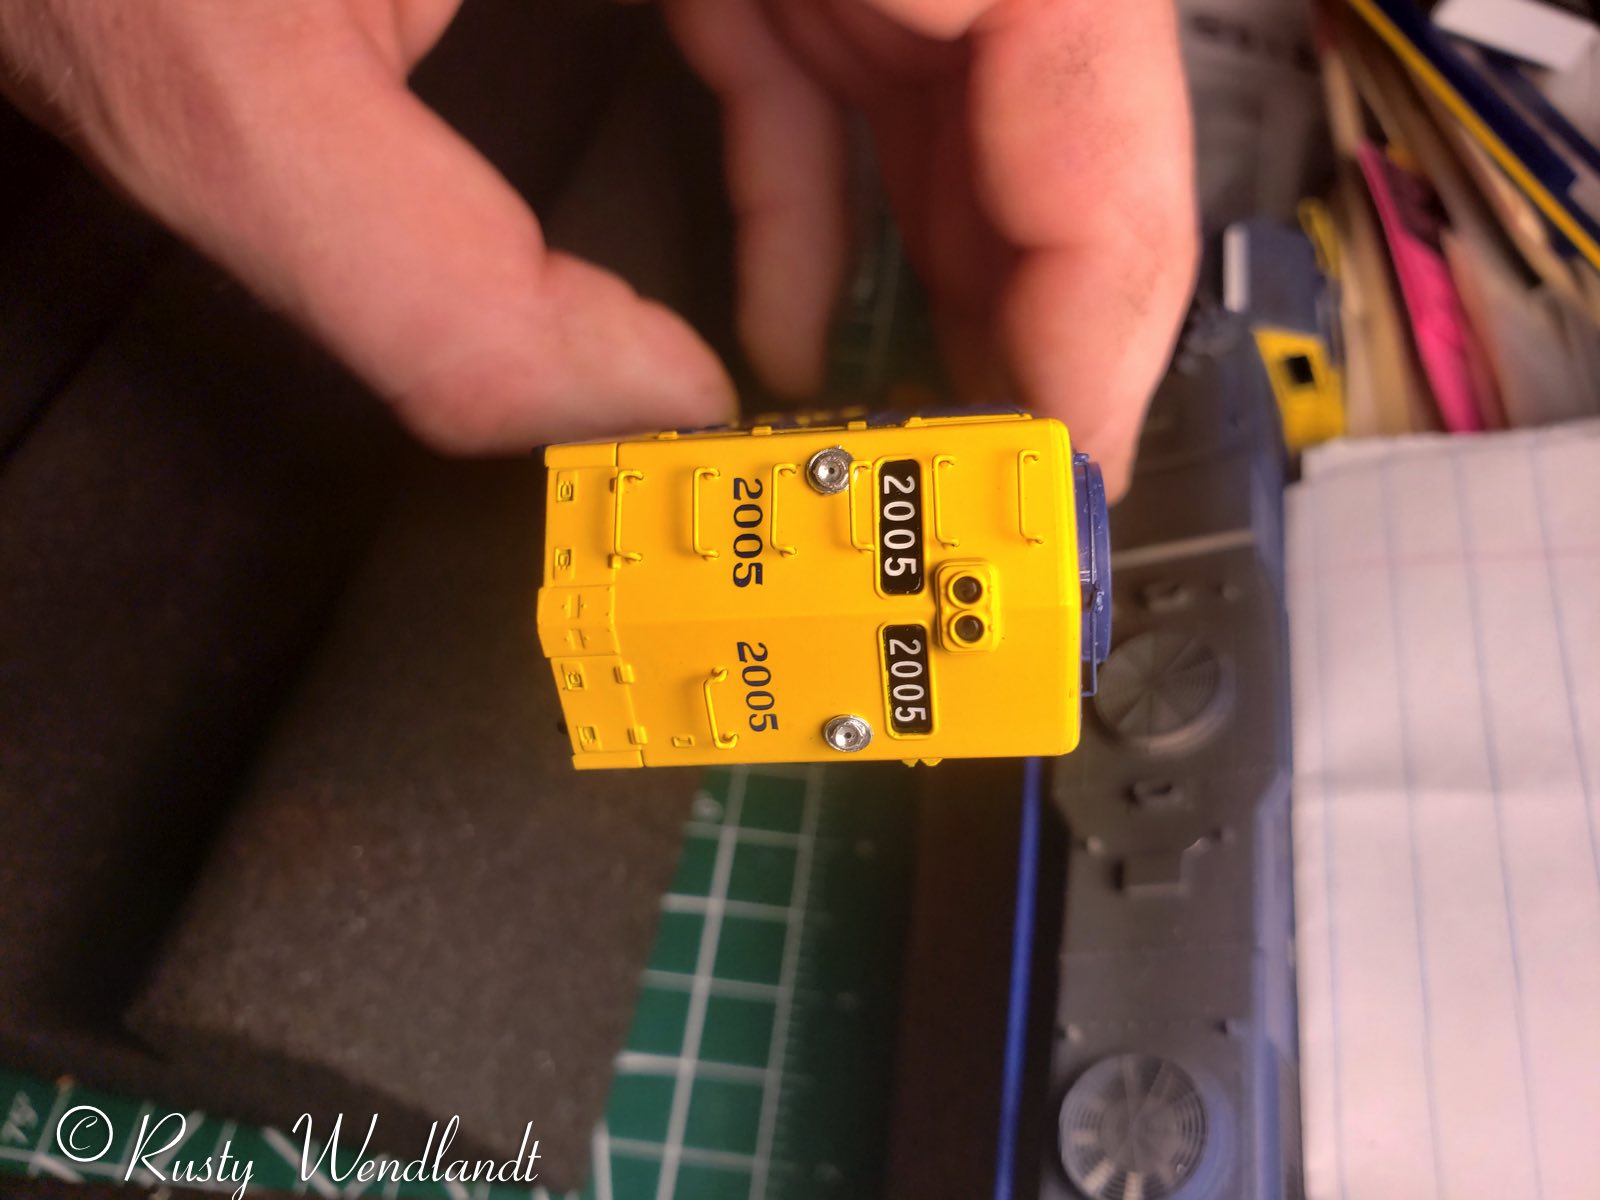
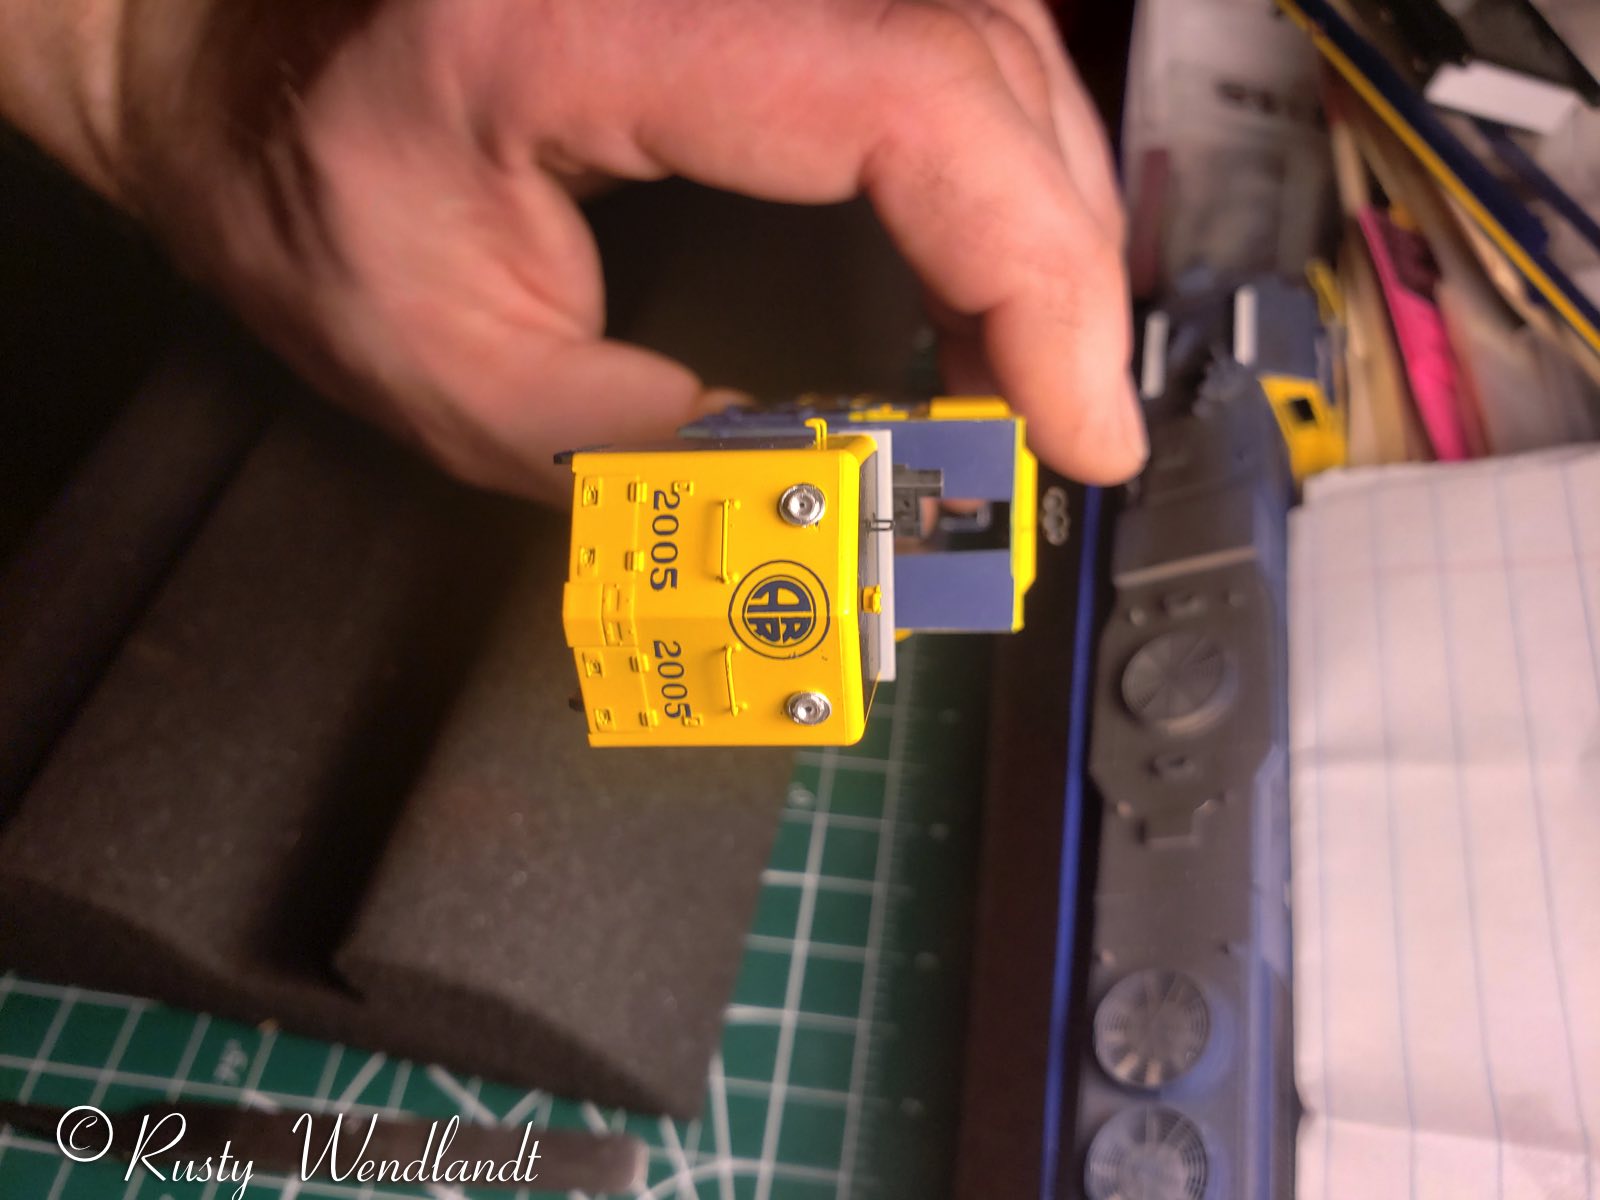

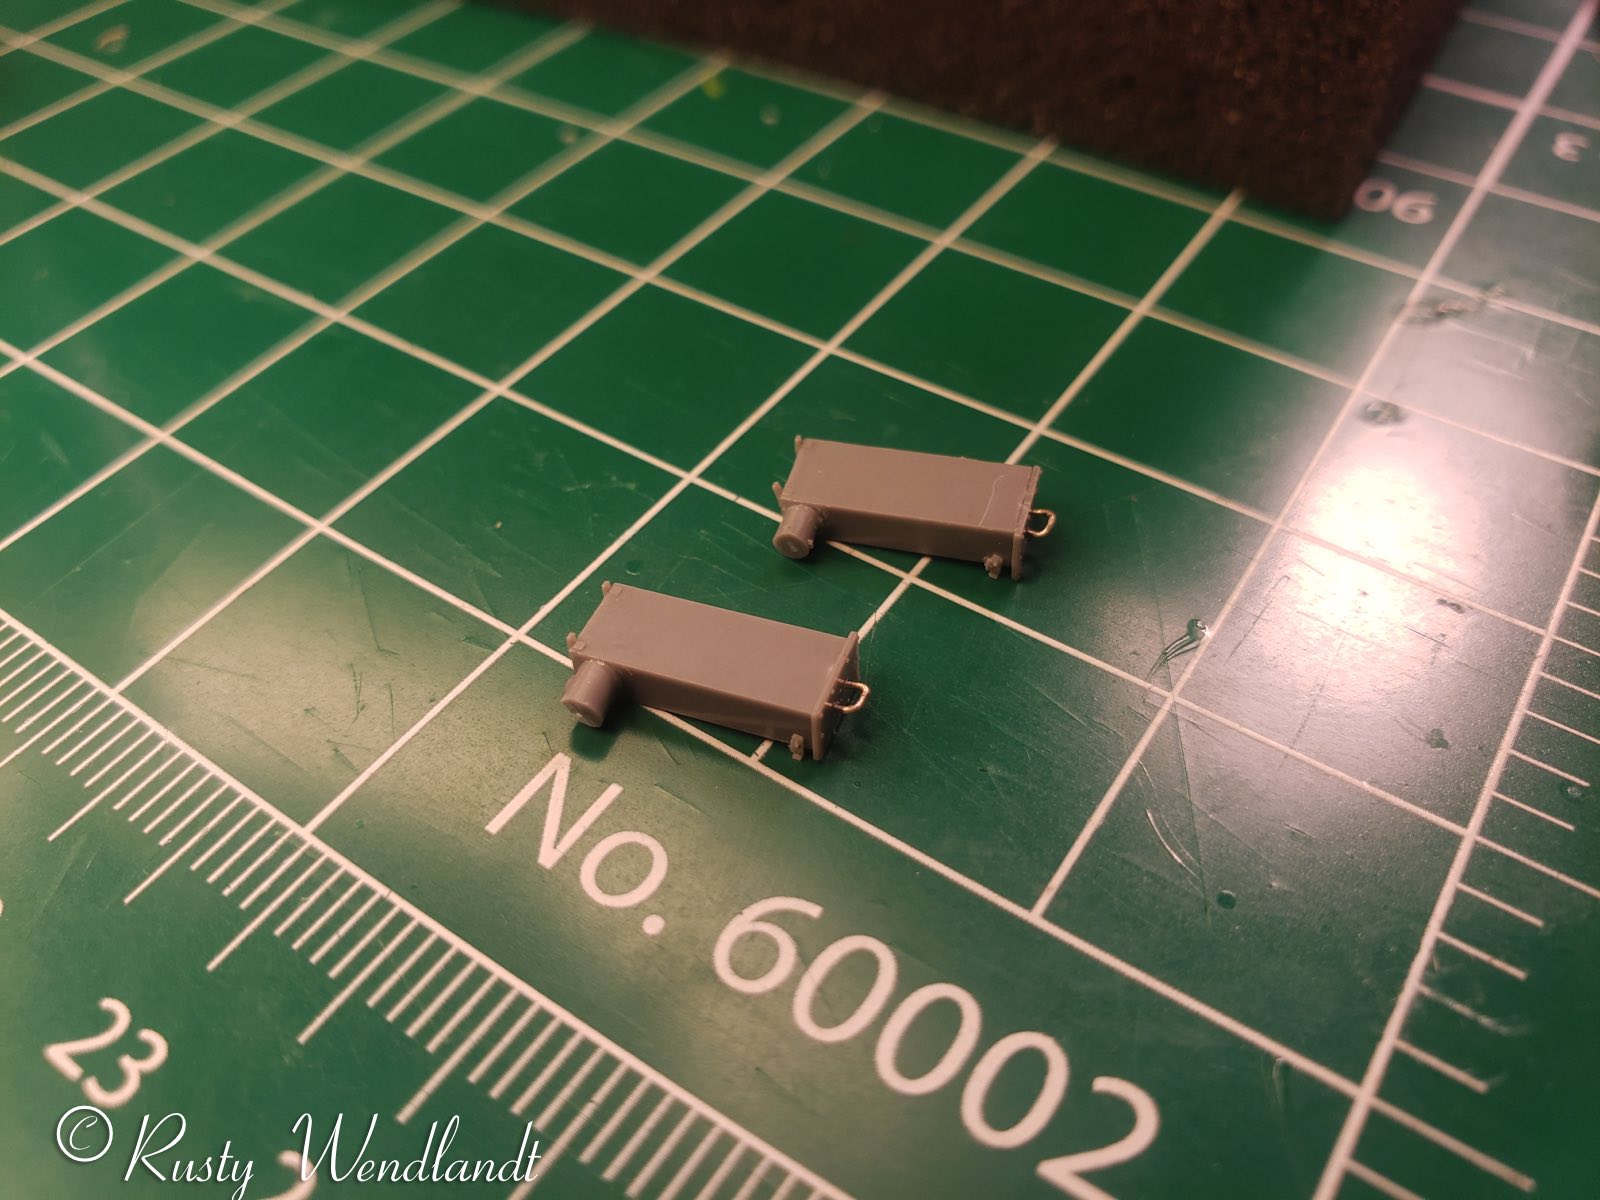
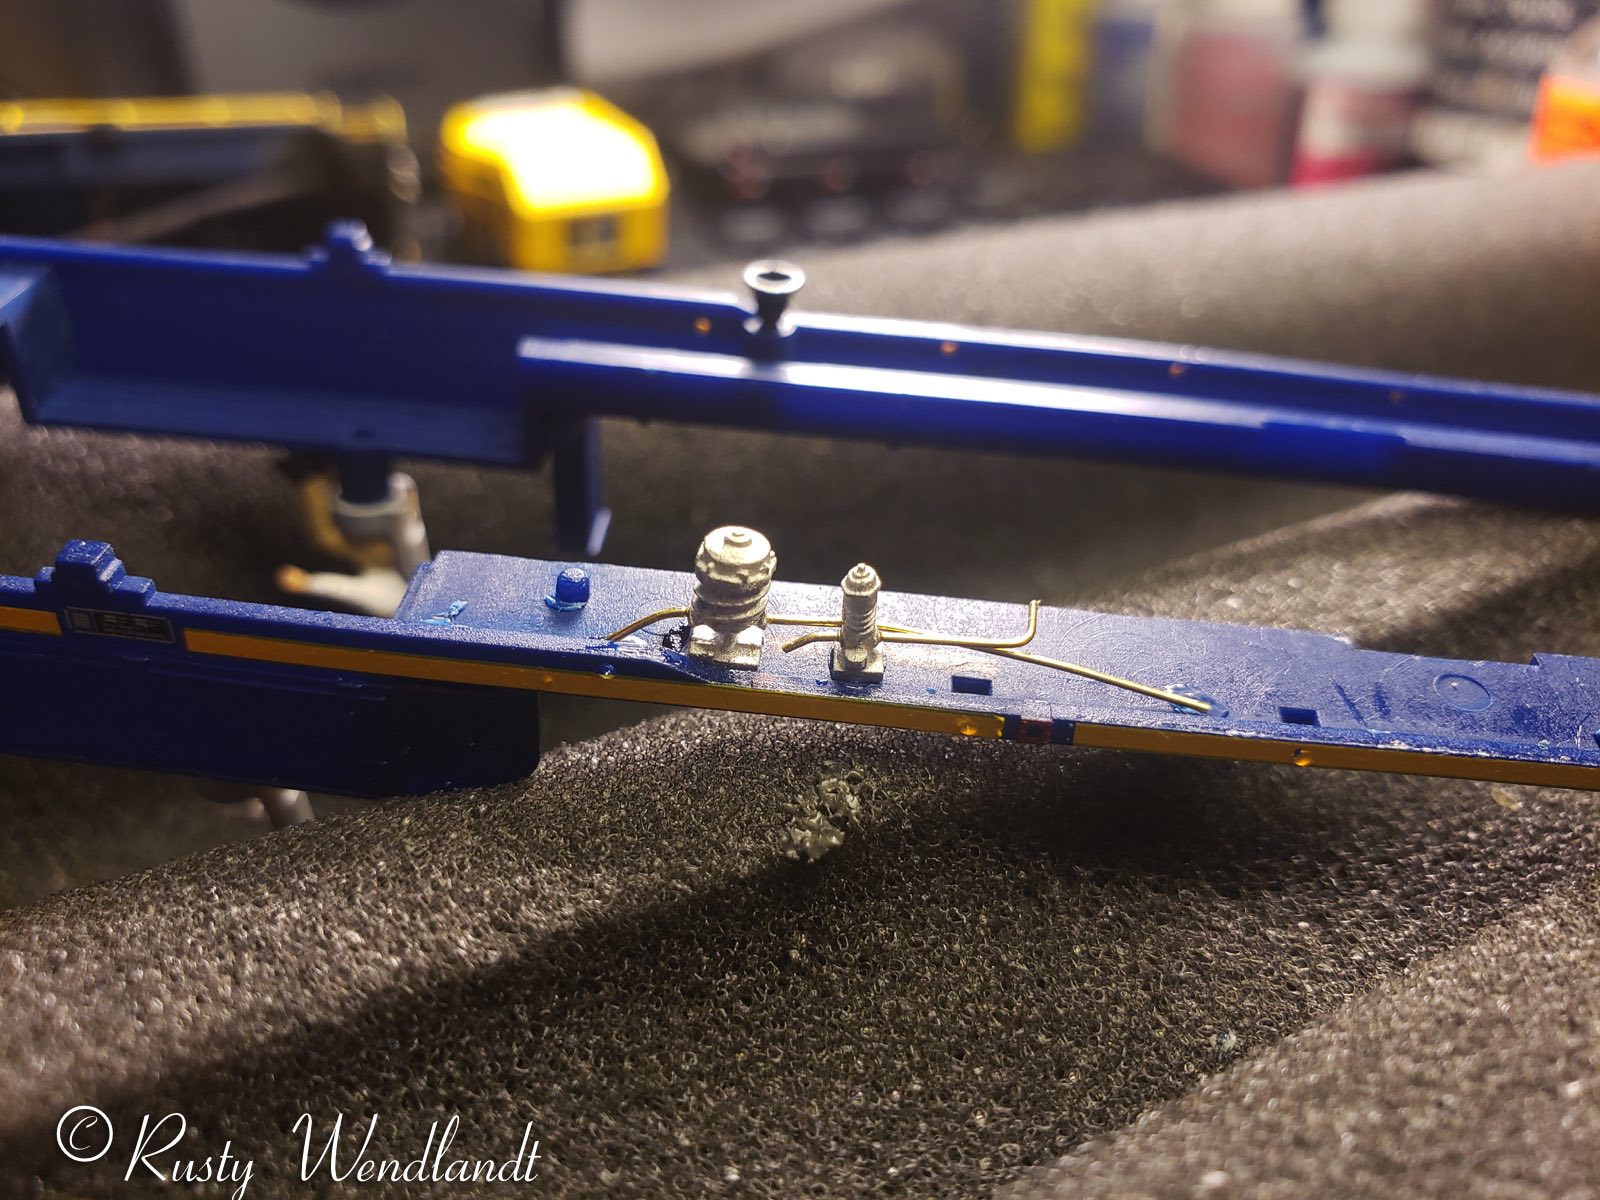
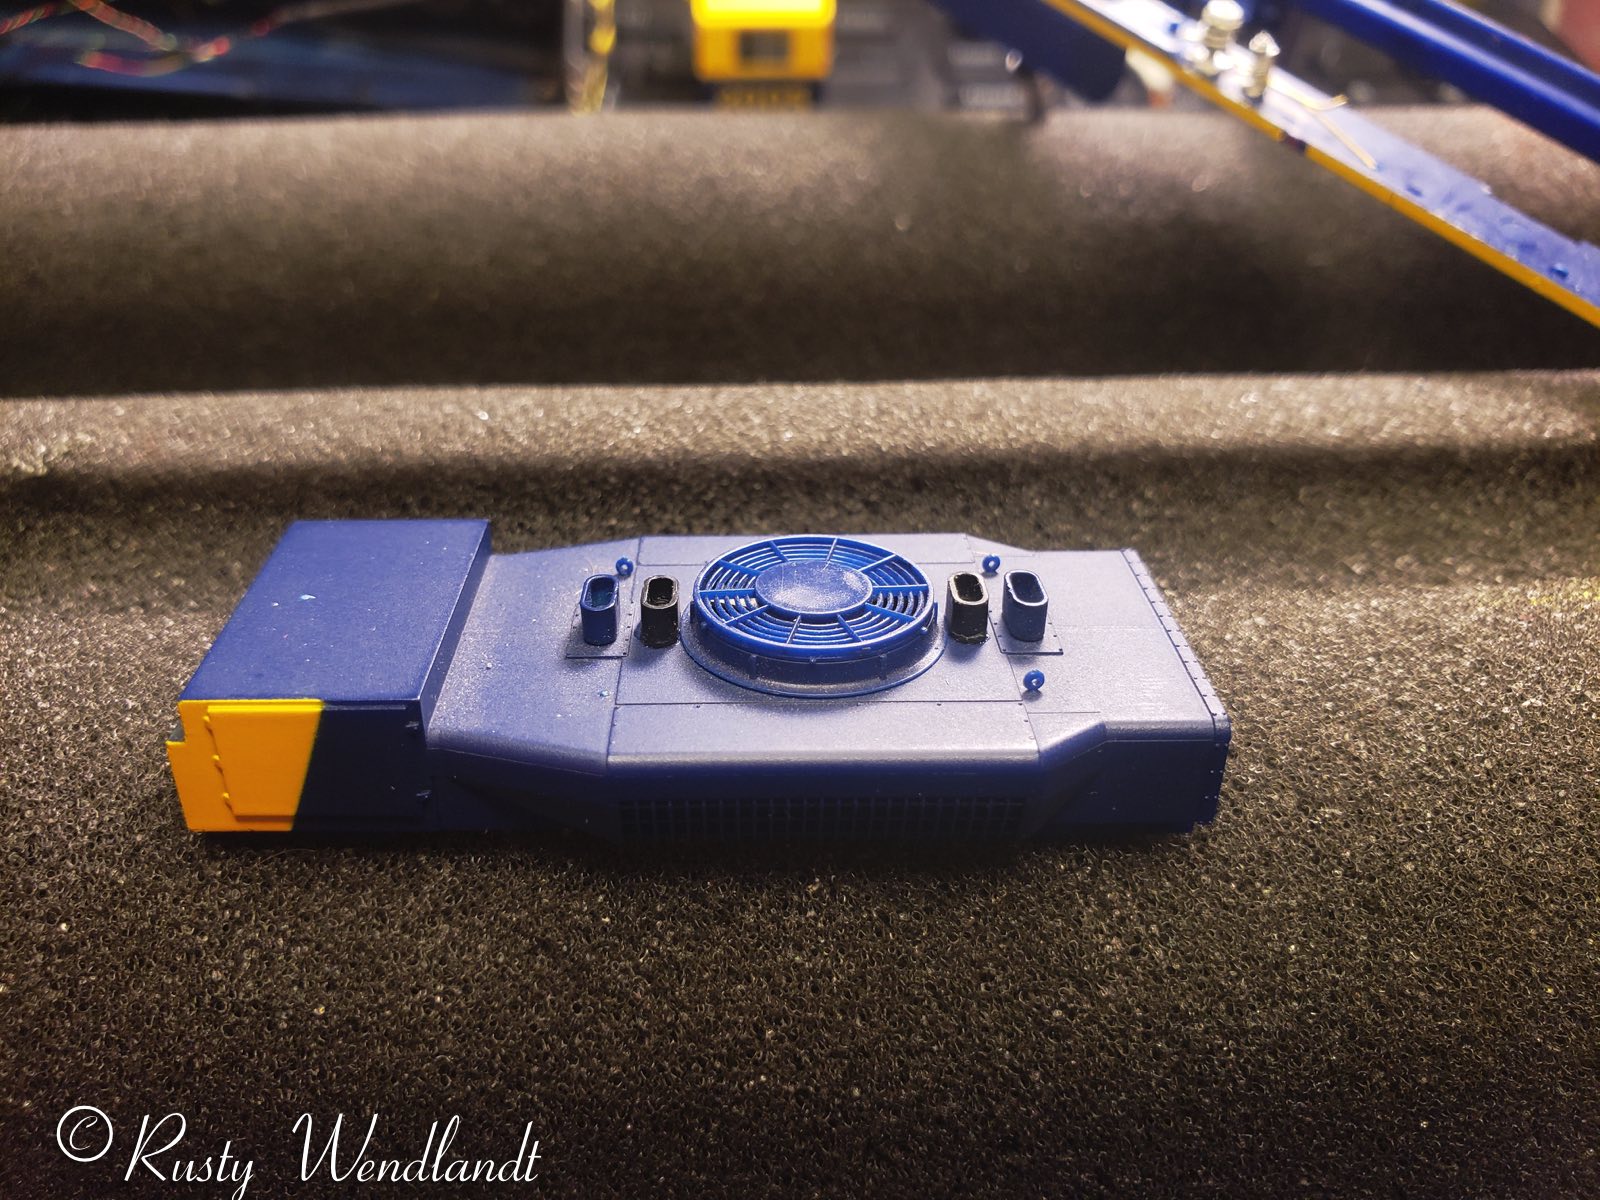

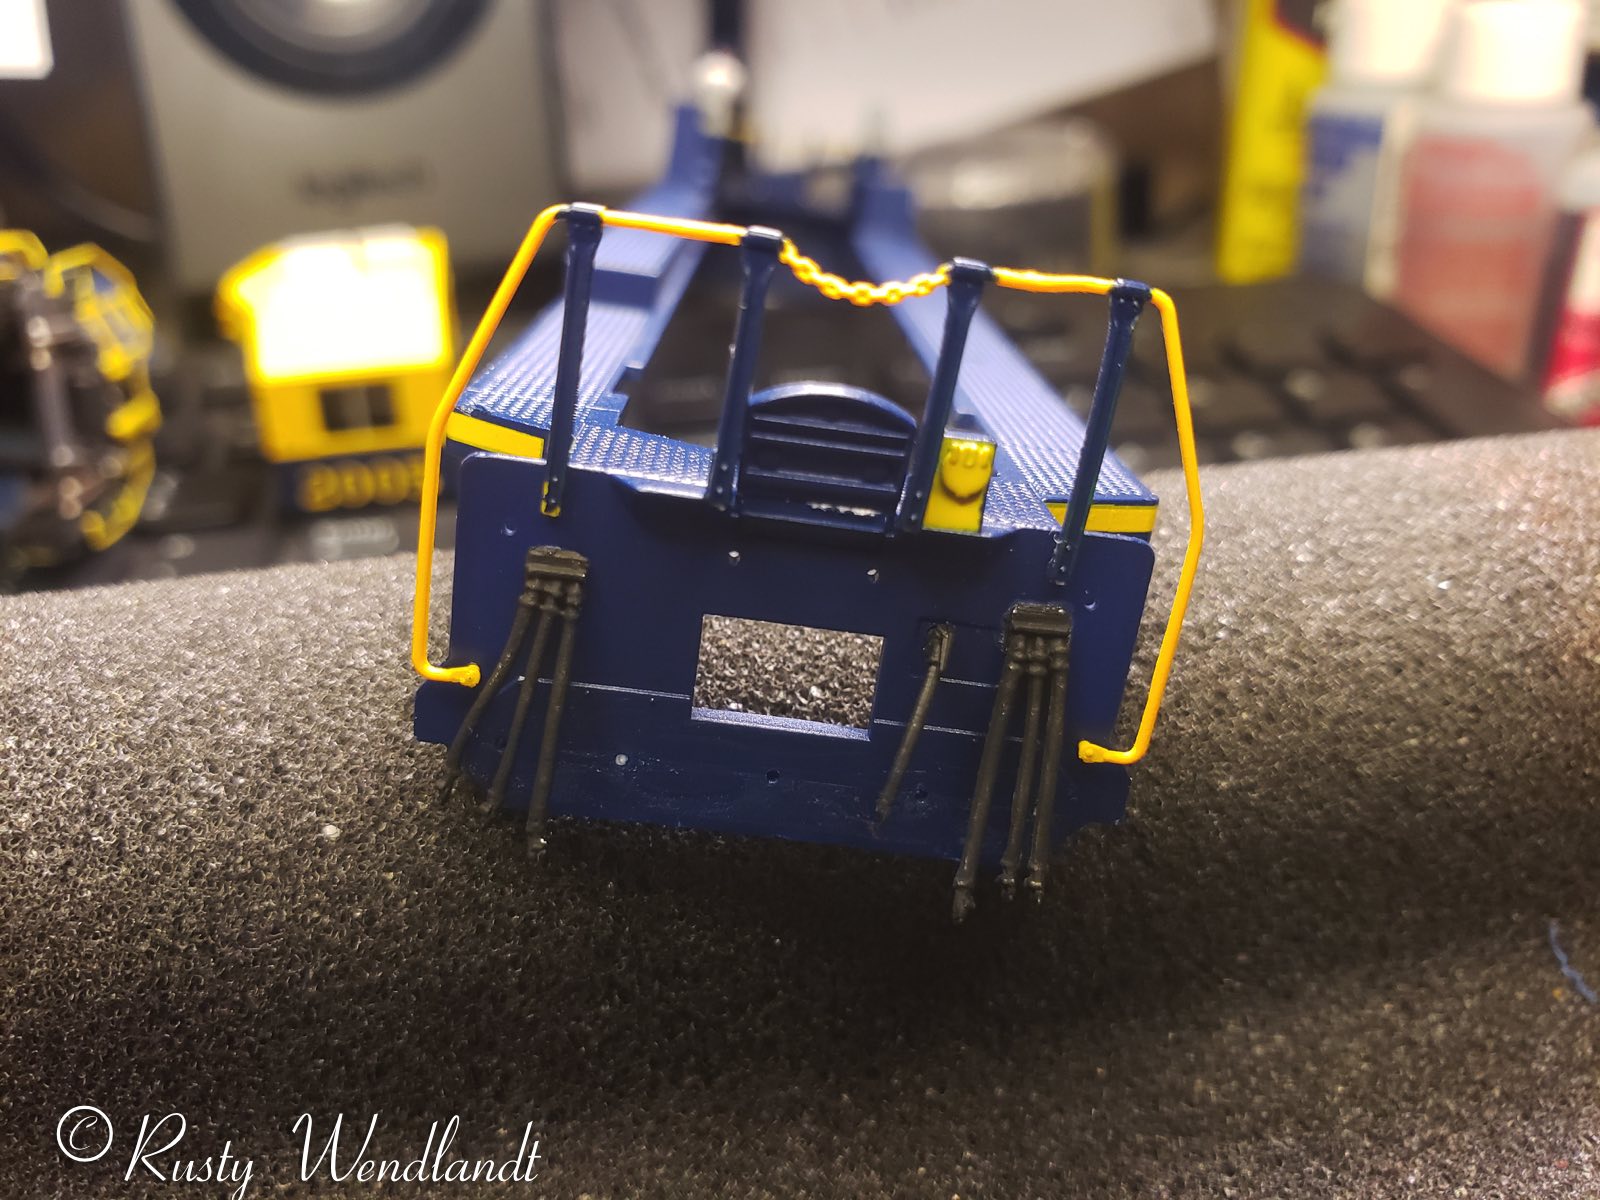
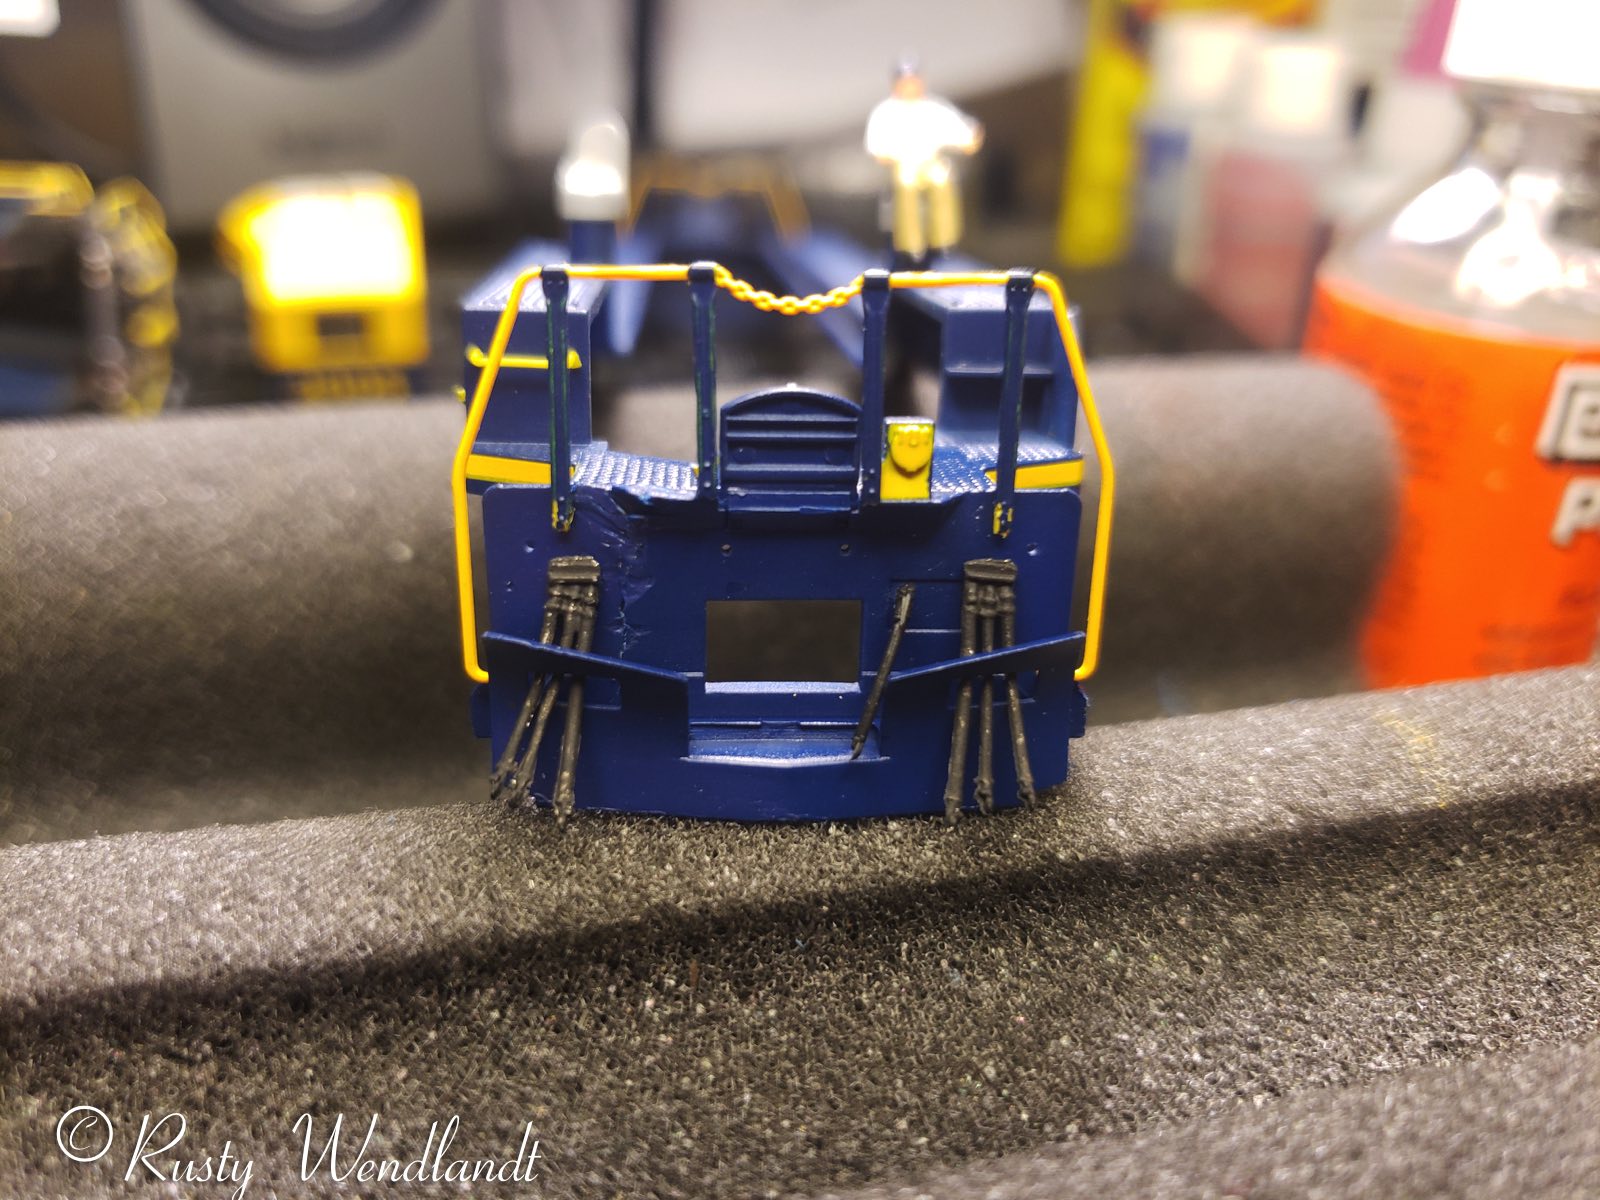
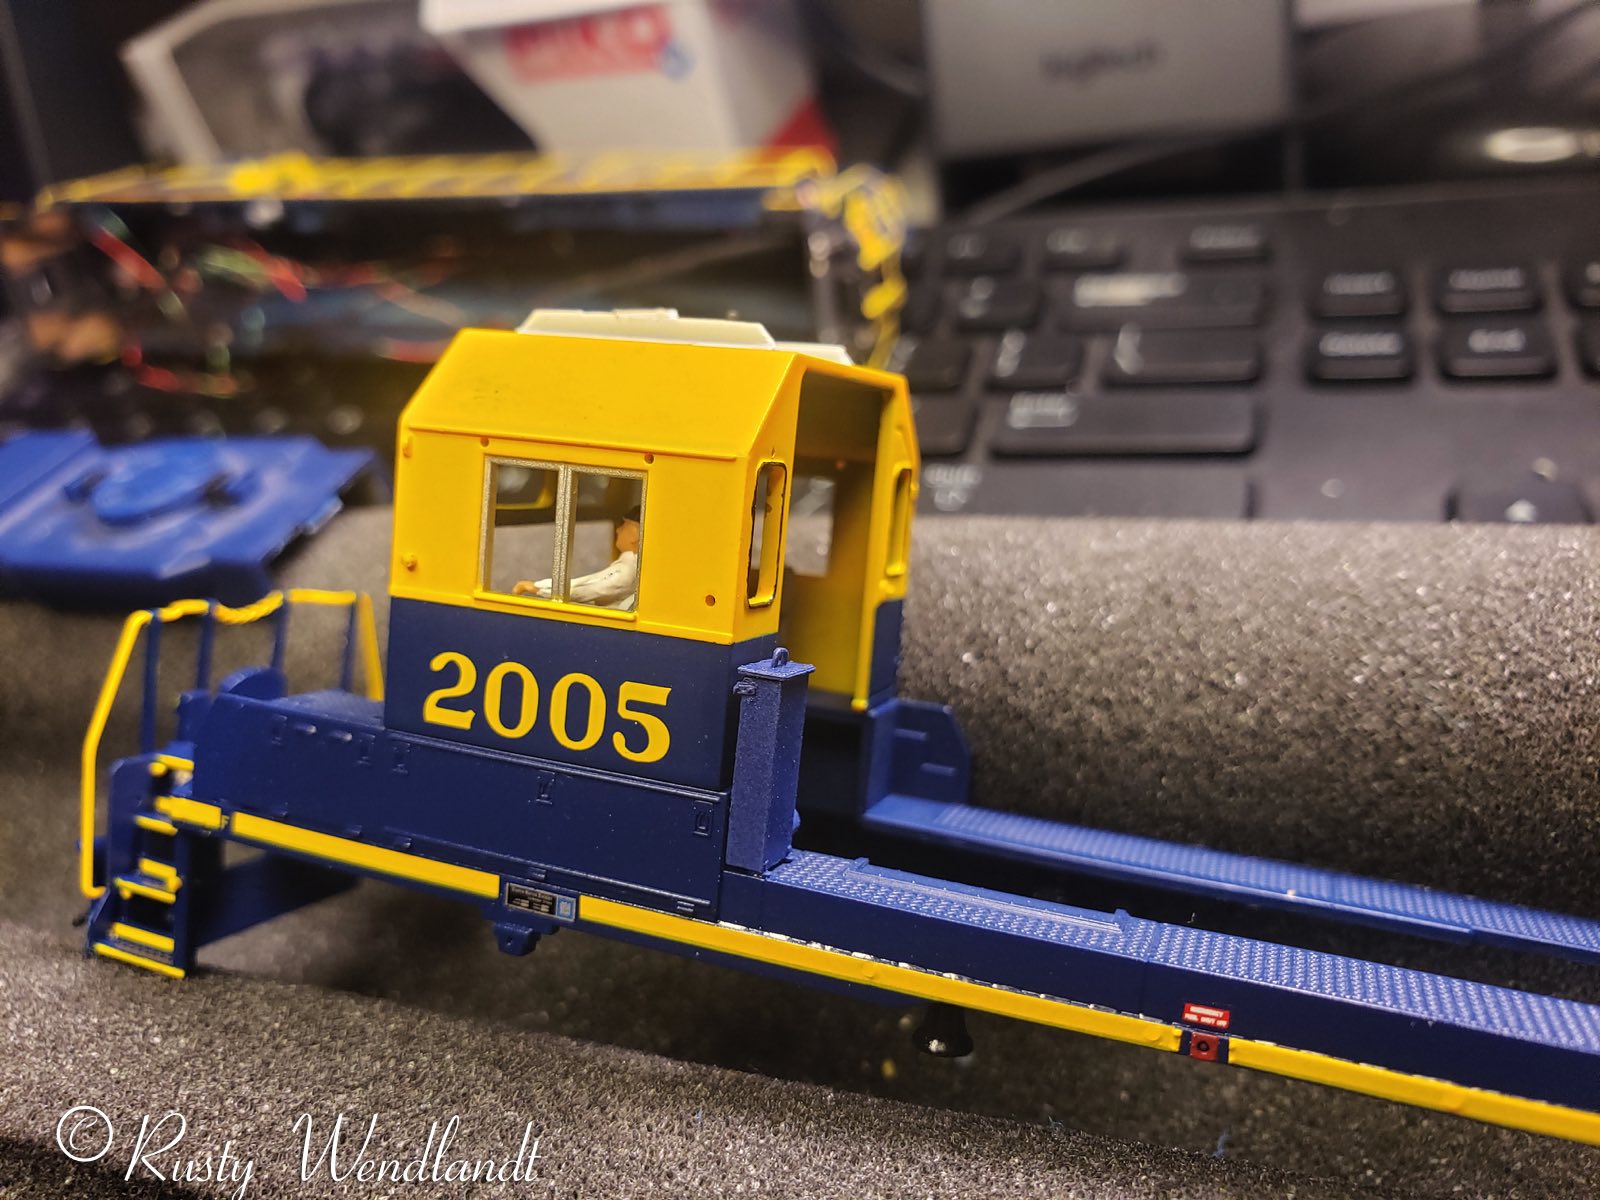
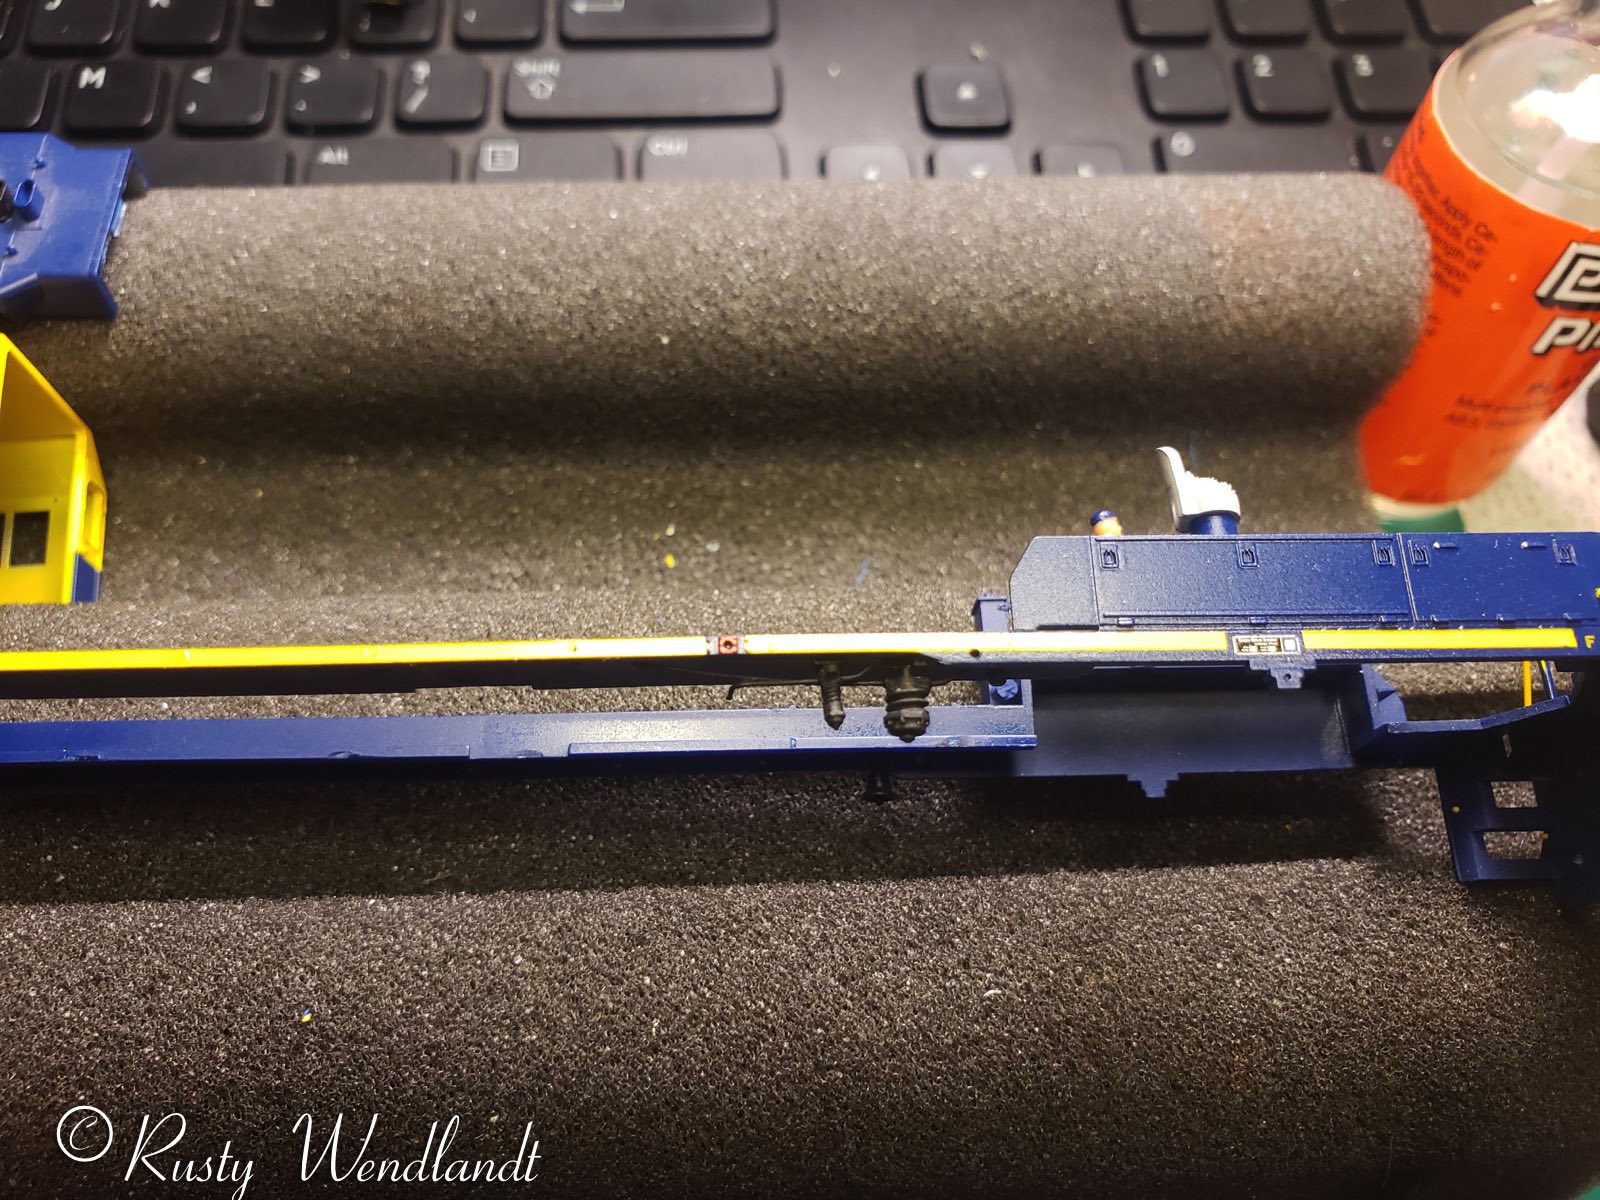
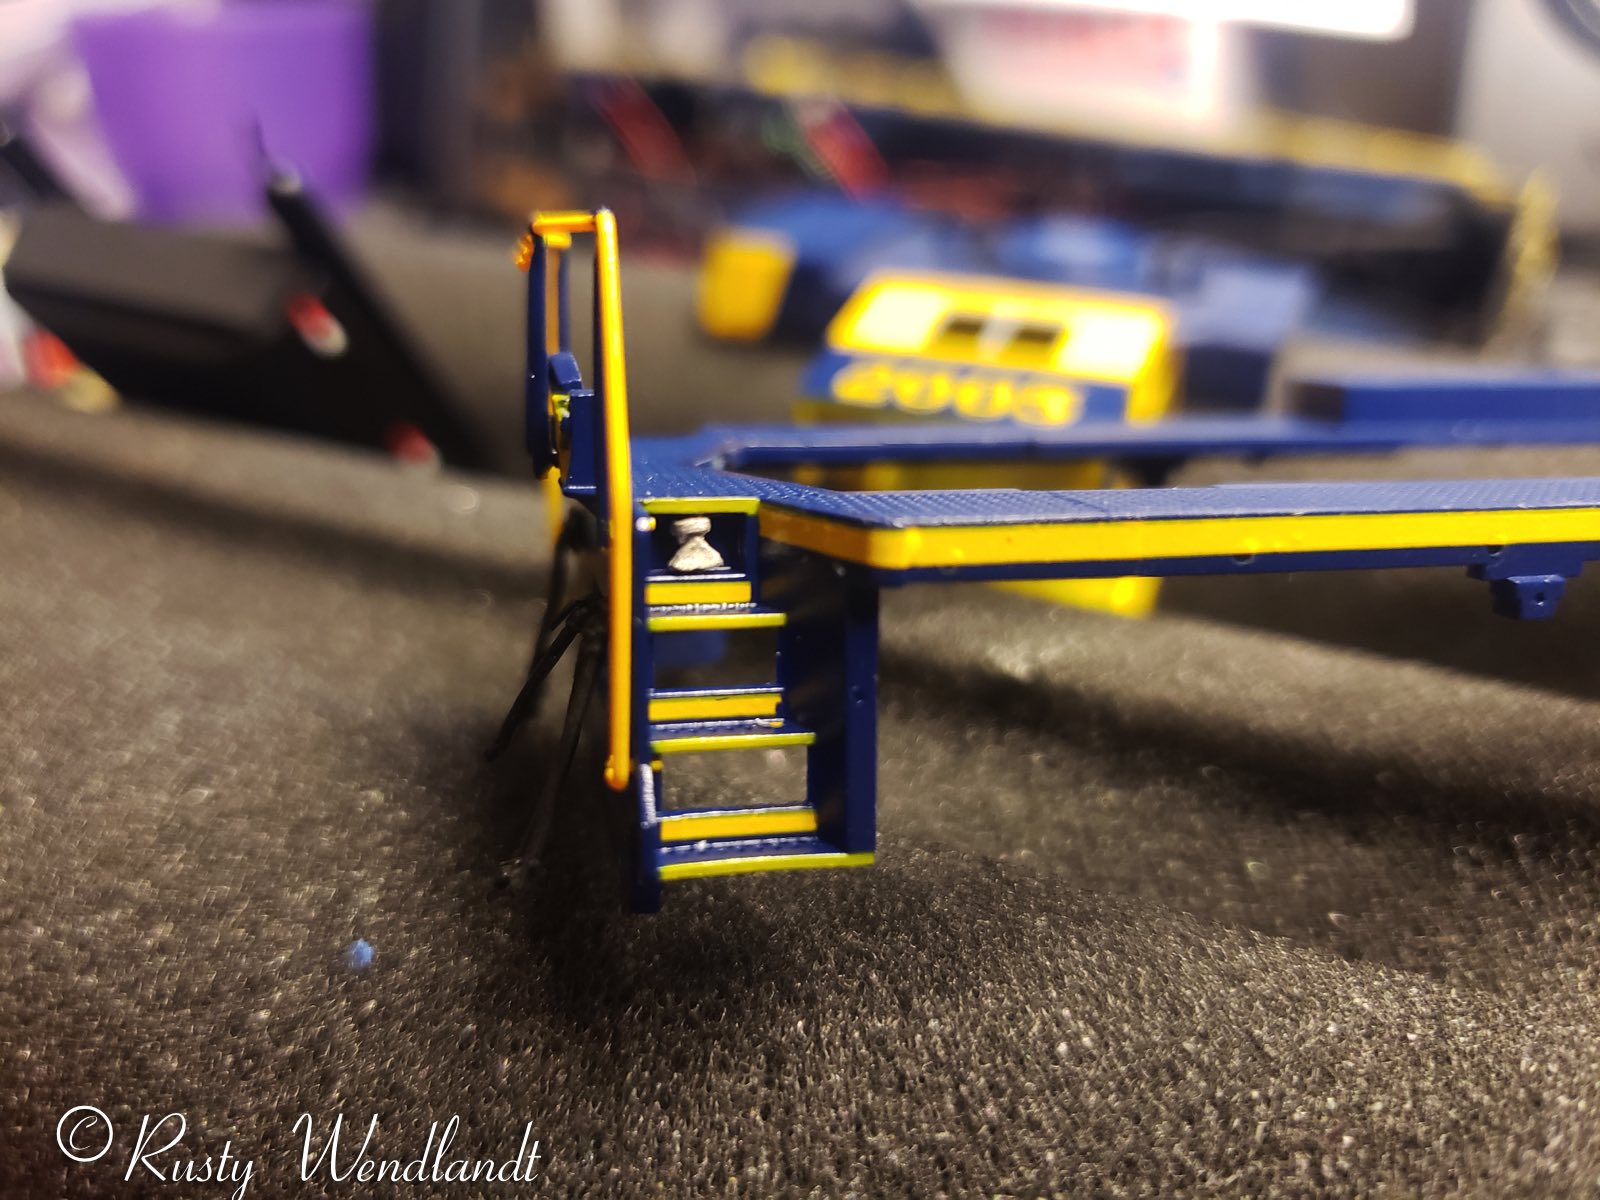
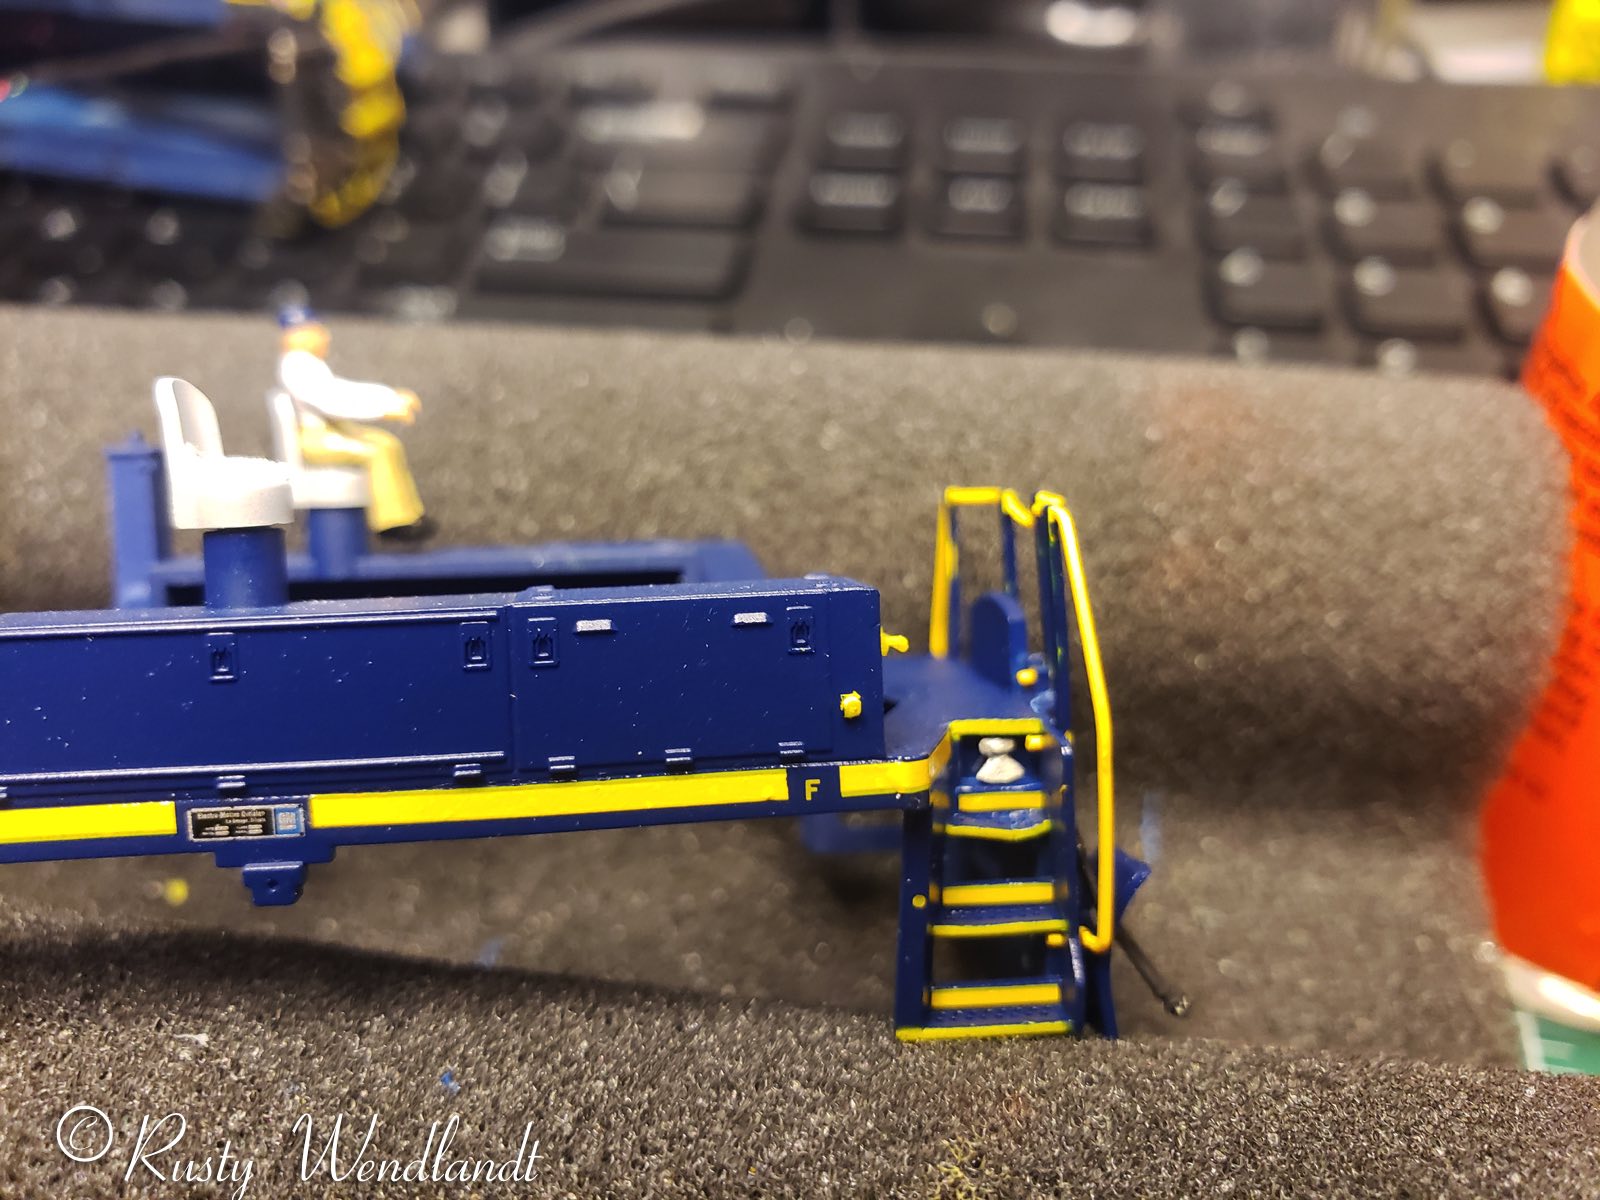
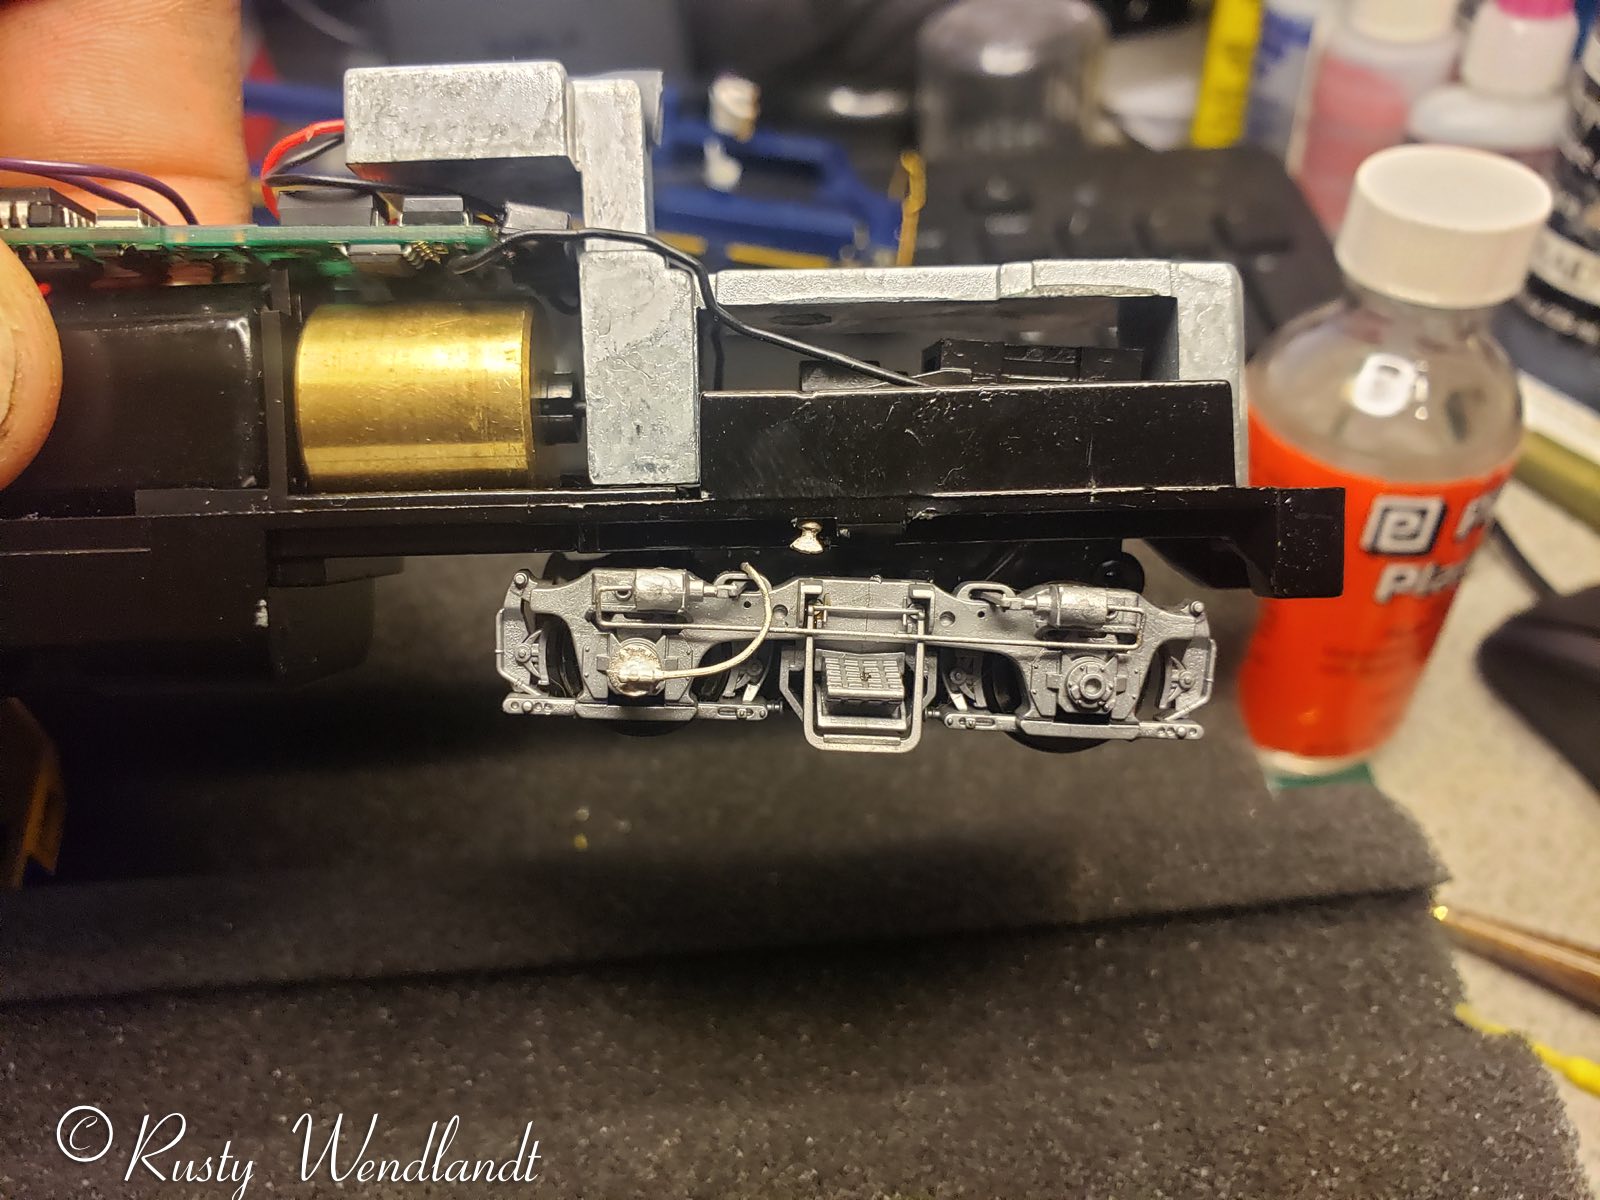
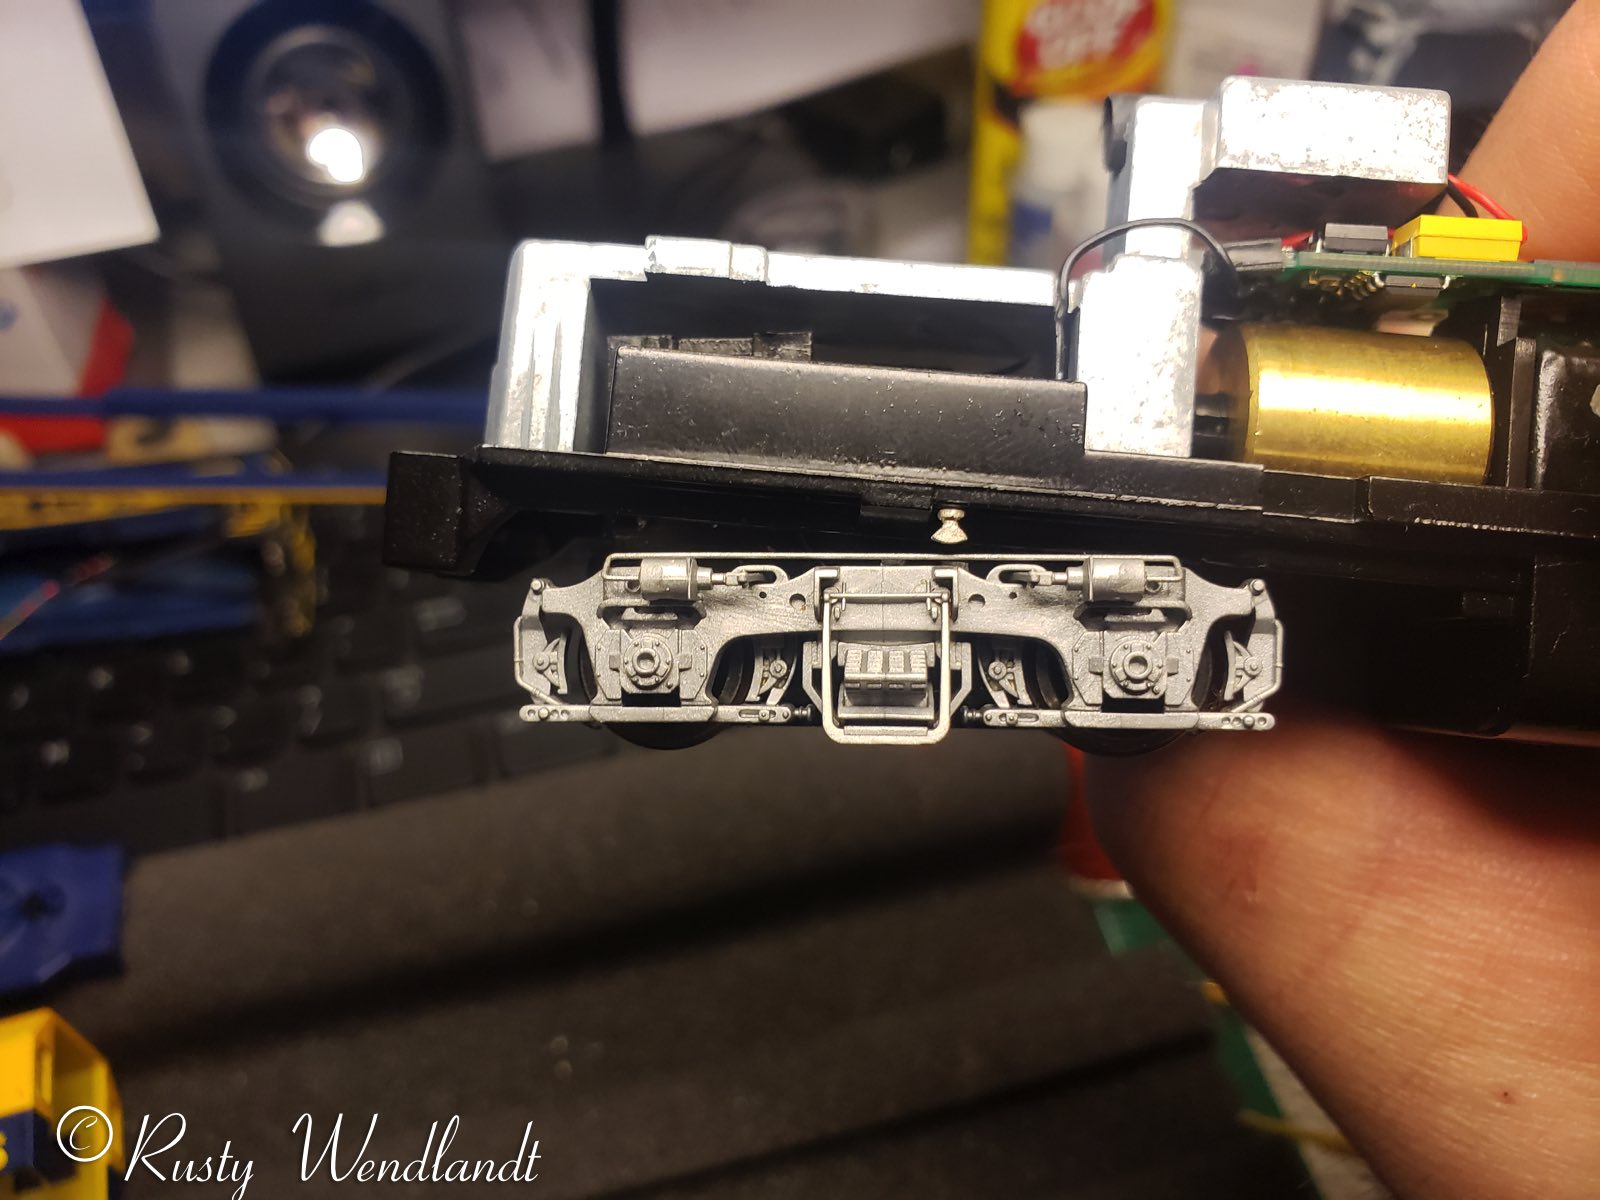
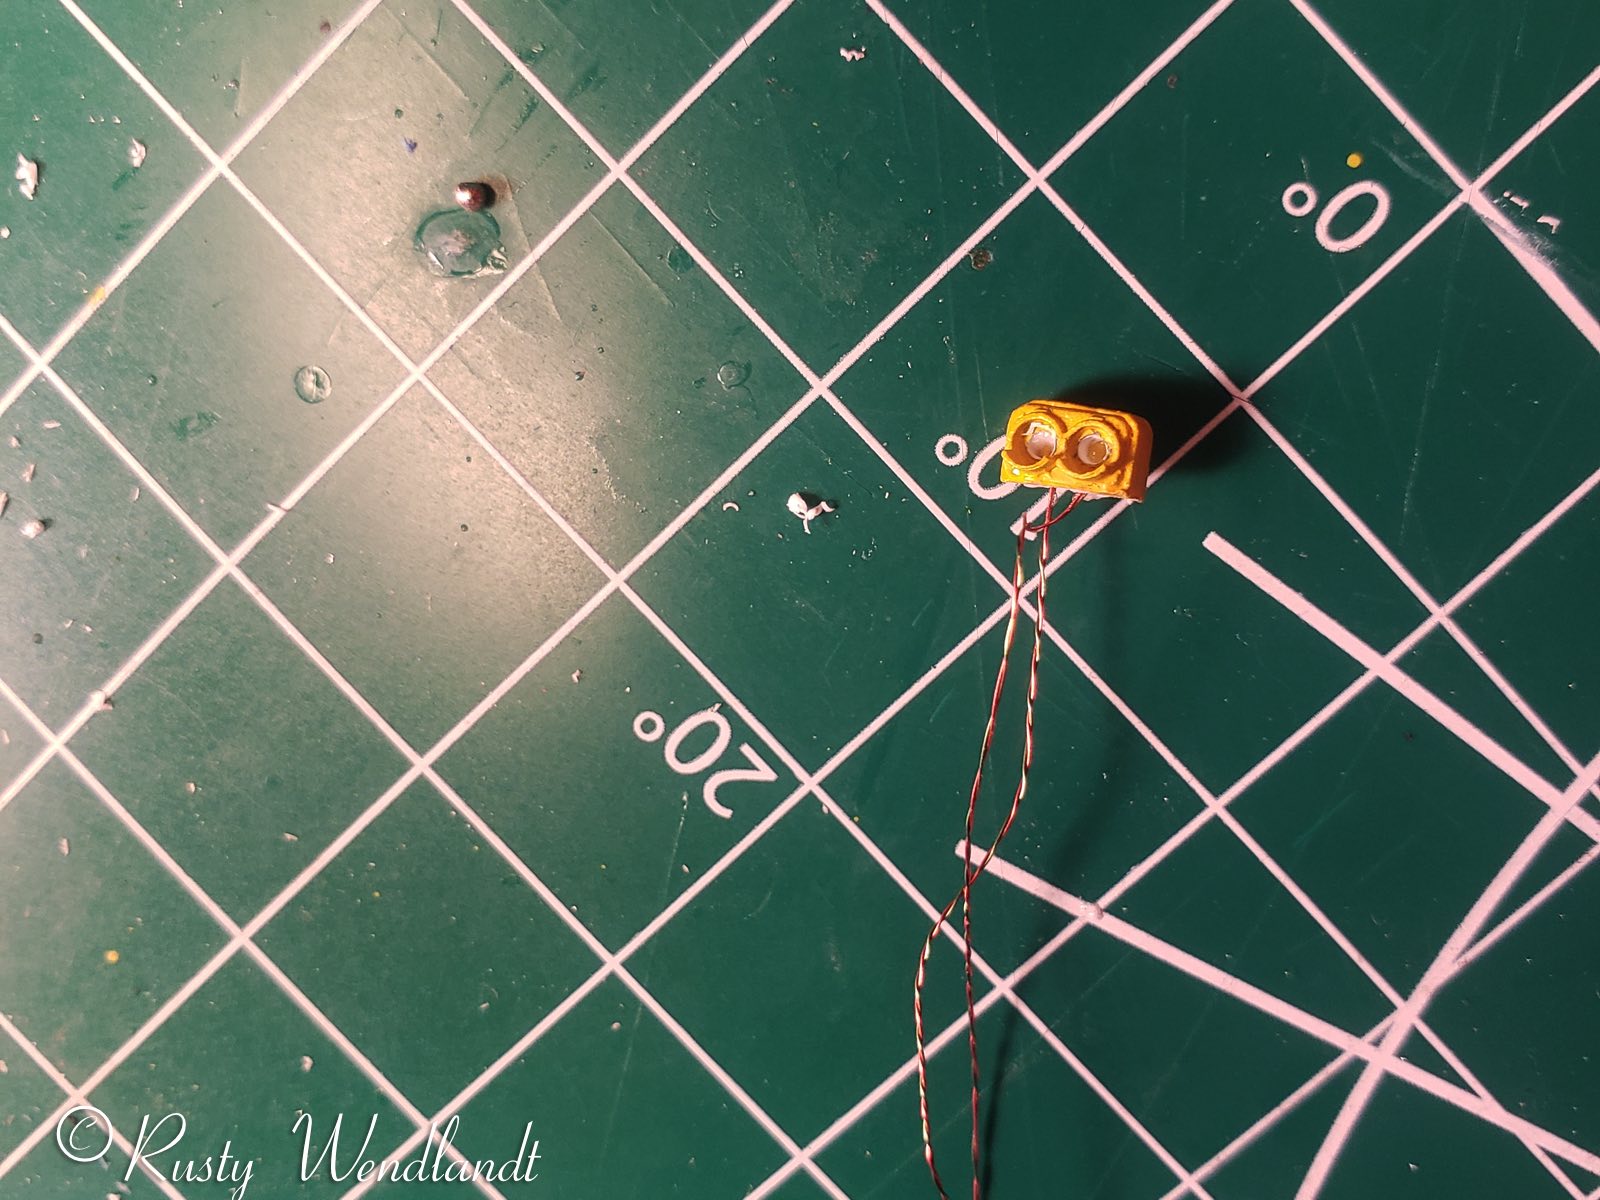
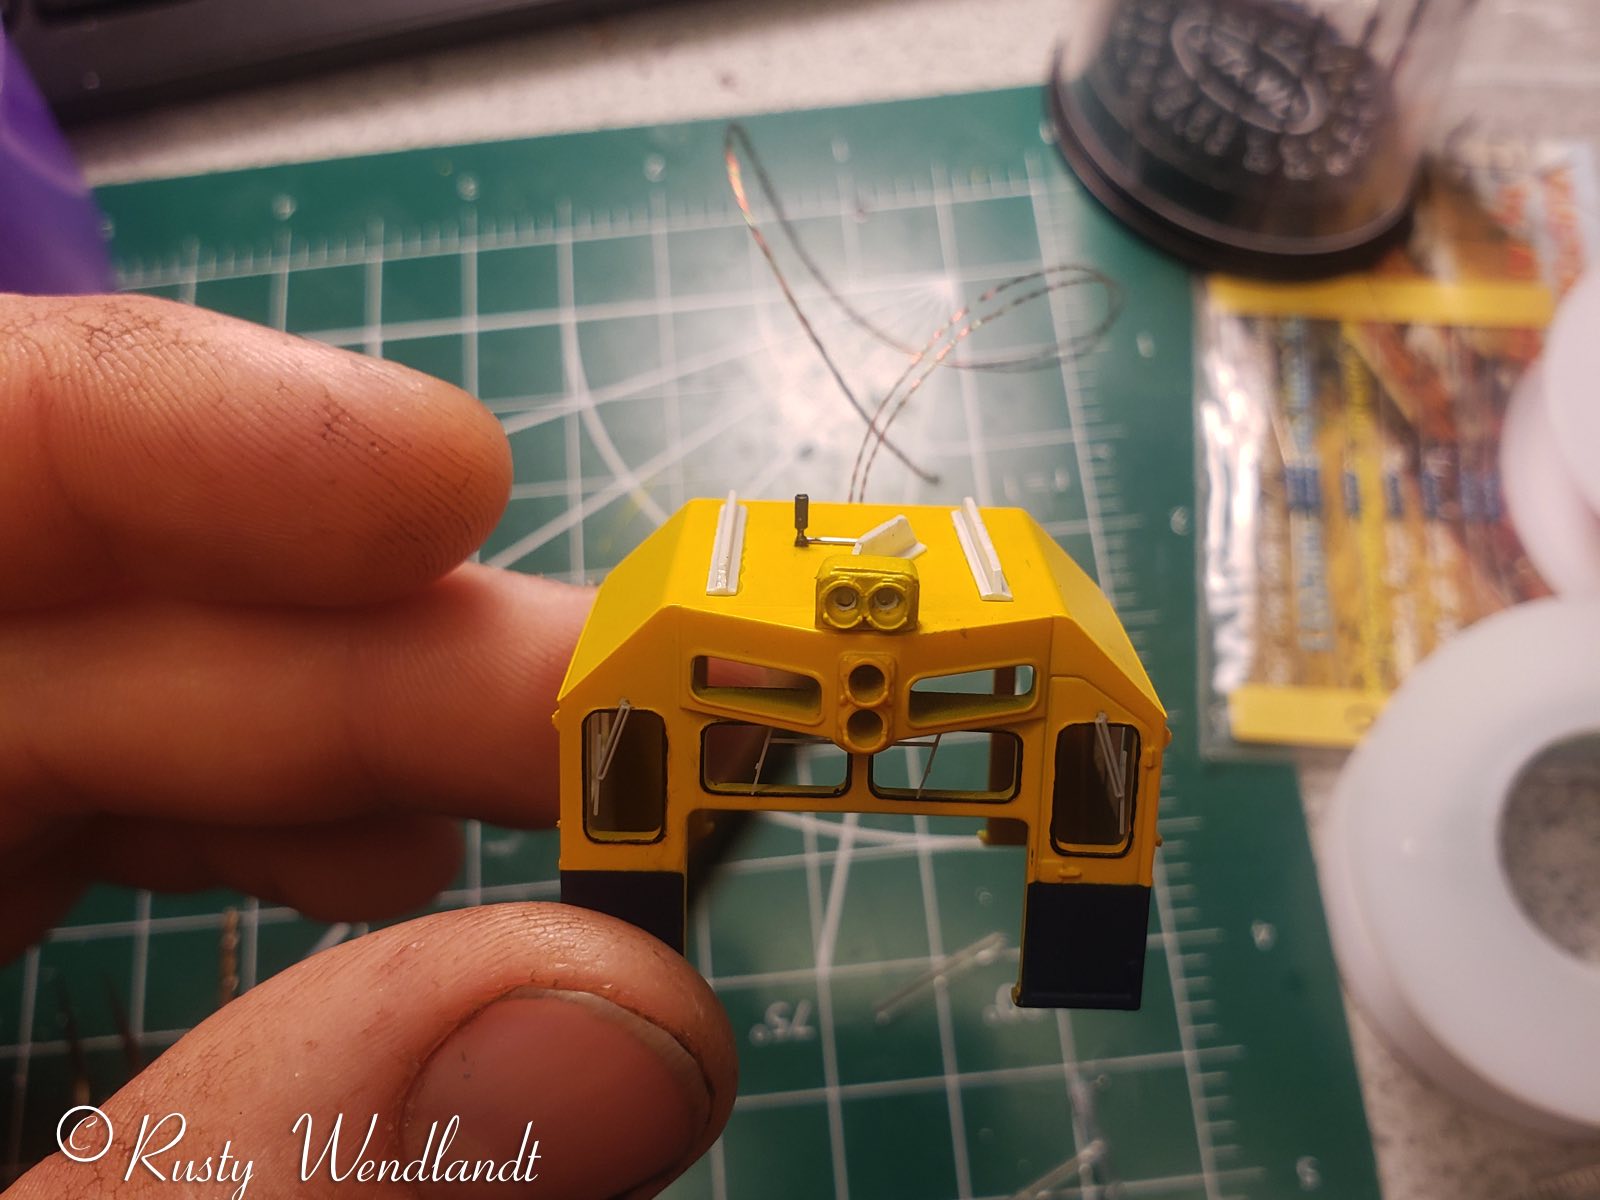
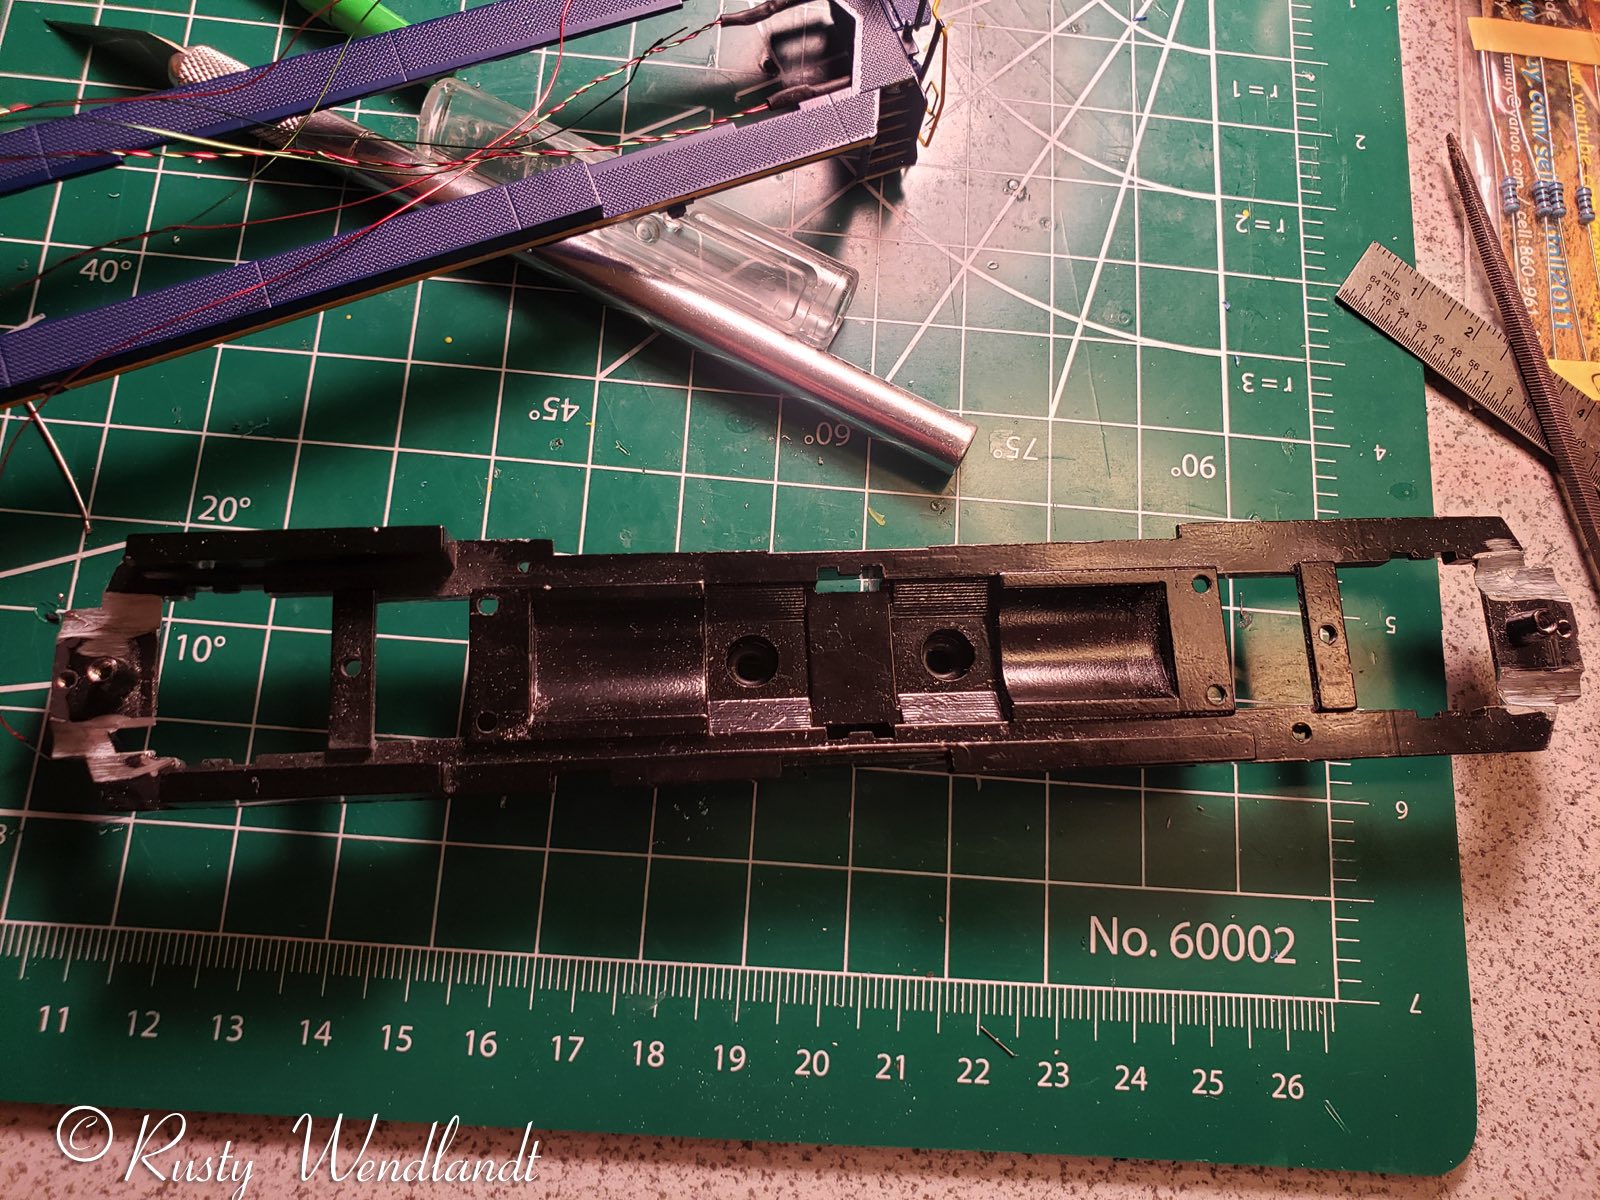
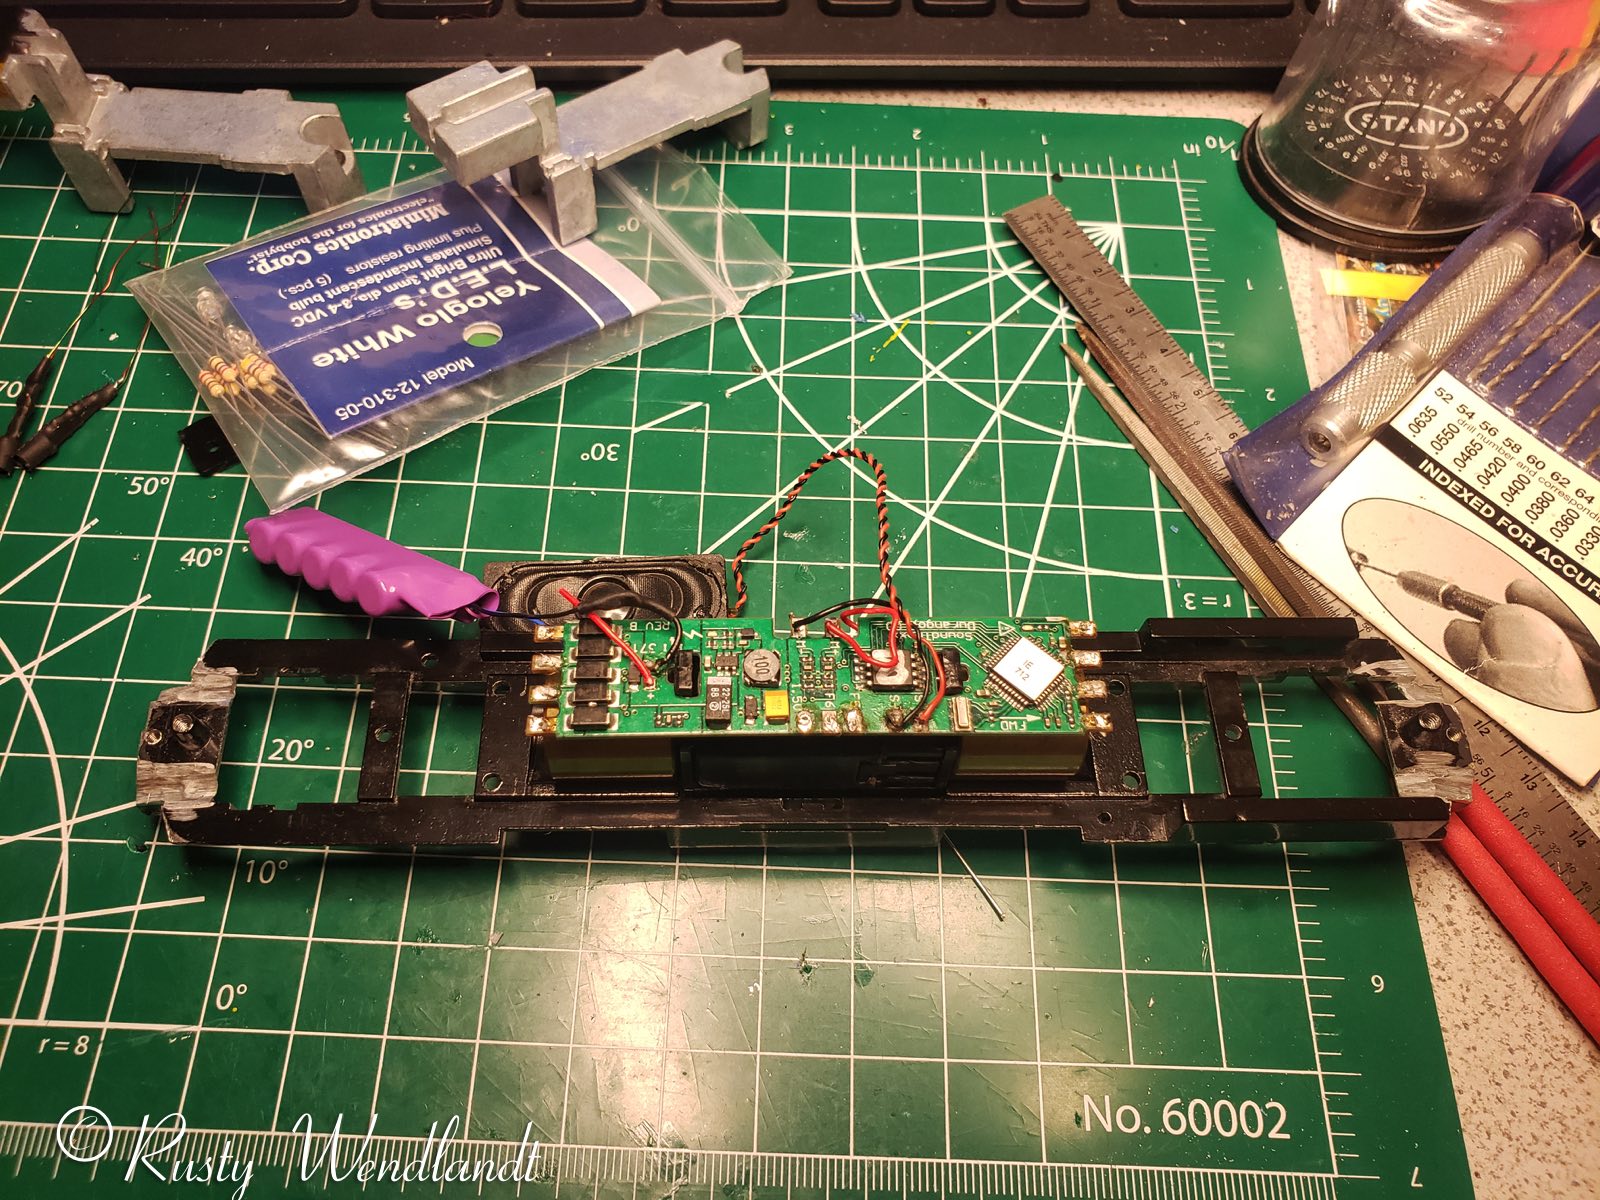
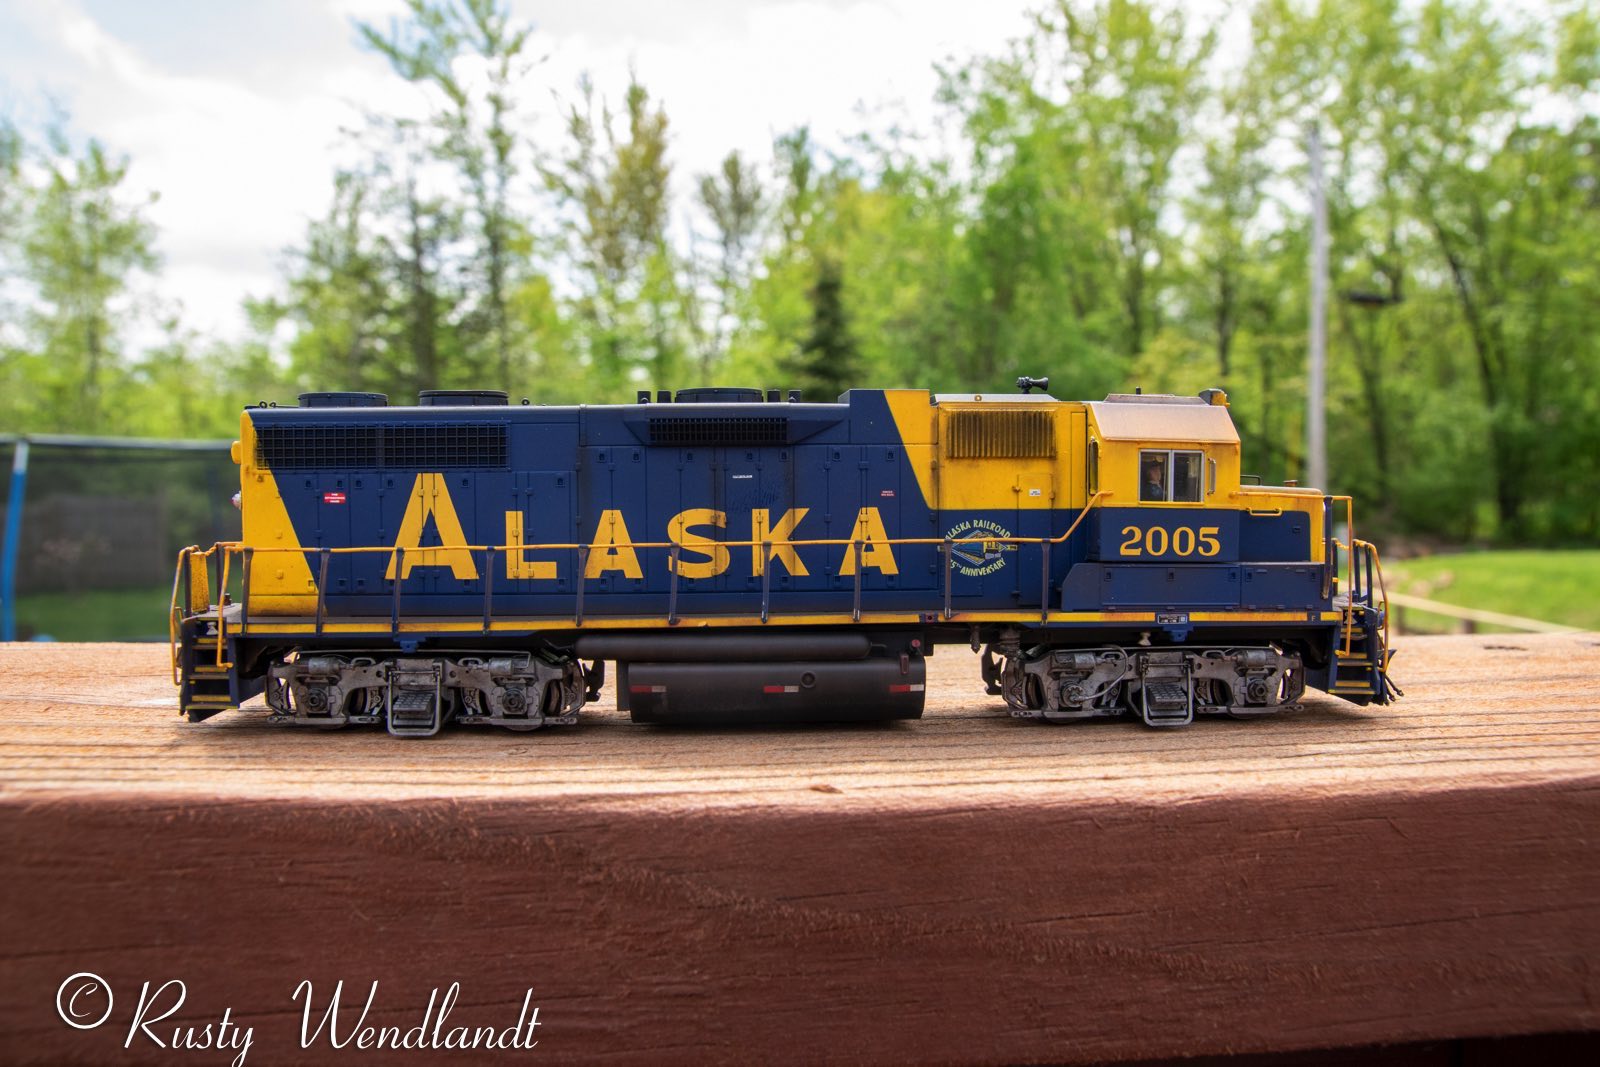
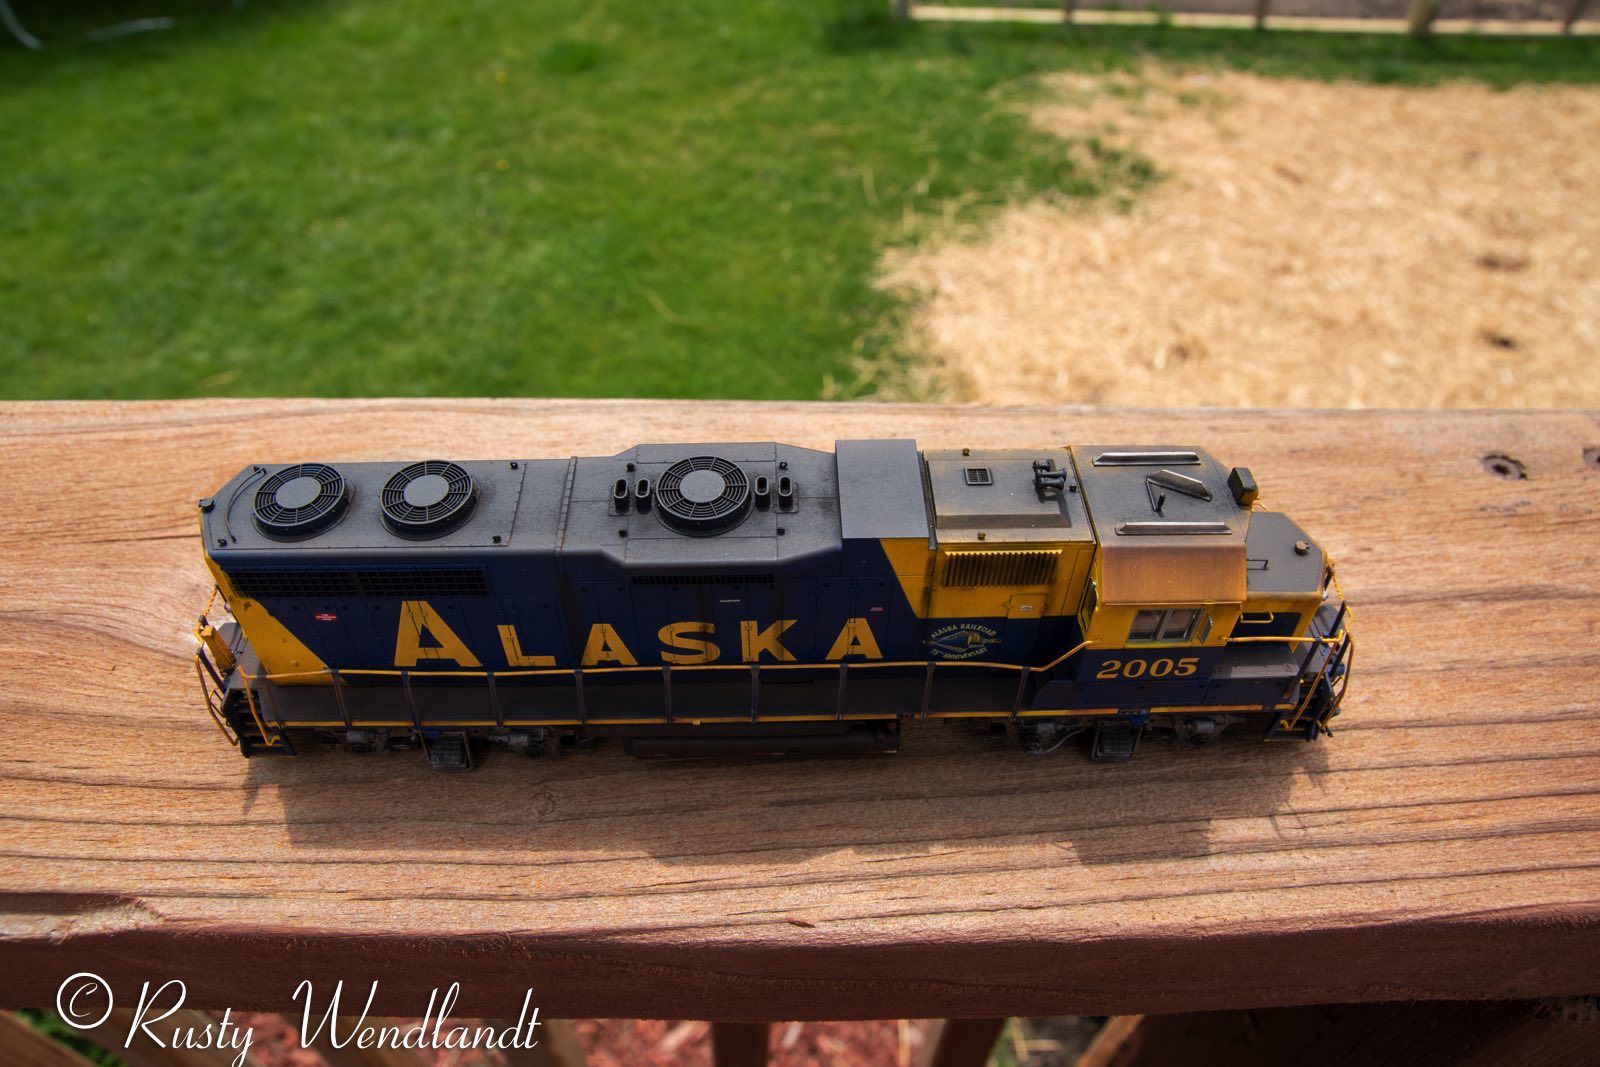
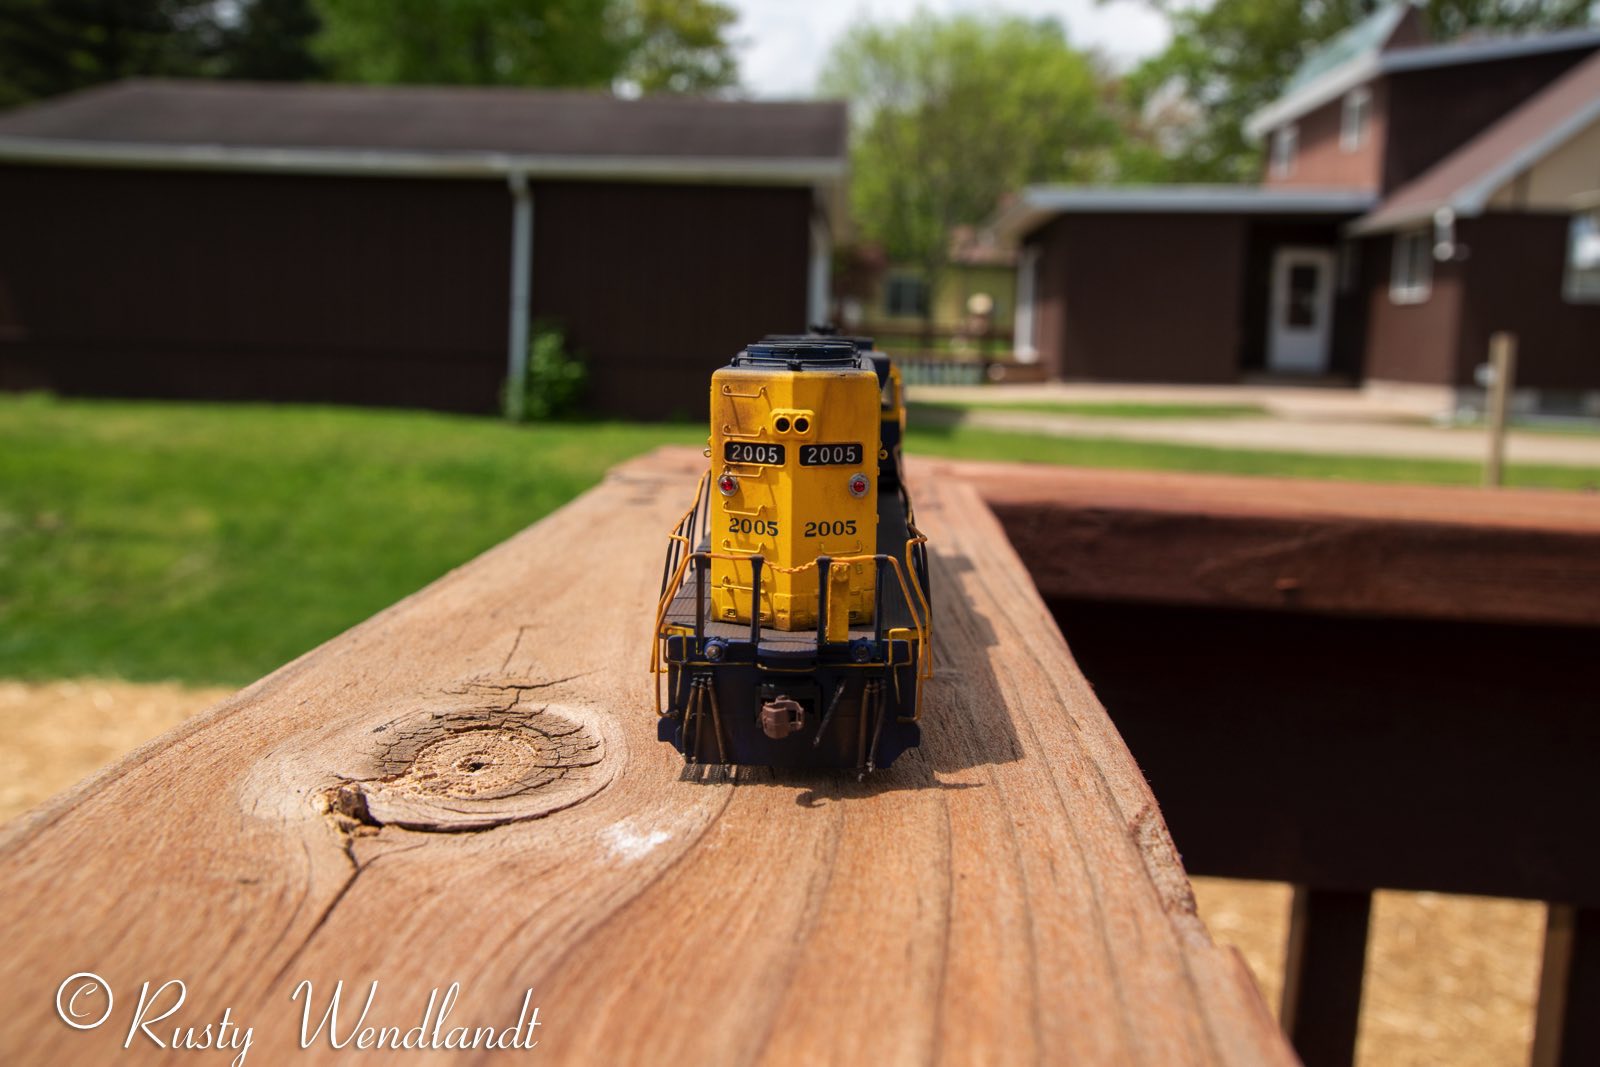
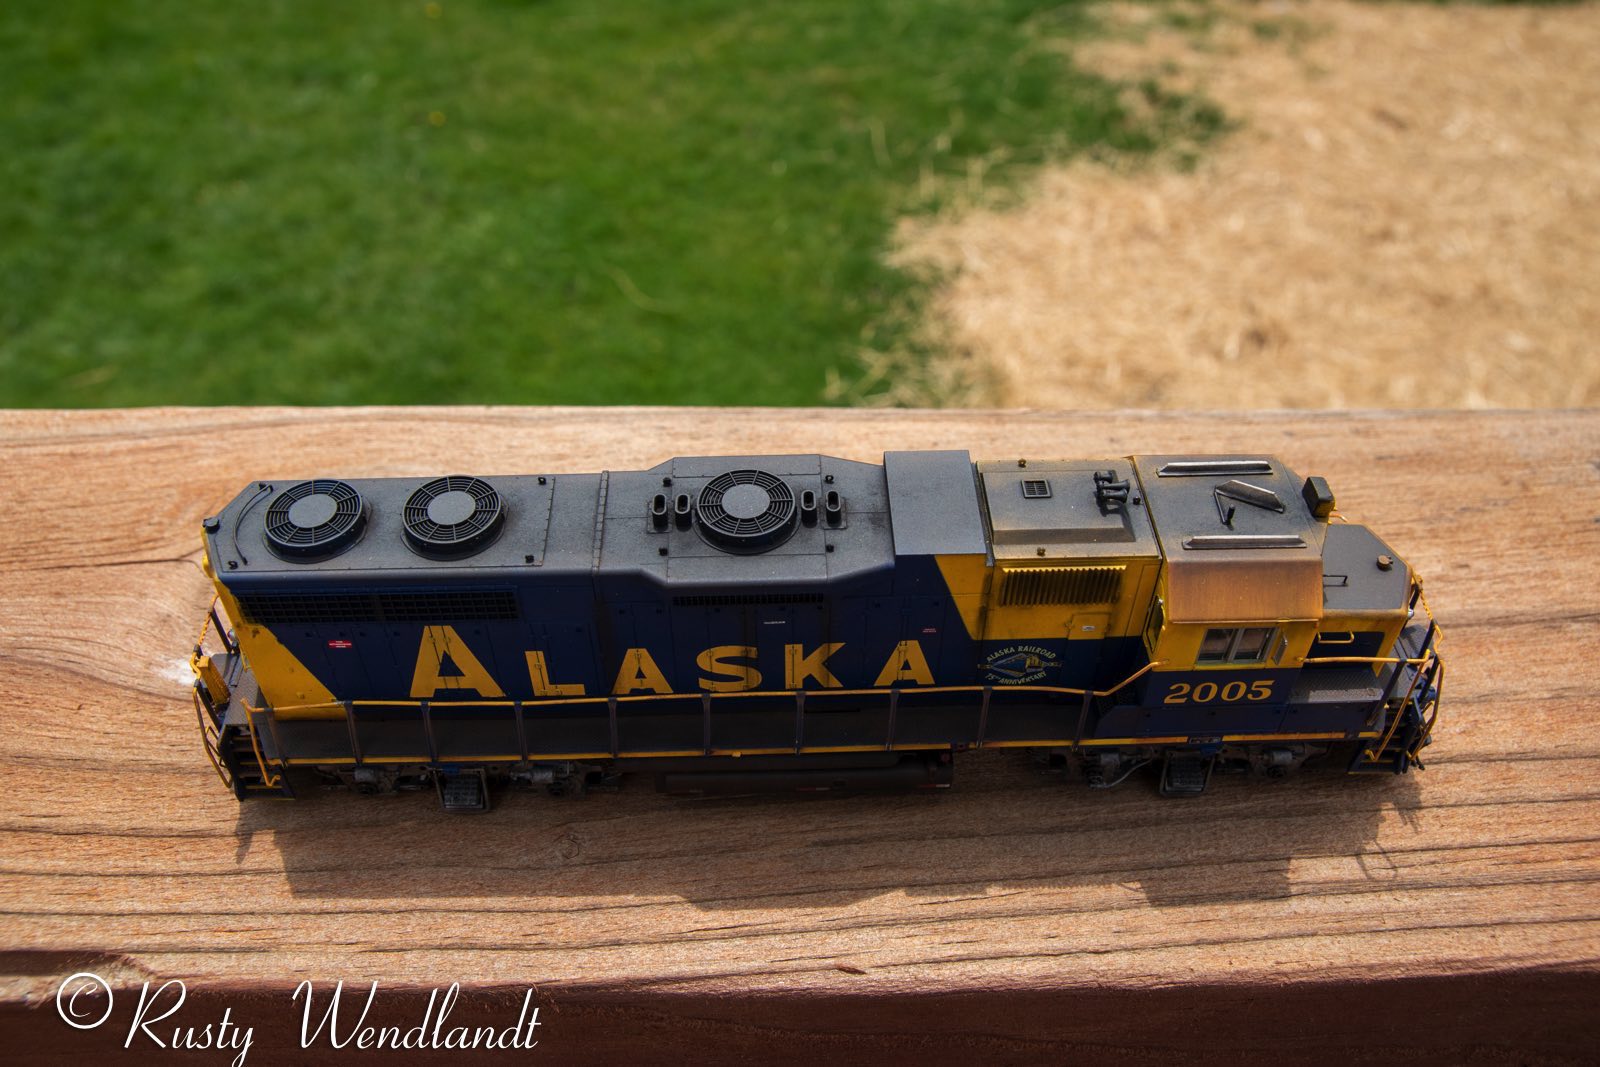
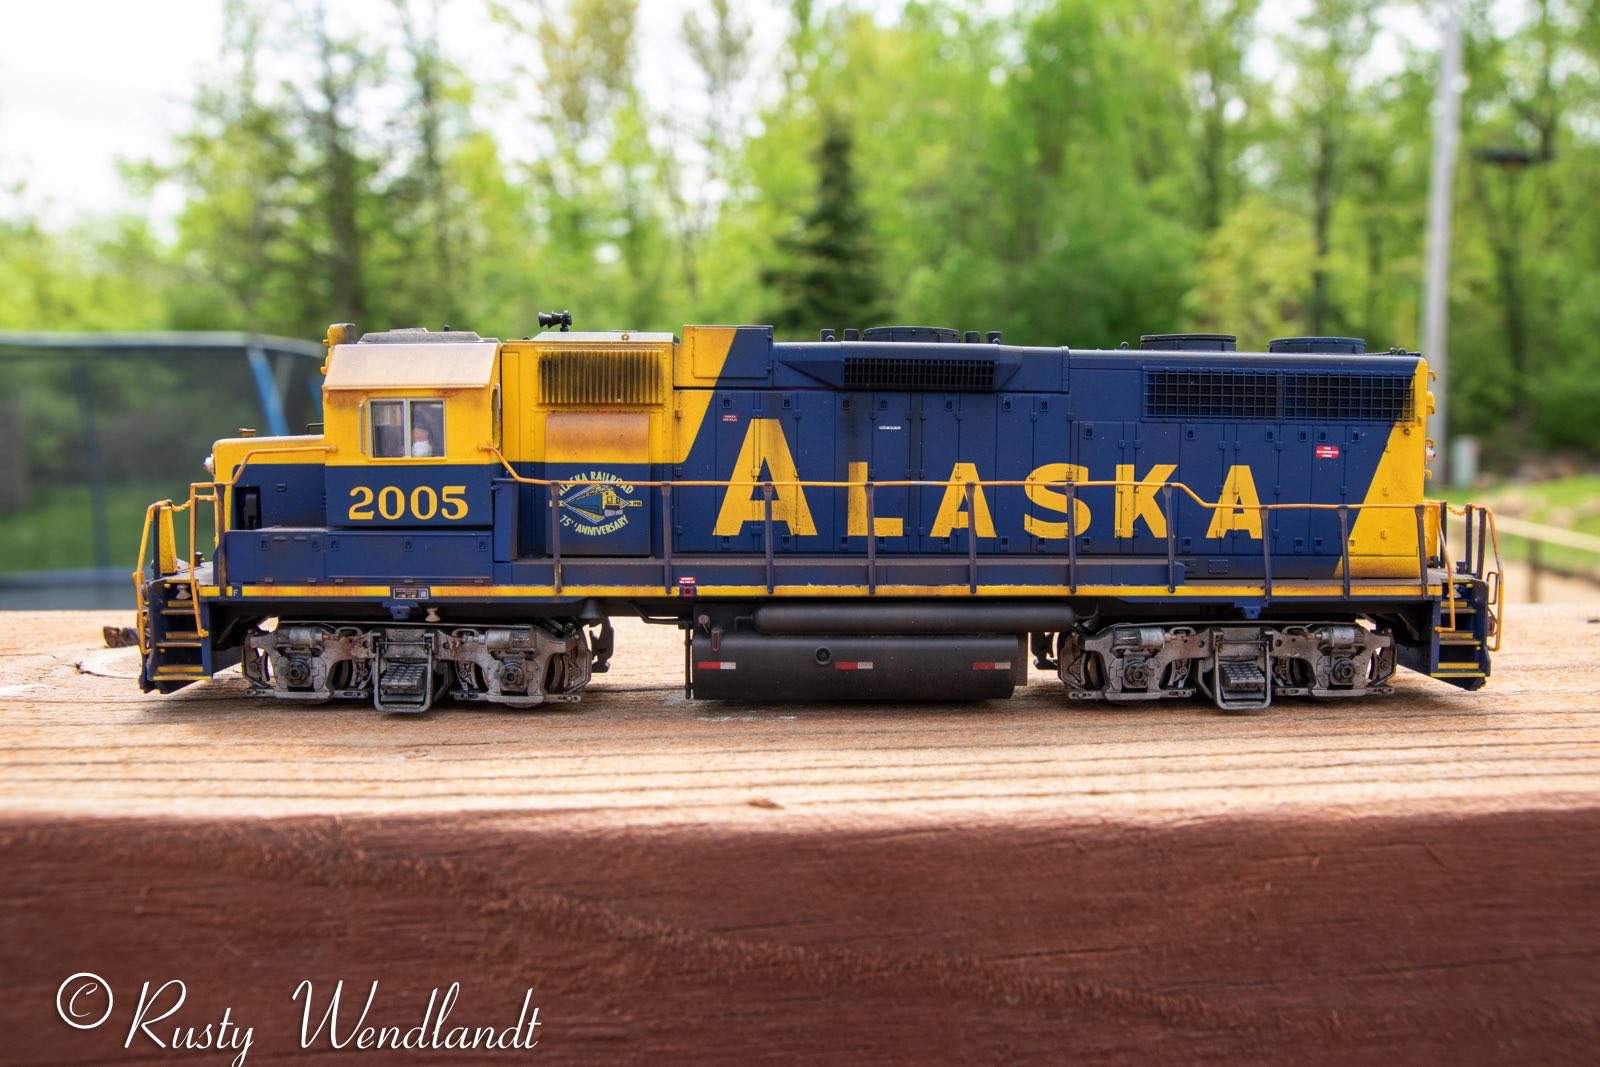
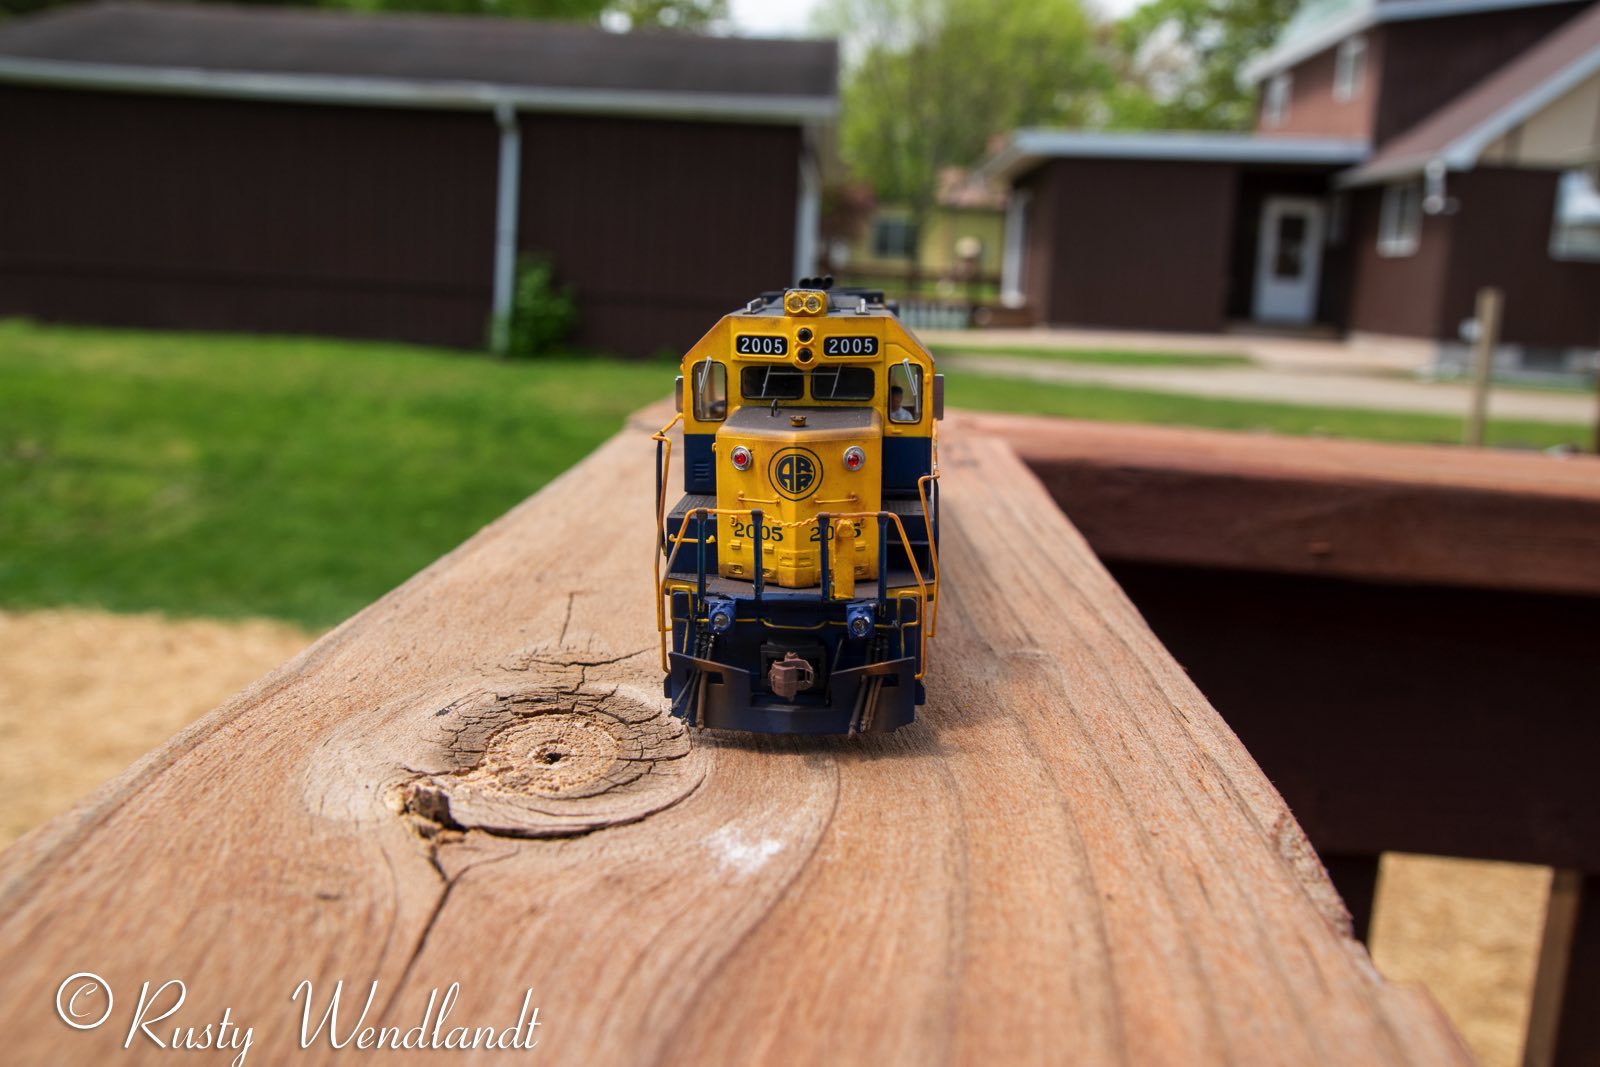
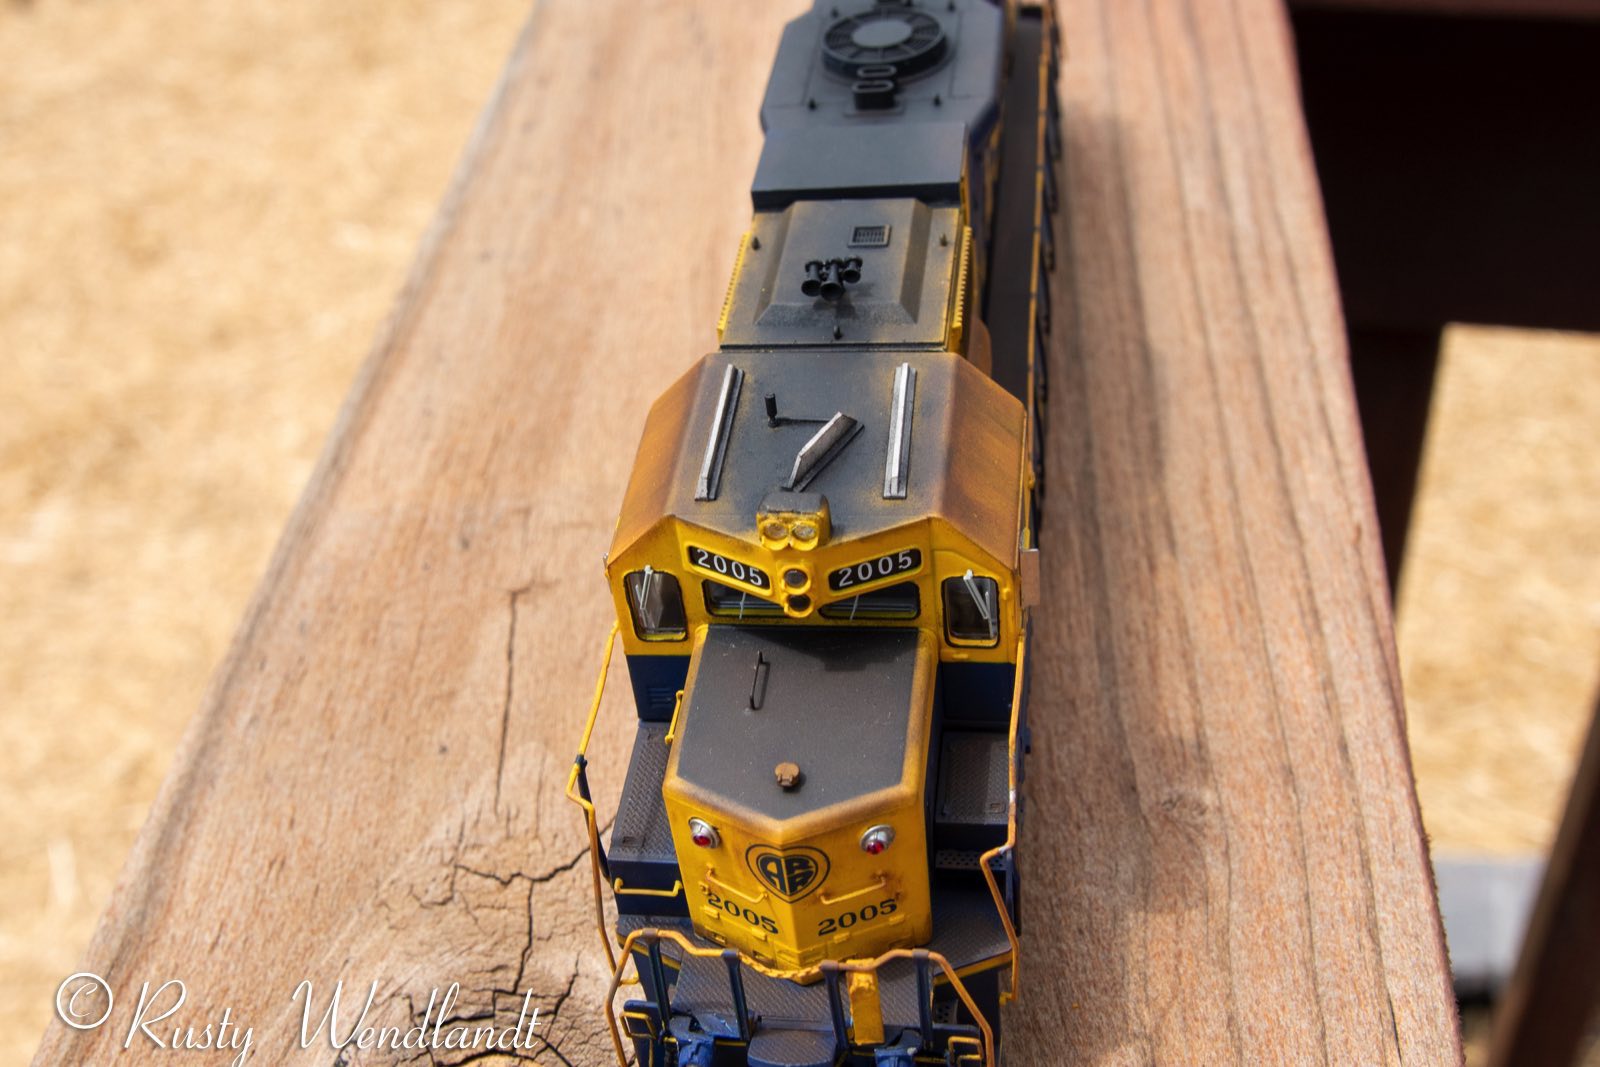
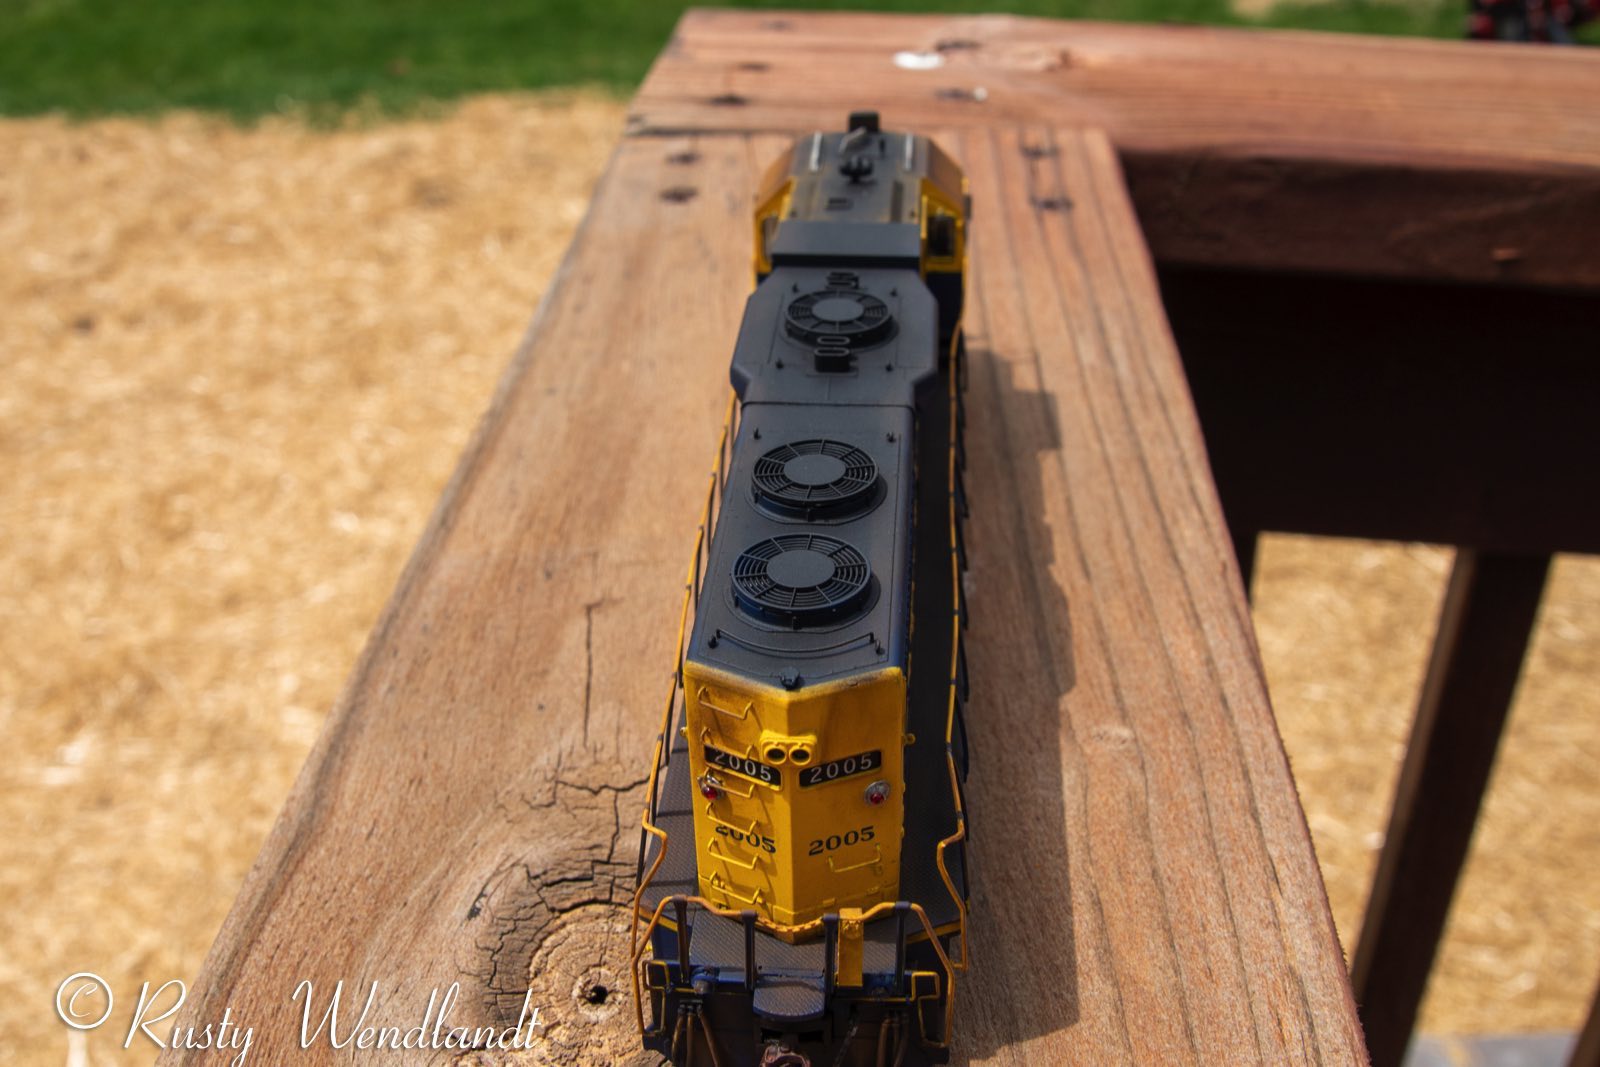
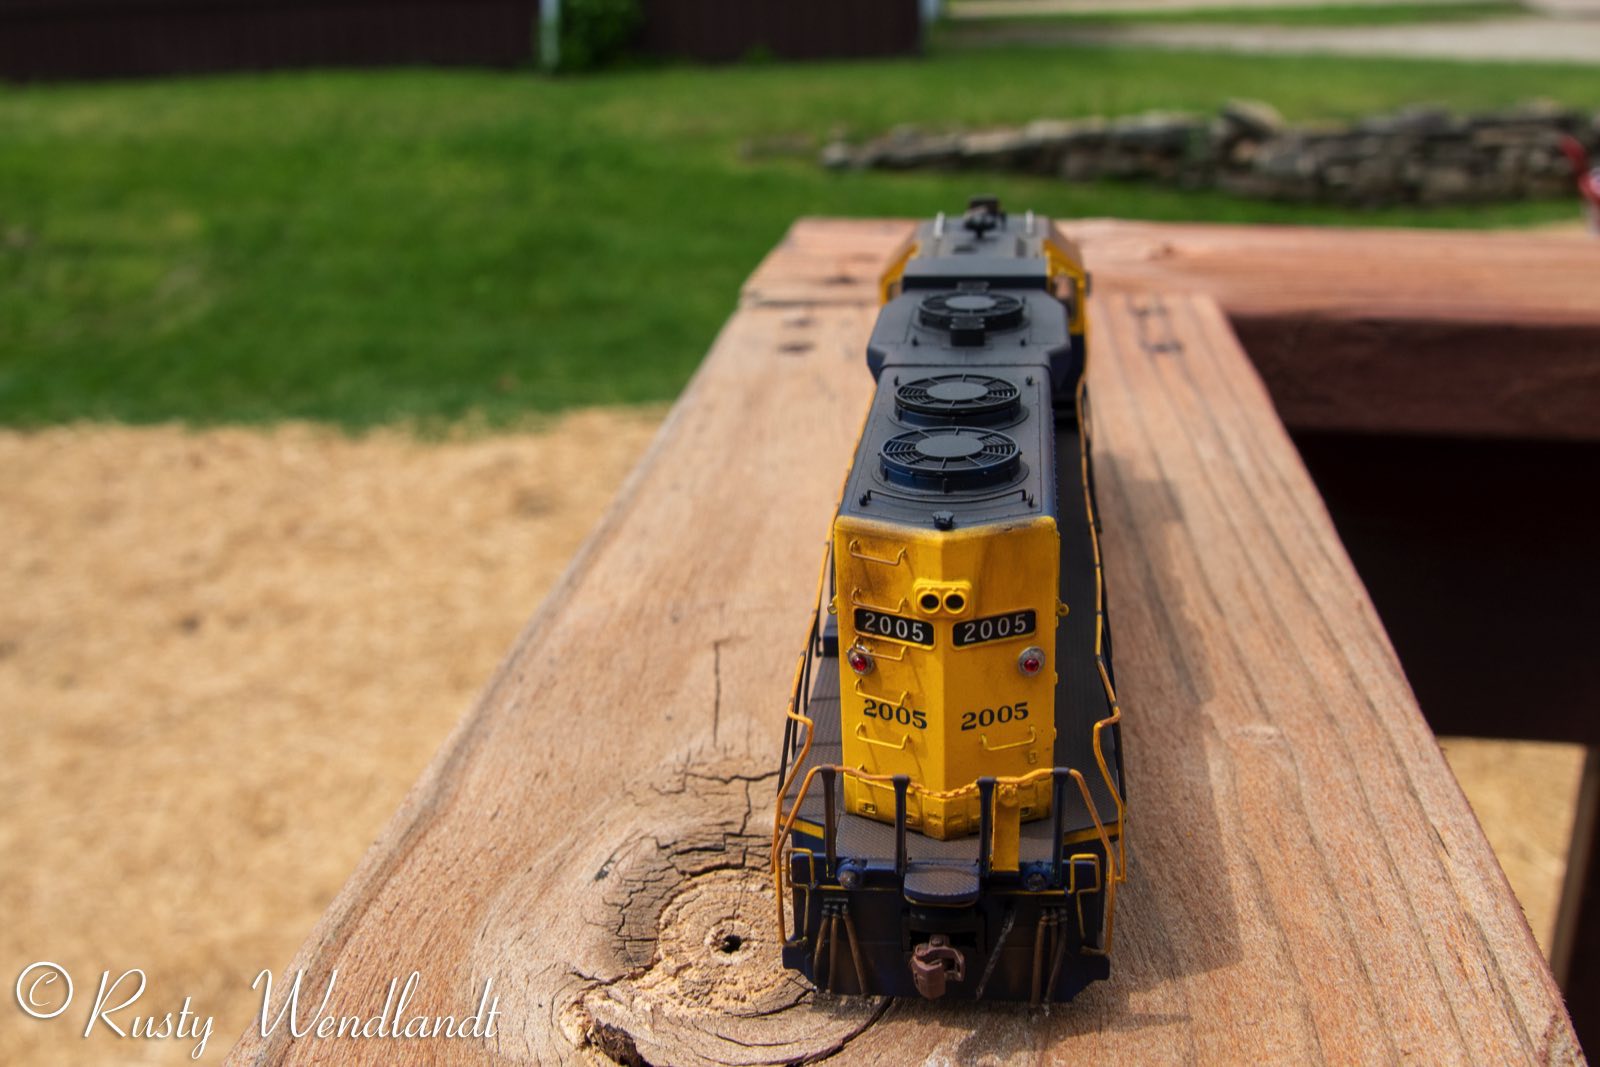
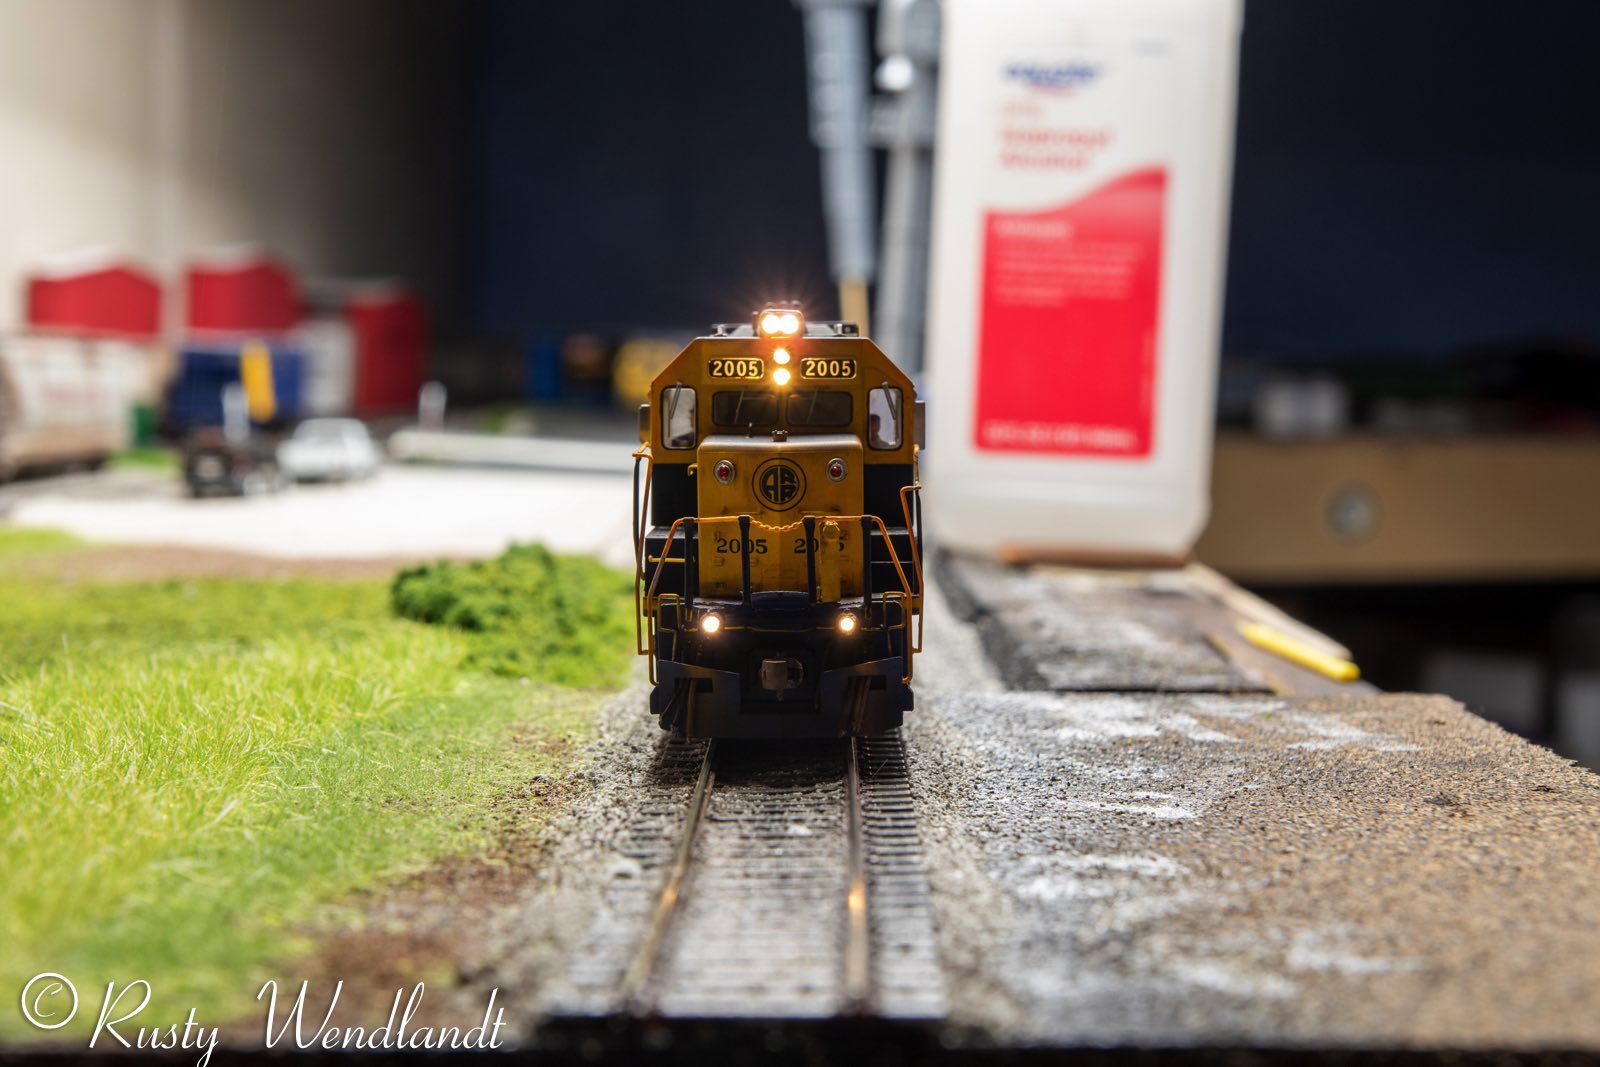
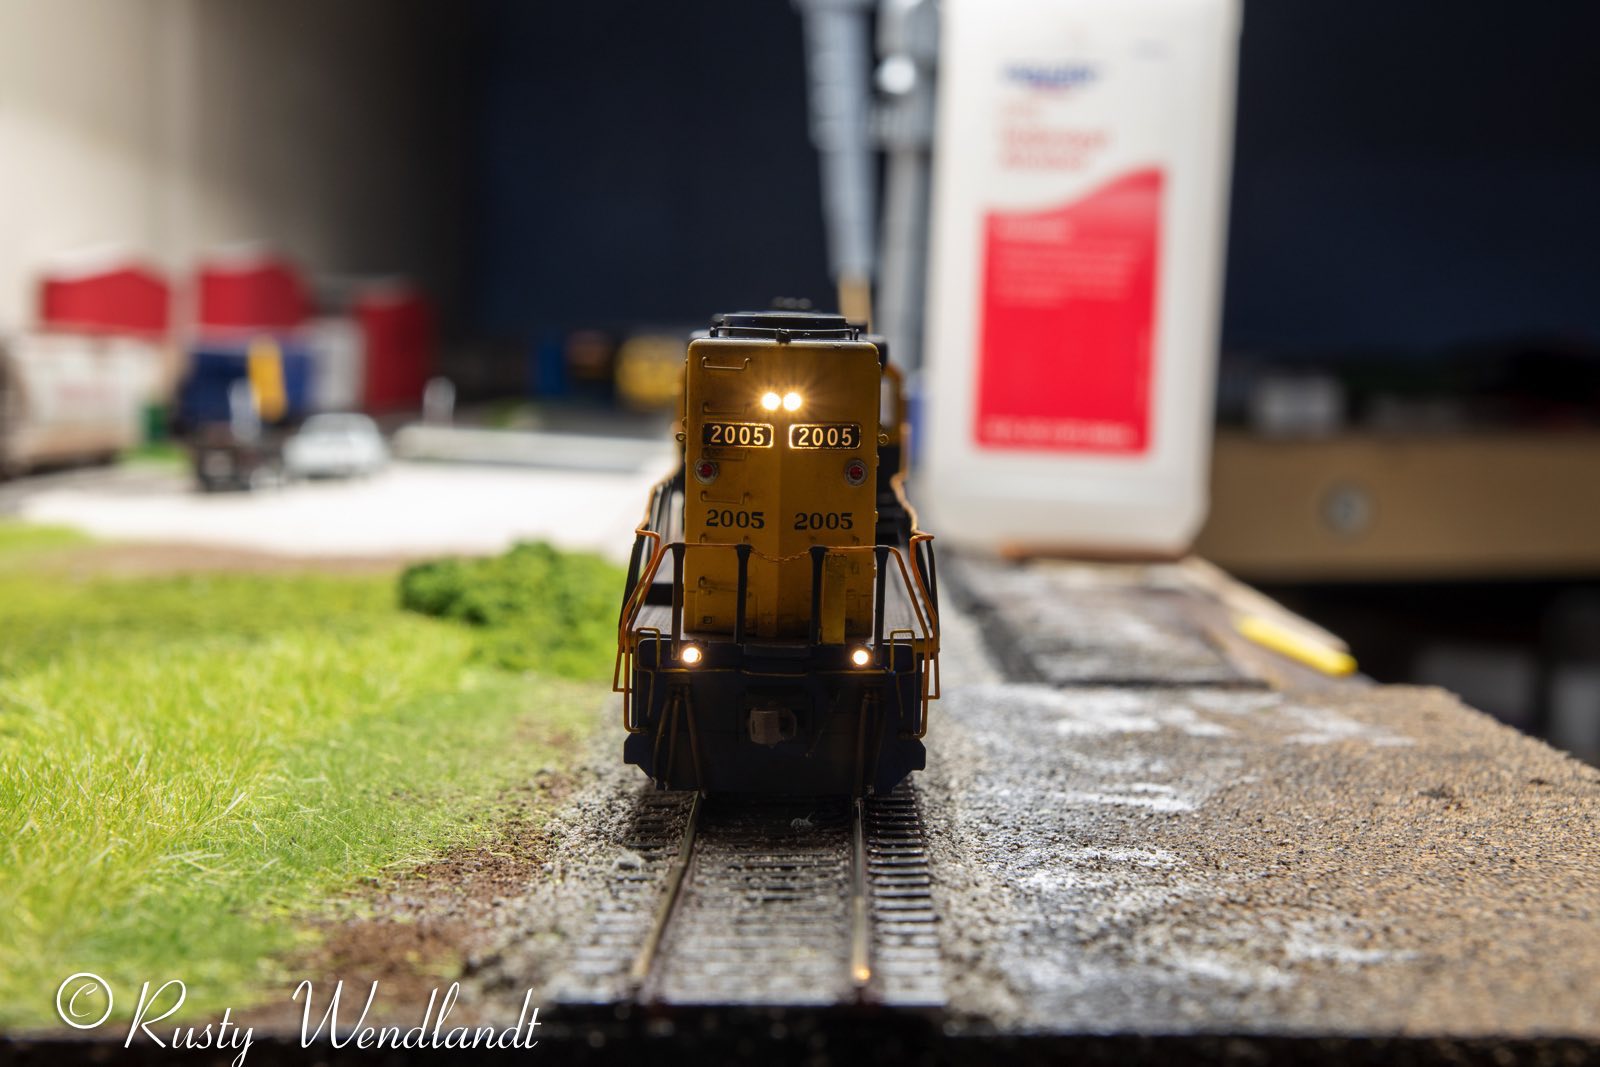
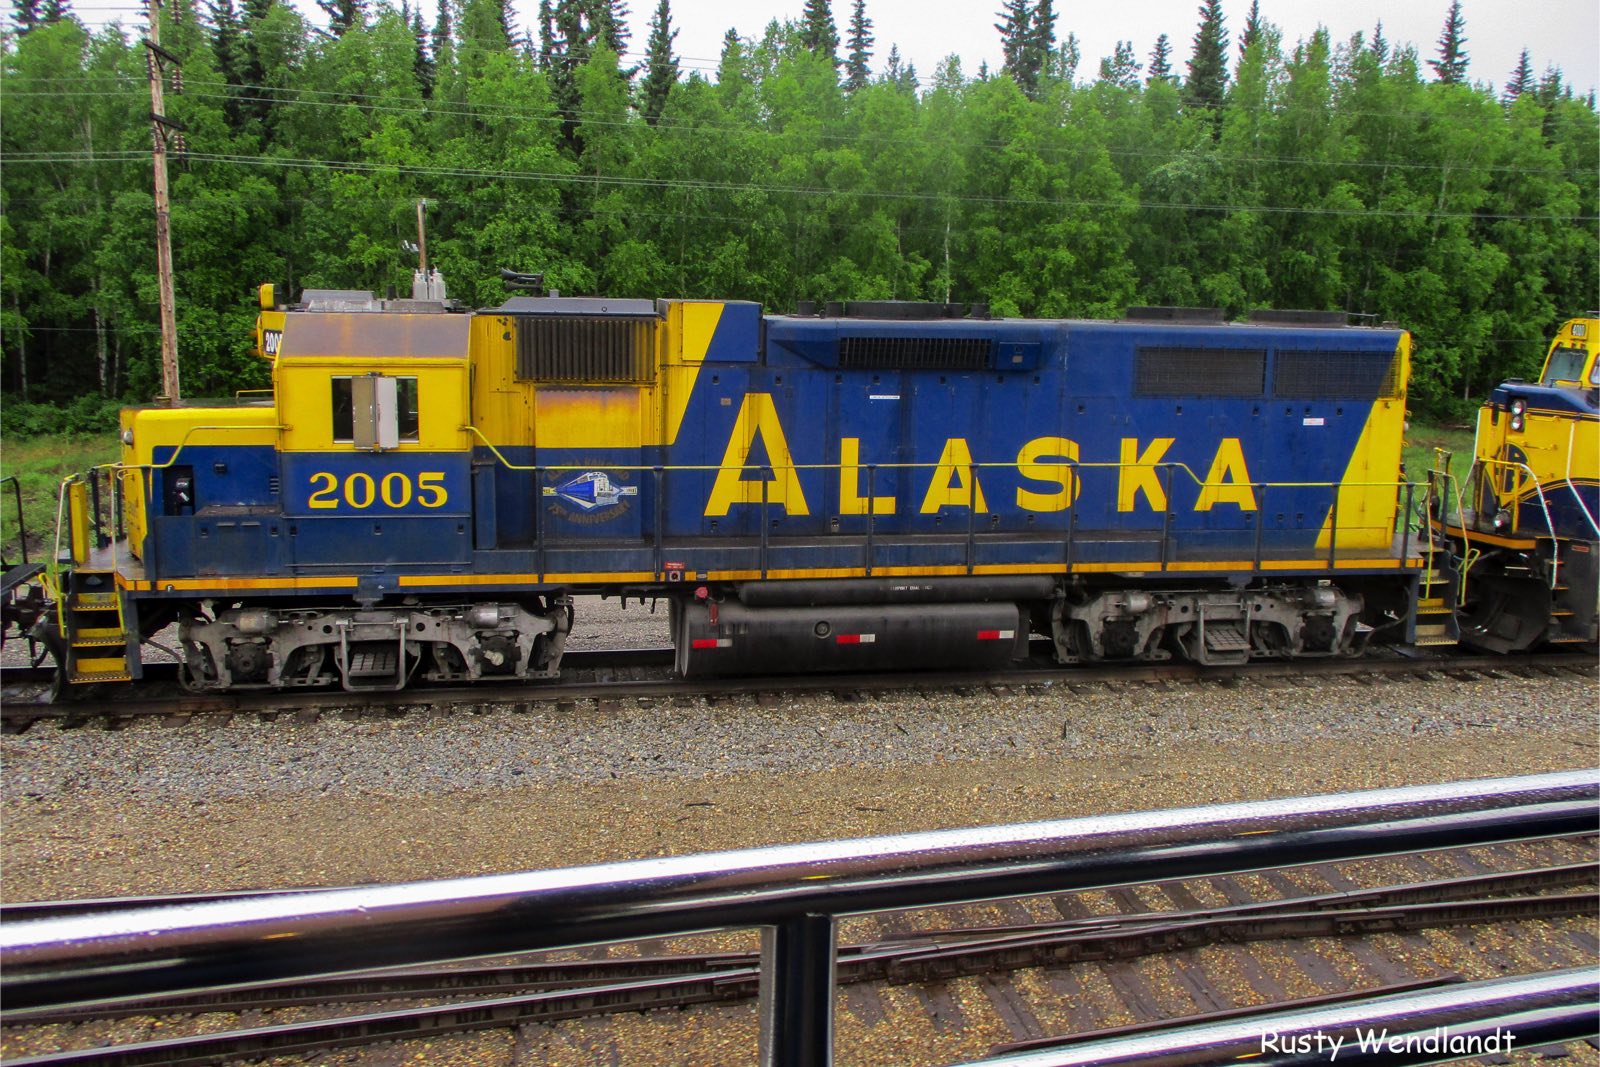
For this model I started off with the Atlas 2005 locomotive. The first thing I did was disassembled the unit. NOTE: be careful when removing the handrails on these older units. The first things to be removed were the factory horn and plastic lift rings. I switched the lift rings over to metal and installed the correct horn. The hole from the old horn and holes for the sun shades were puttied over. With the cab removed the front wipers were switched from singles to tandem. The upper headlight as also made by gluing the horizontal shield to the polystyrene. The firecracker antenna was installed along with the other antennas. I-beam was used like I normally do. The center one was cut right at the top and the outside ones about 1/3 the was down. On this models I drilled out the headlight and installed surface mount LED's. The wires were runs down into the upper cab head light. The hole was drilled bigger ¾ of the was to make room for the wires and light housing. For the body the 75th anniversary decals were added along with the safety stripes and warning decals. Step lights, truck lights, M.U. Stands, ditch lights, correct cut levers, M.U. Hoses, air hose, air filters and lines were added. Holes were the drilled for the ditch lights. I used surface mount LED's attached to 1.5mm fiber optic to run the lights. The frame had to be milled for this. The fuel tank had the safety decals installed along with adding the rear tank. For the exhaust two more stacks were added to match the prototype. A couple of the last parts added were the cab air filter and classification lights. Housings for the red lenses are from Cannon cab kits. The unit was then painted and touched up. Some parts were painted before being installed. The handbrake ratchet was also painted black along with the horn and firecracker antenna. Kadee #158 couplers were installed when the unit was assembled. After assembly the locomotive was dulcoated and weathered accordingly. Most of the weathering was done using my picture from 5/31/19 so that is the time frame of the model. That picture will be with the model pictures. After that was all complete headlight lenses were installed and the rear view mirrors were installed. The right mirror is smaller than the left. Looking at prototype photos it shows that.
DETAIL PARTS
|
|
|
|
|
|
|
|
|
|
|
|
|
|
|
|
|
|
|
 |
 |
 |
 |
 |
 |
 |
 |
 |
 |
 |
 |