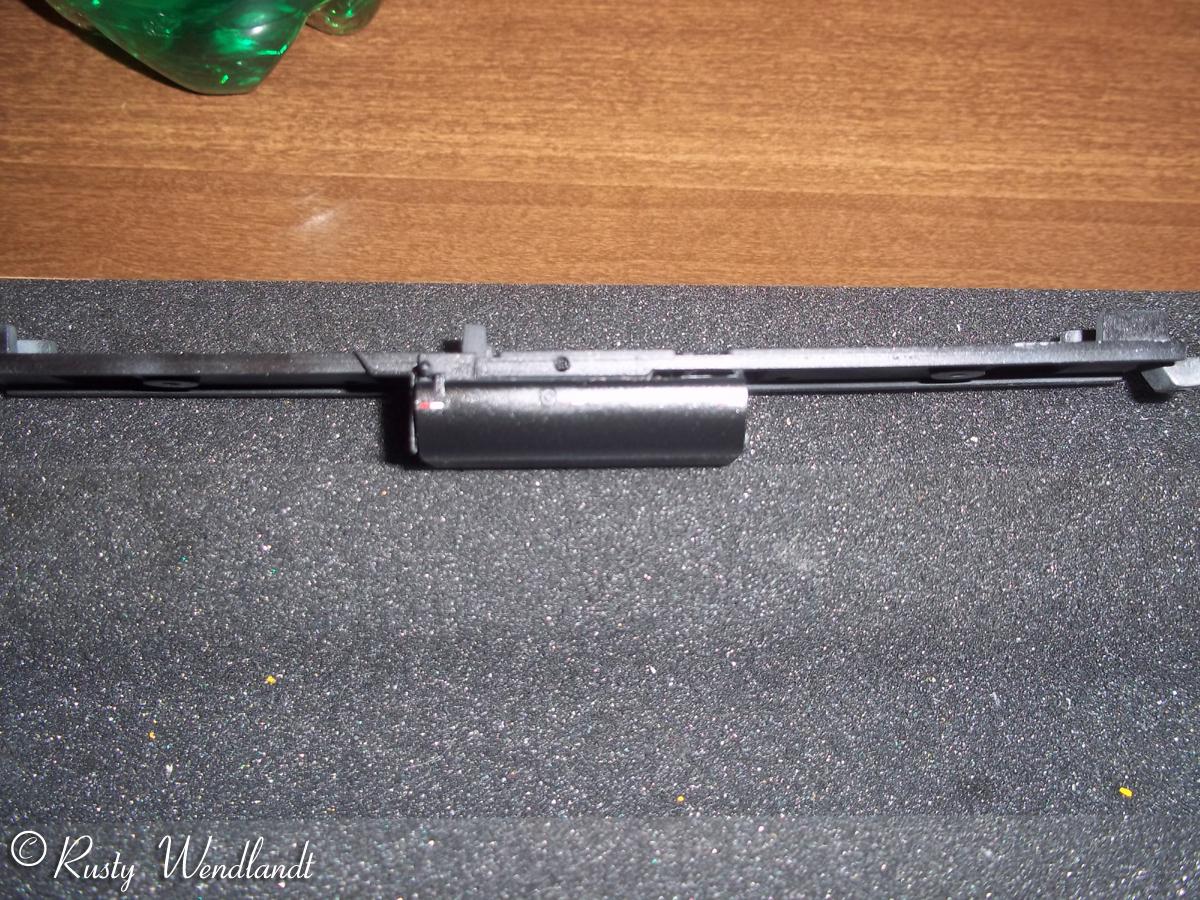
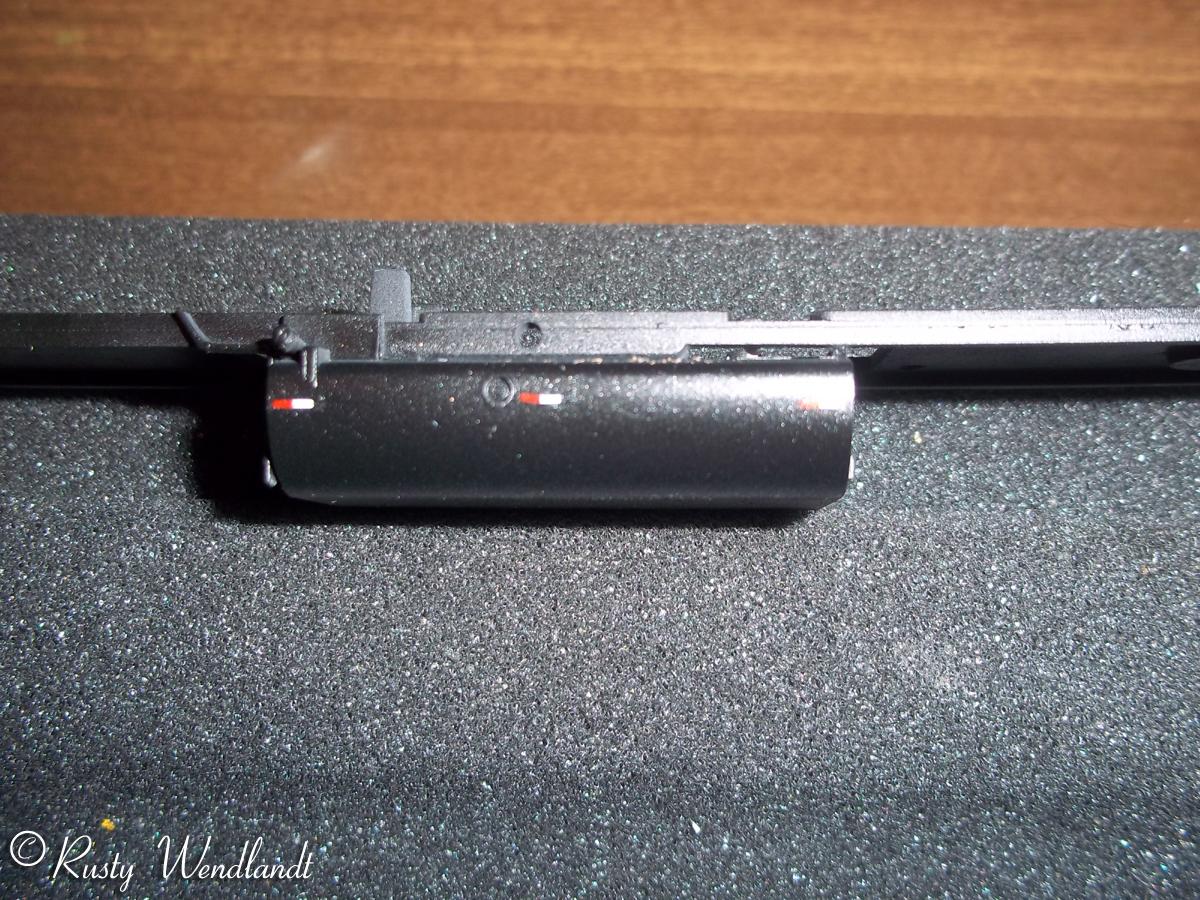
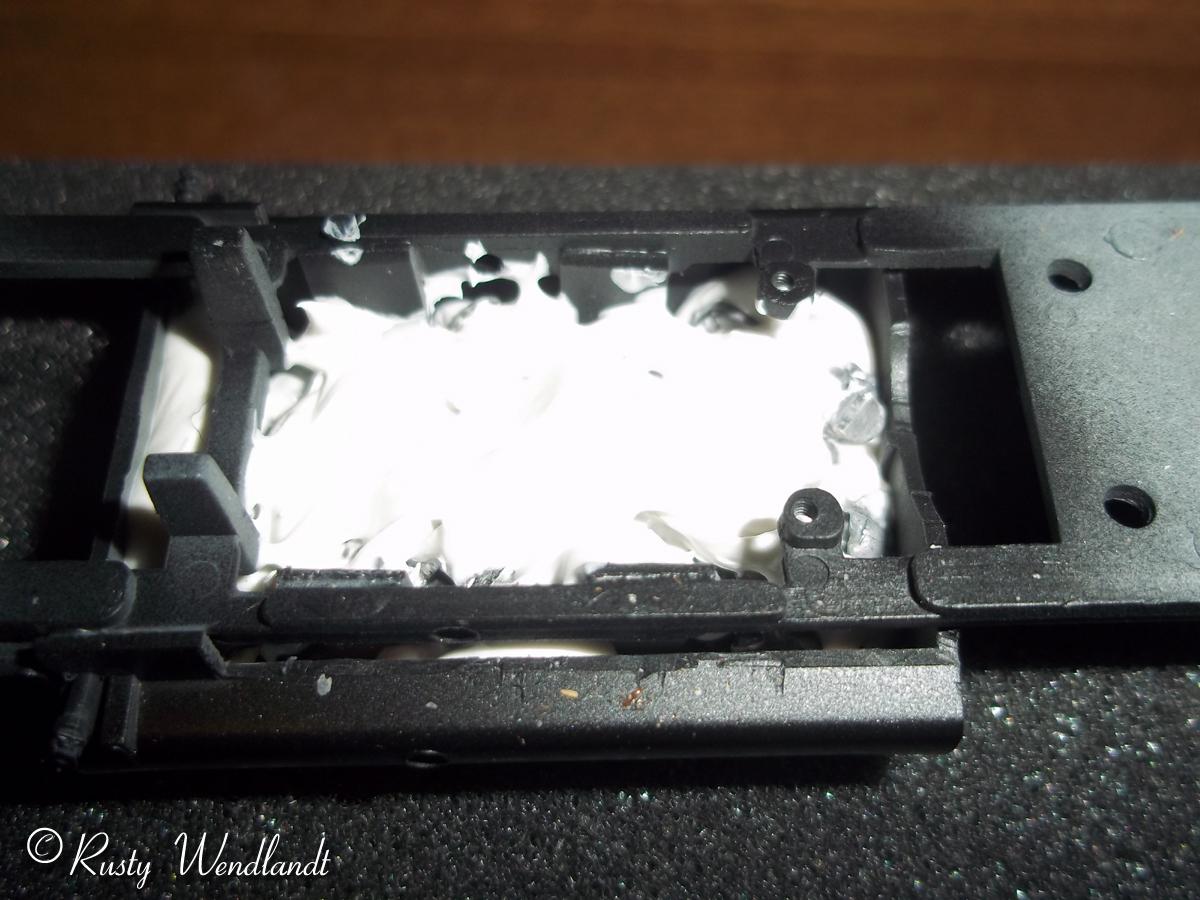
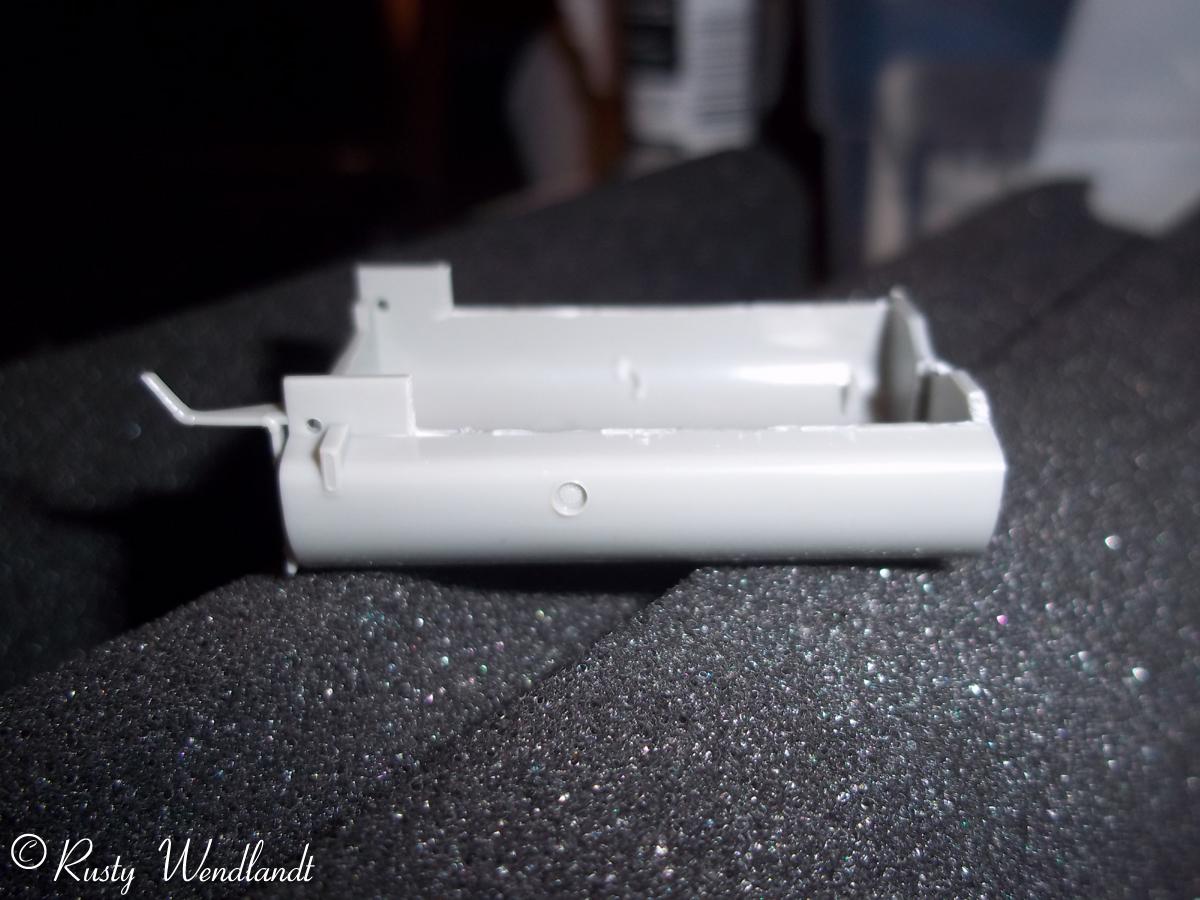
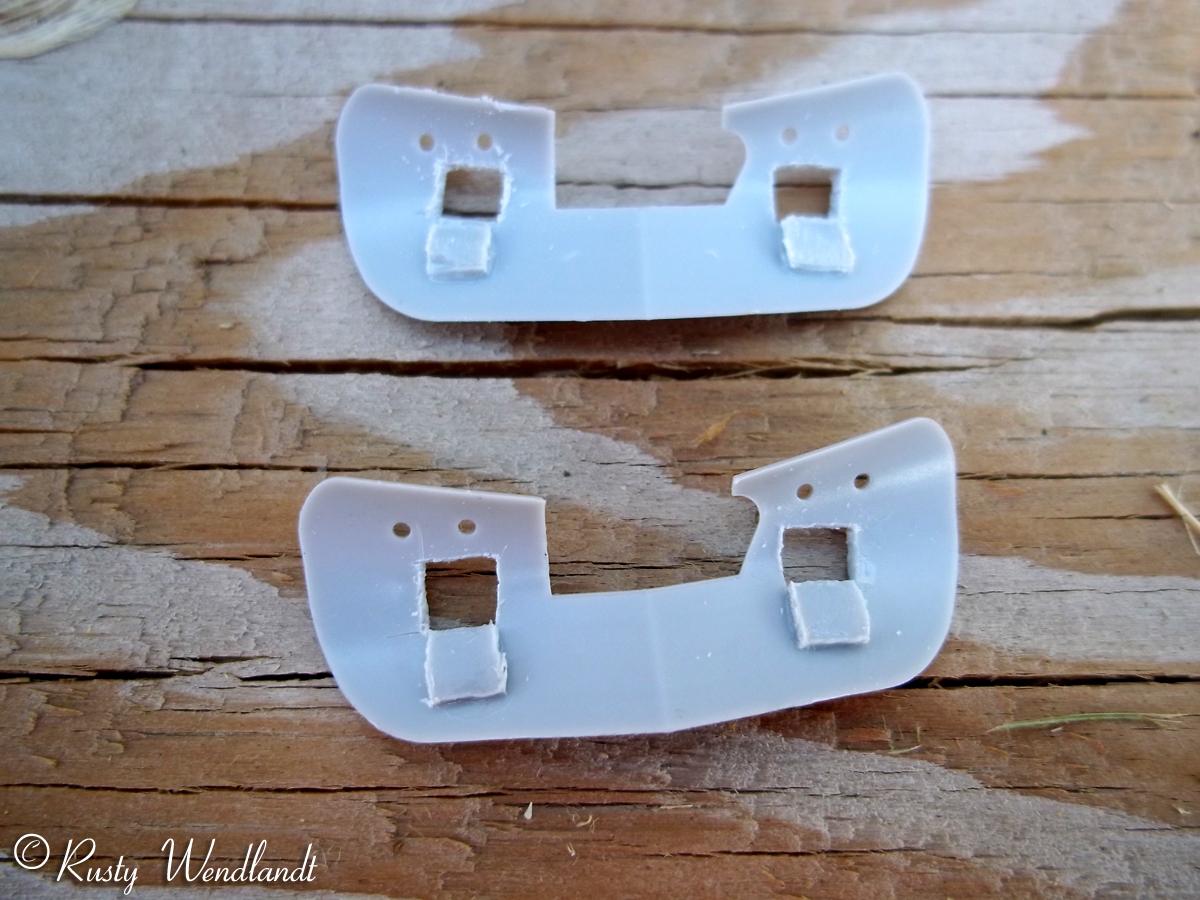
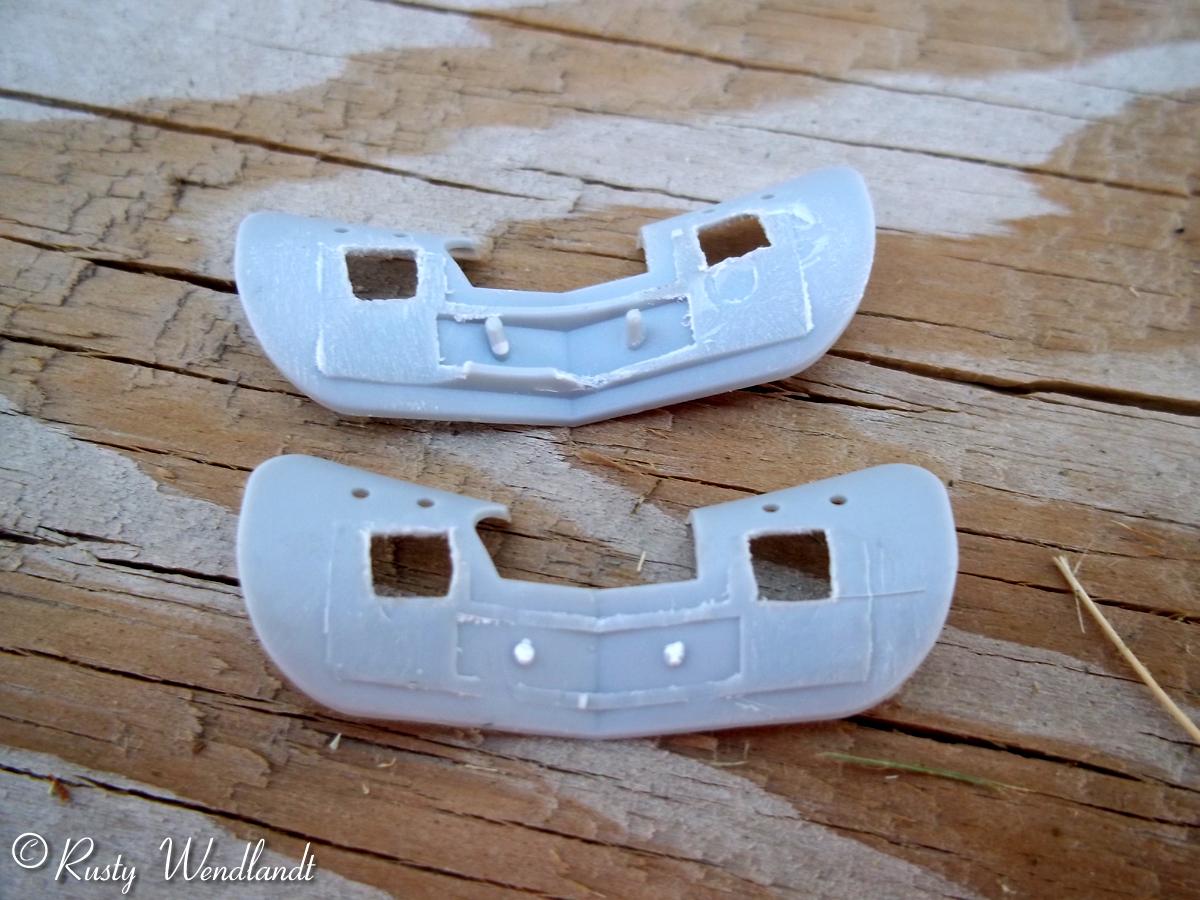
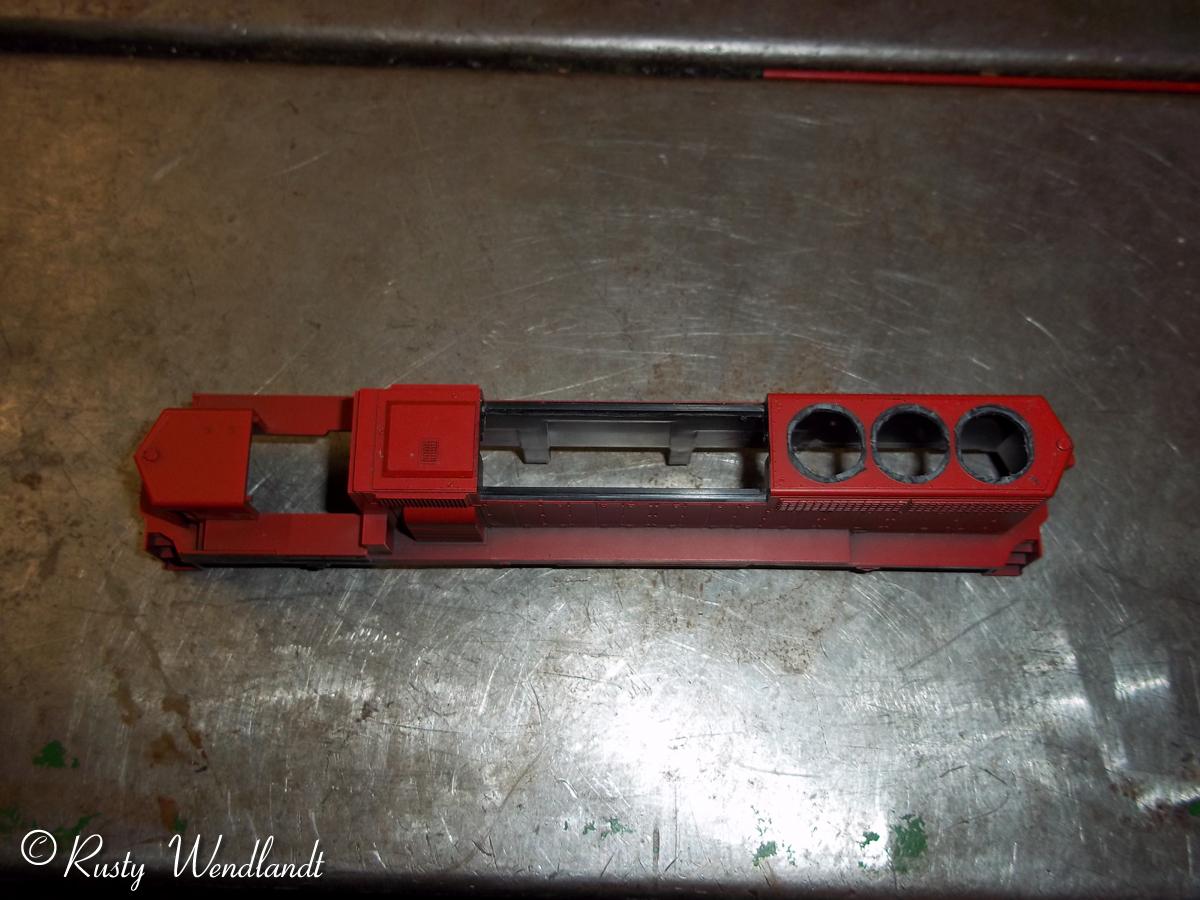
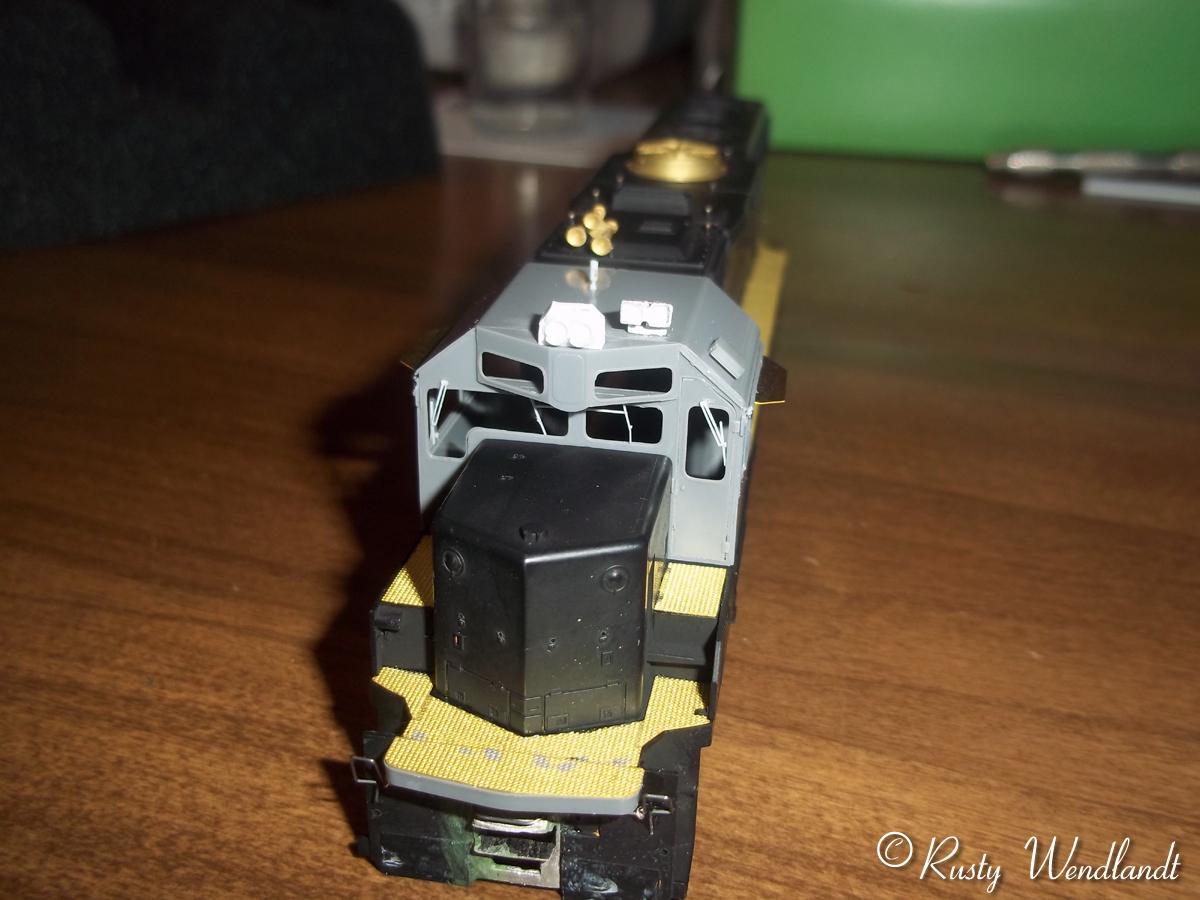
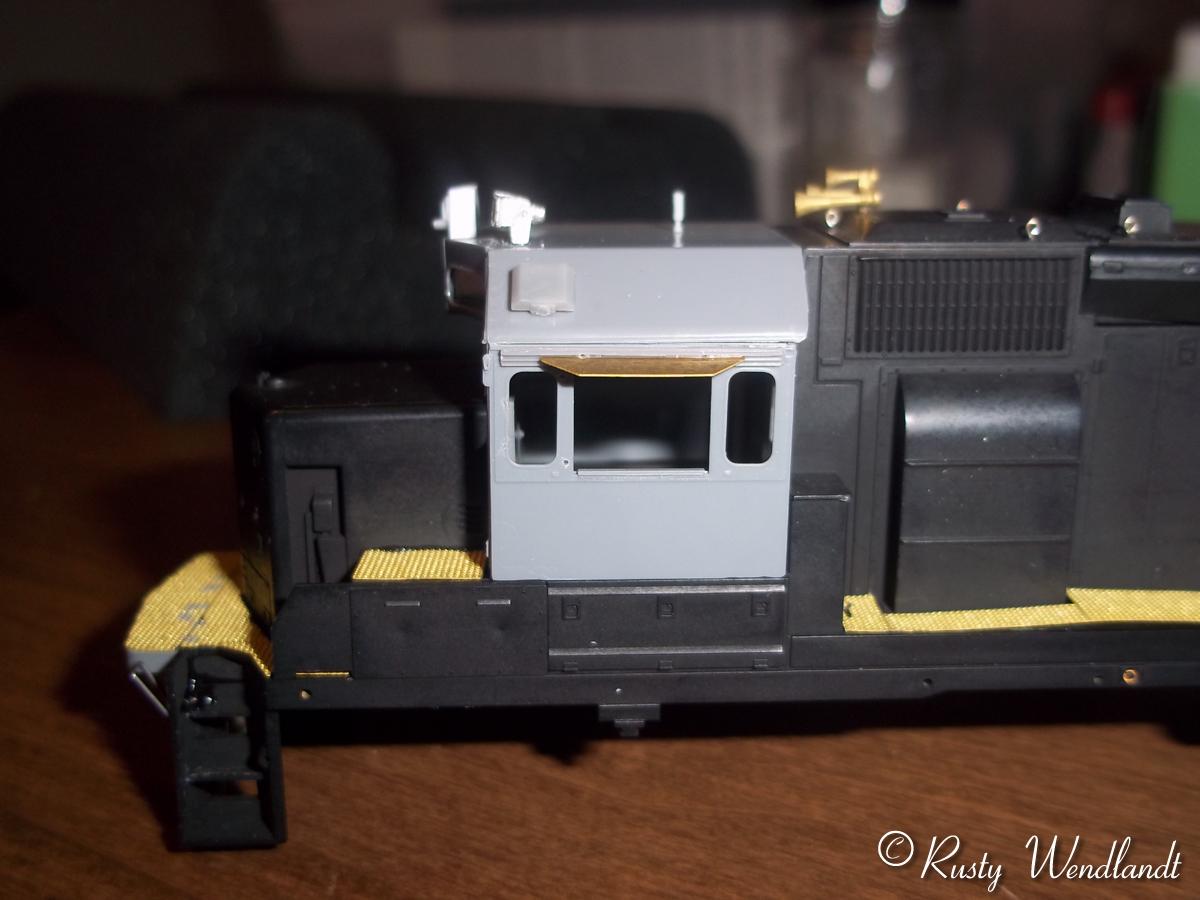
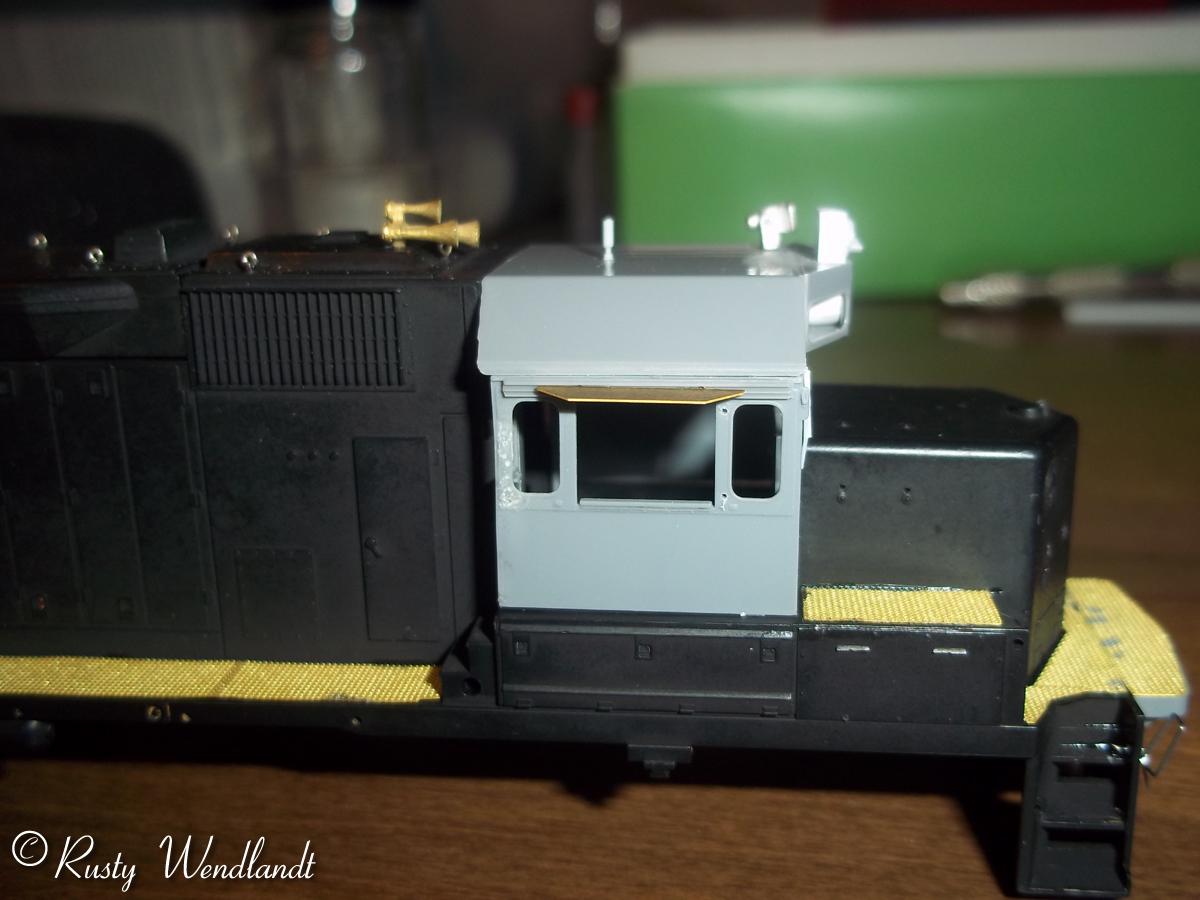
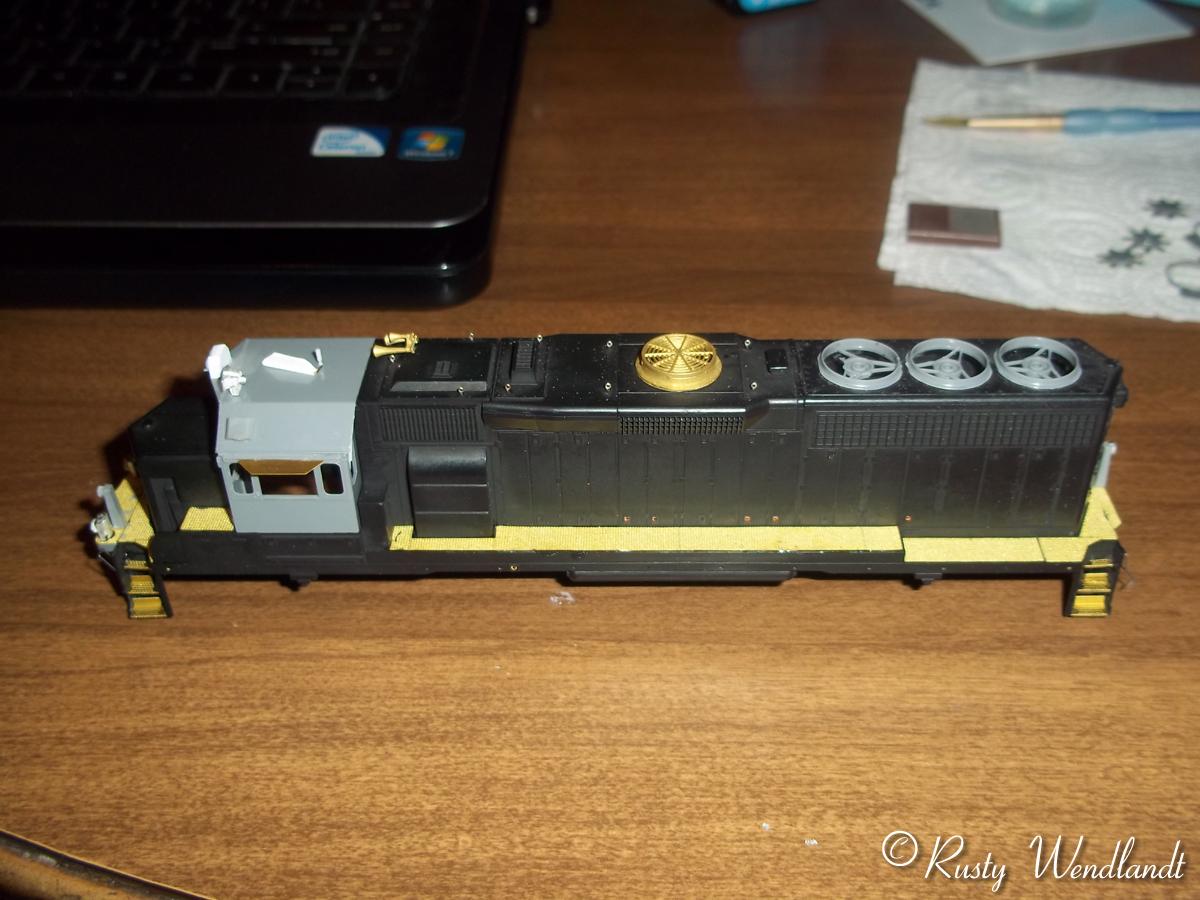
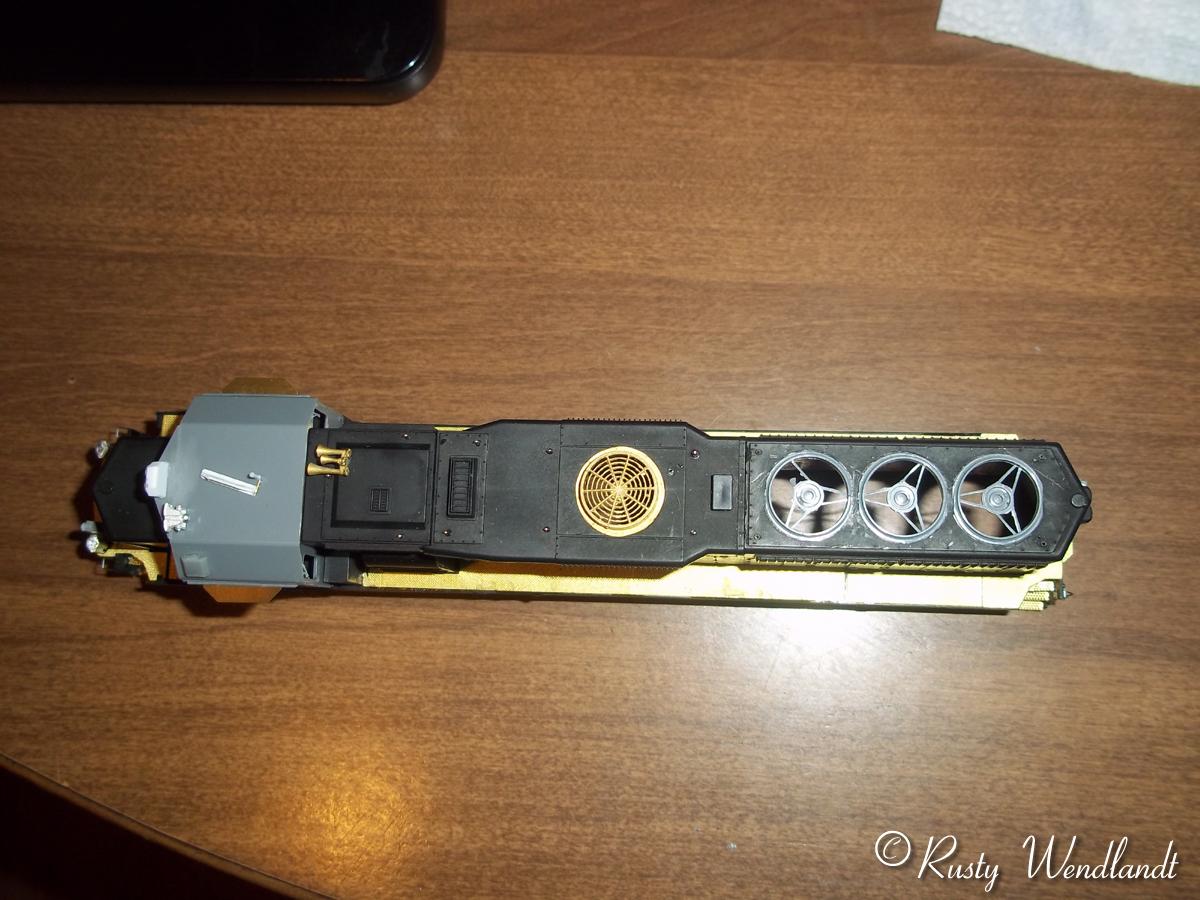
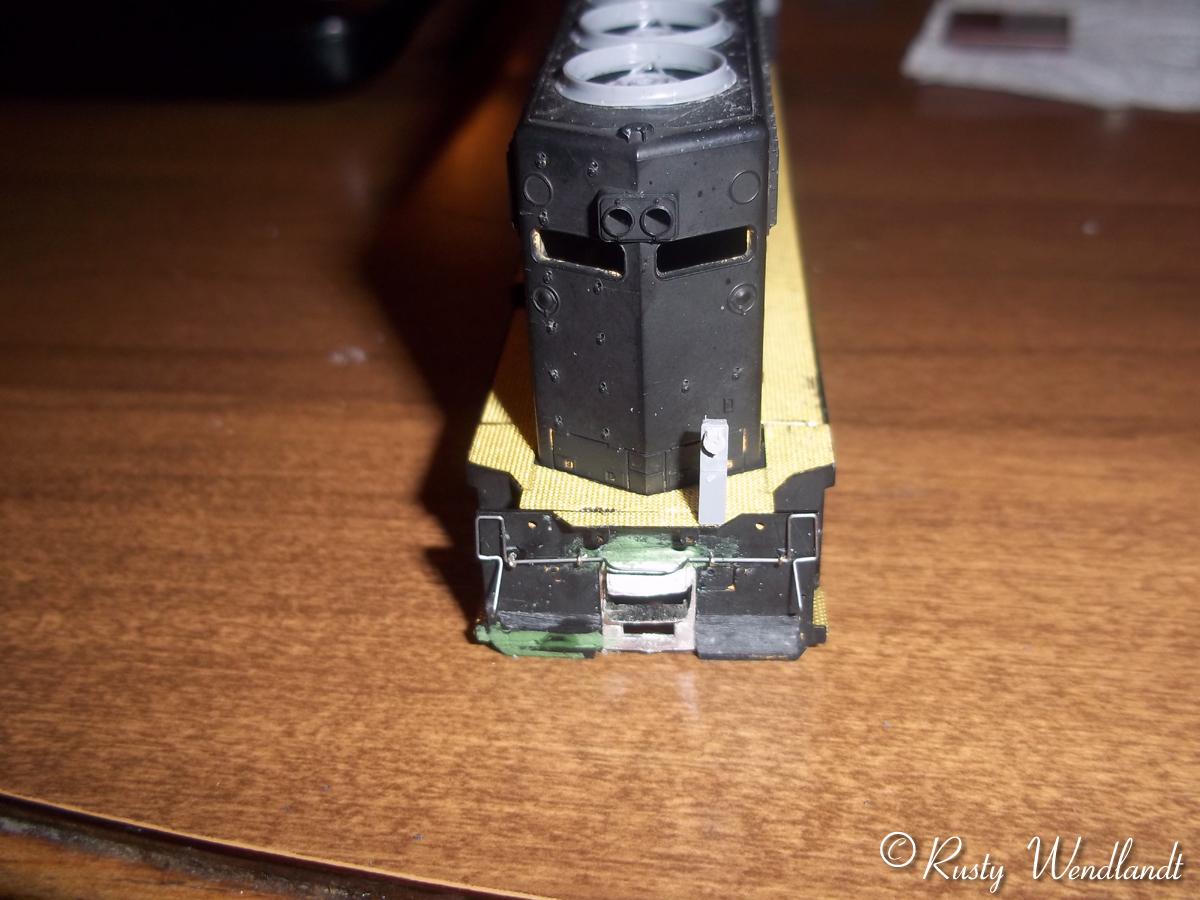
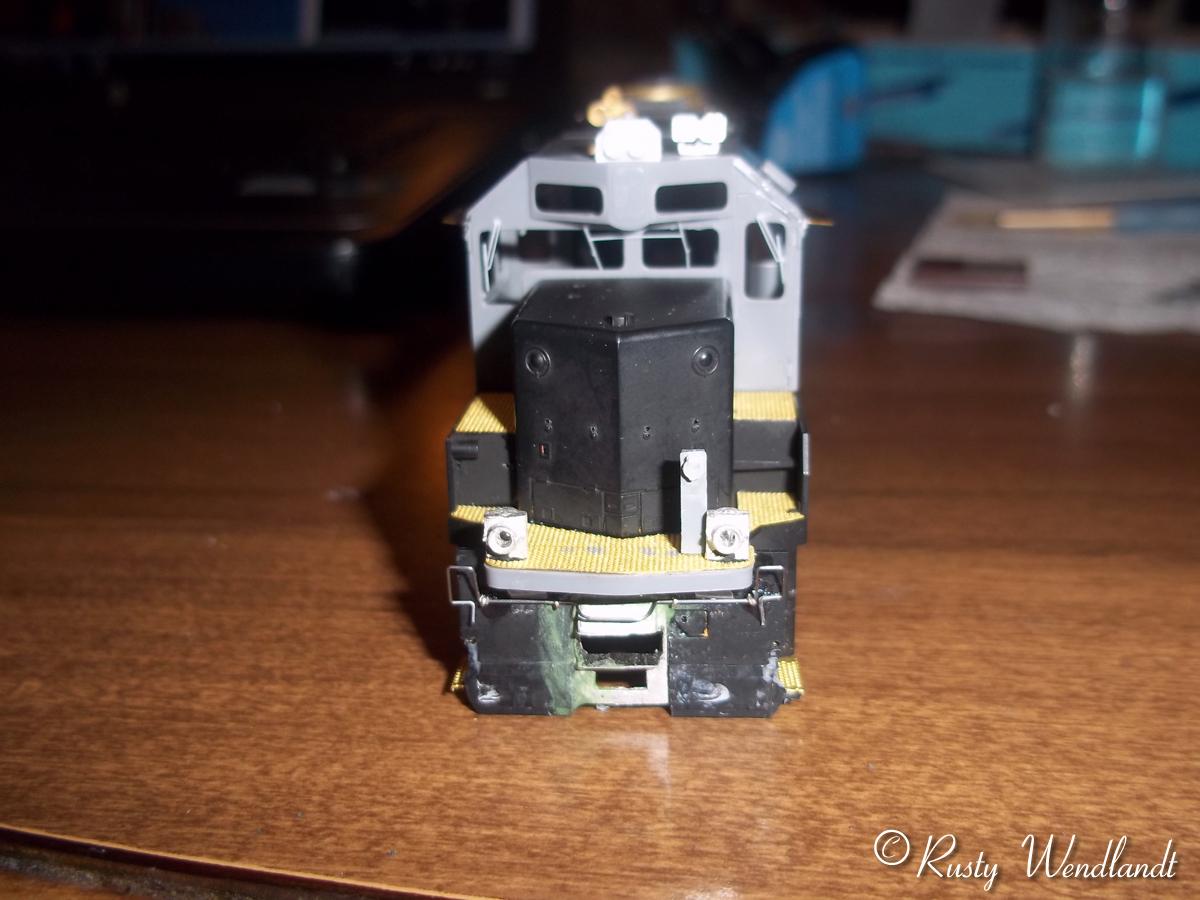
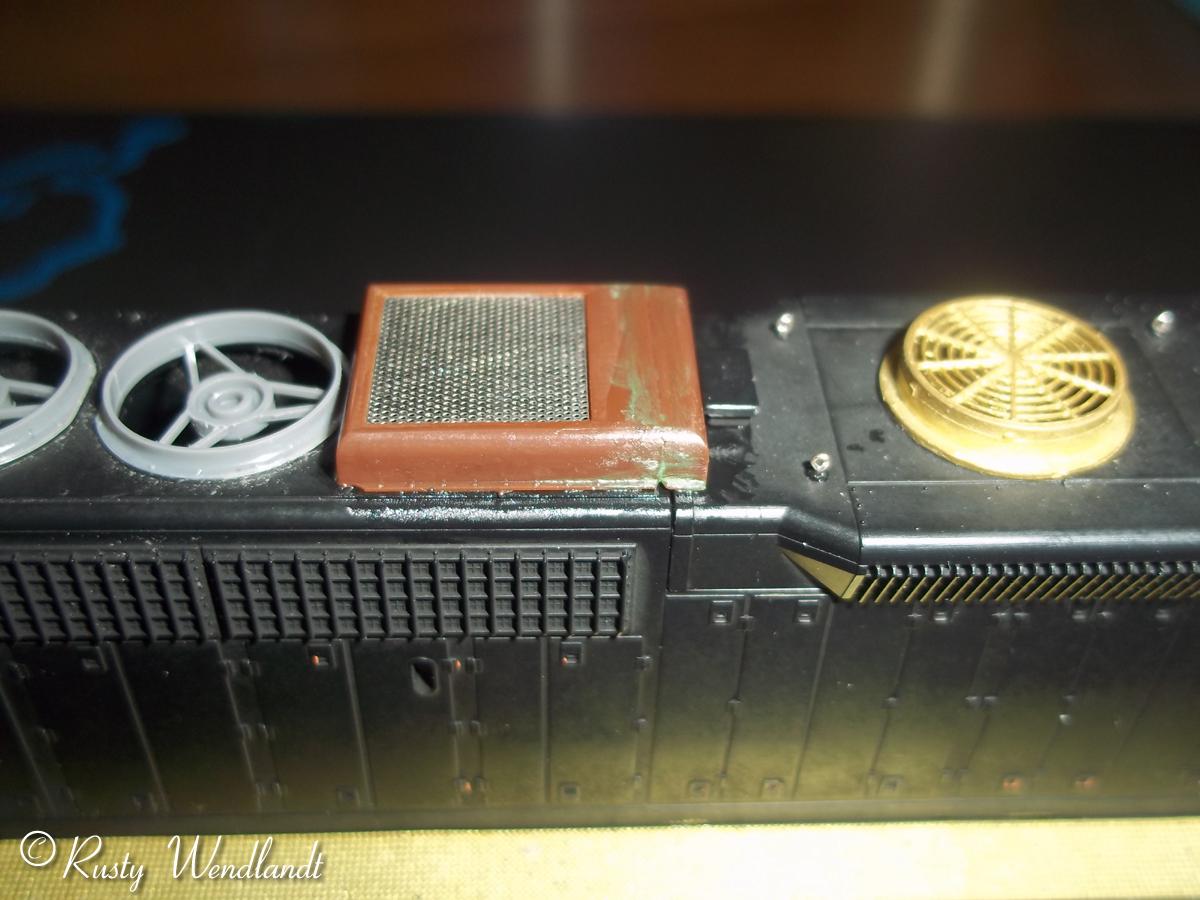
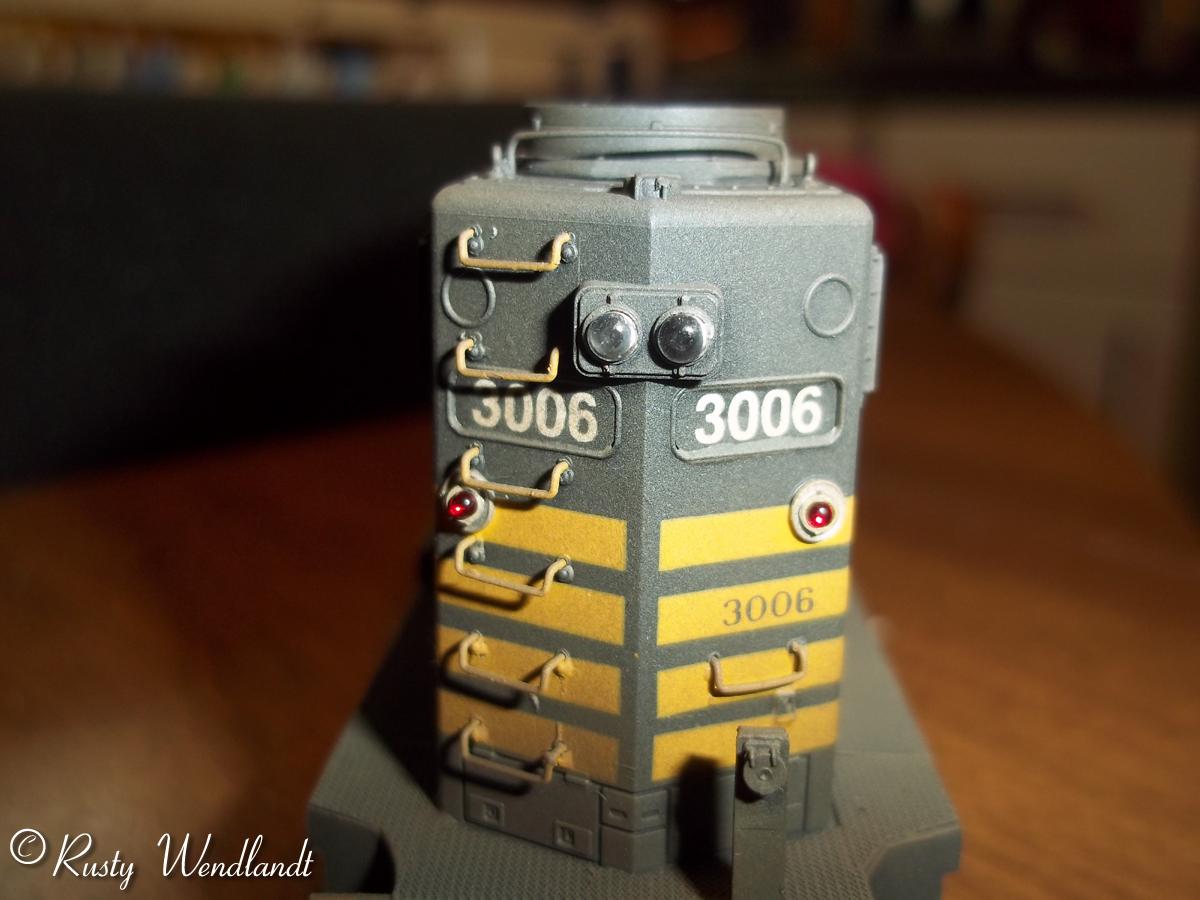
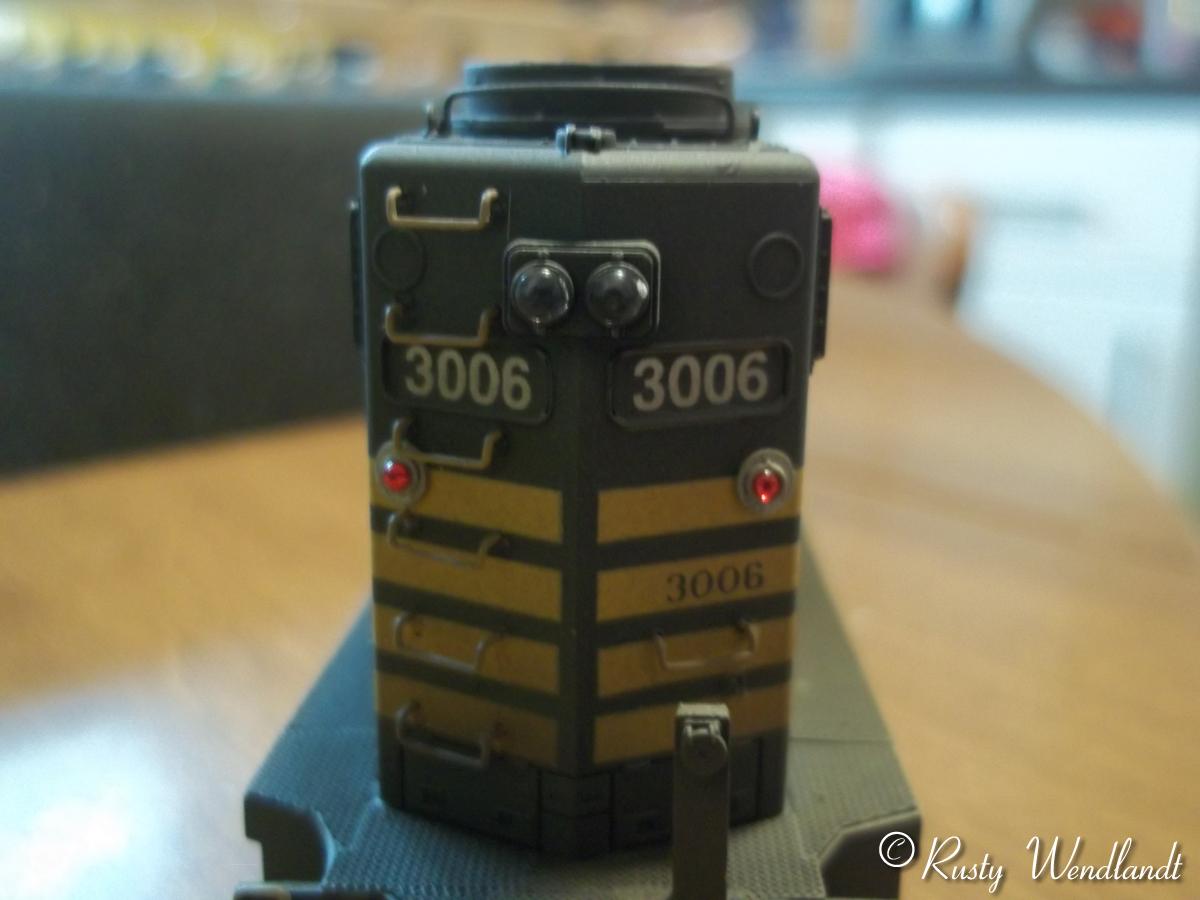
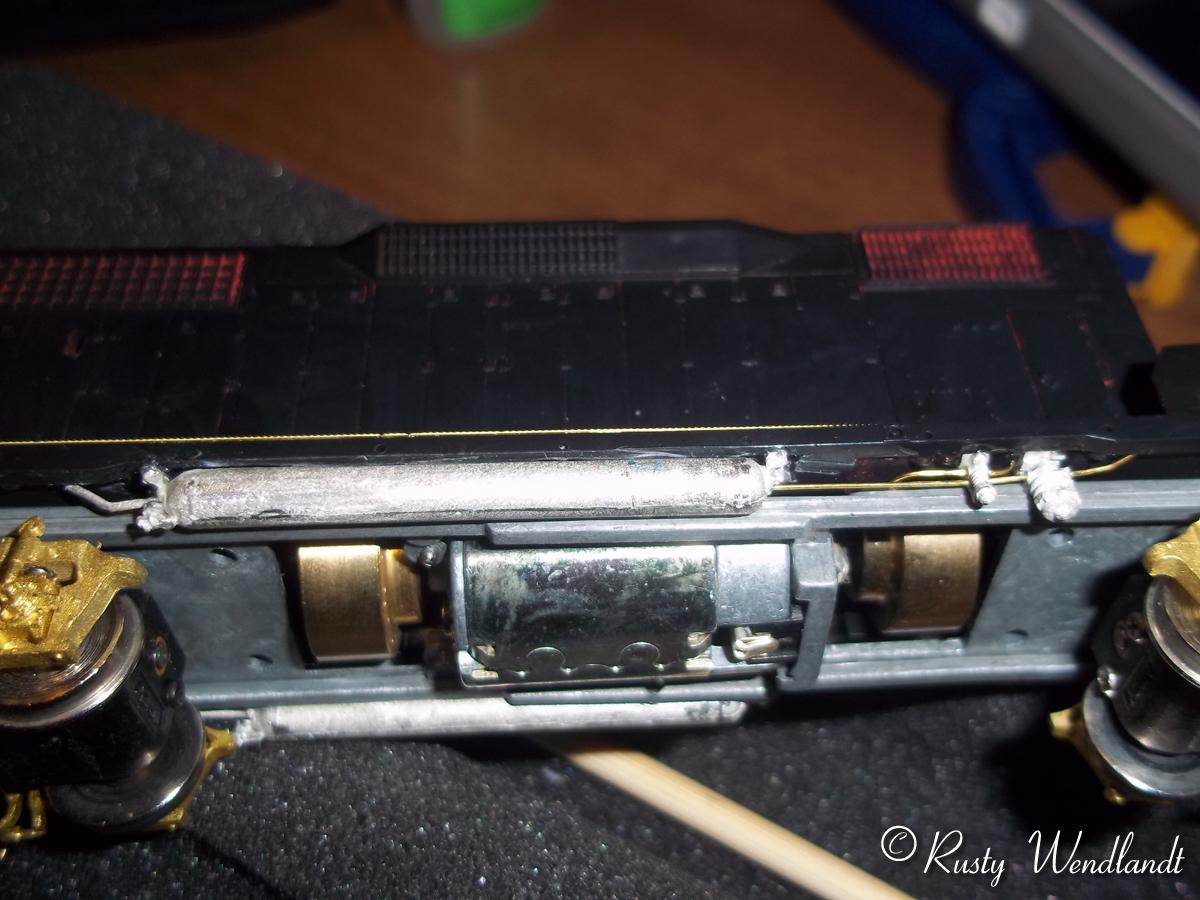
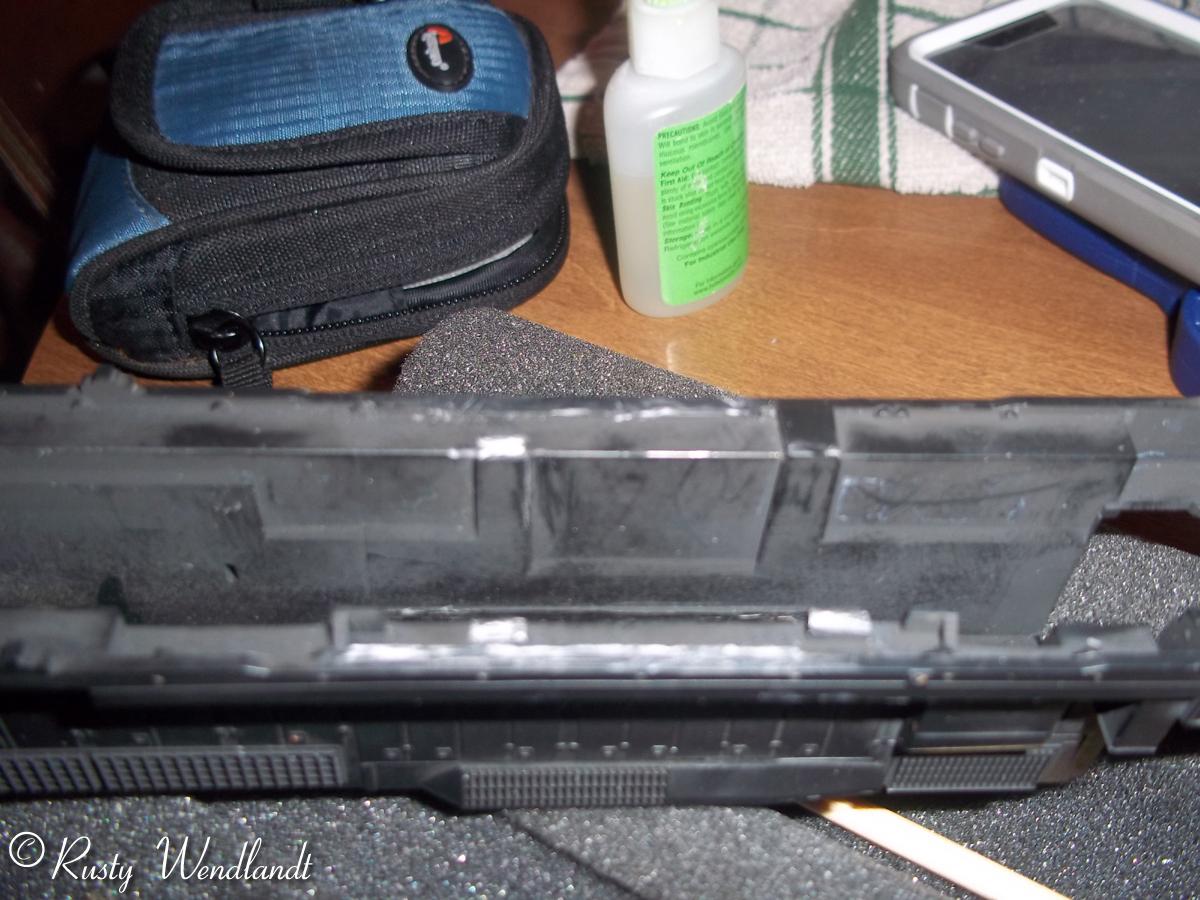
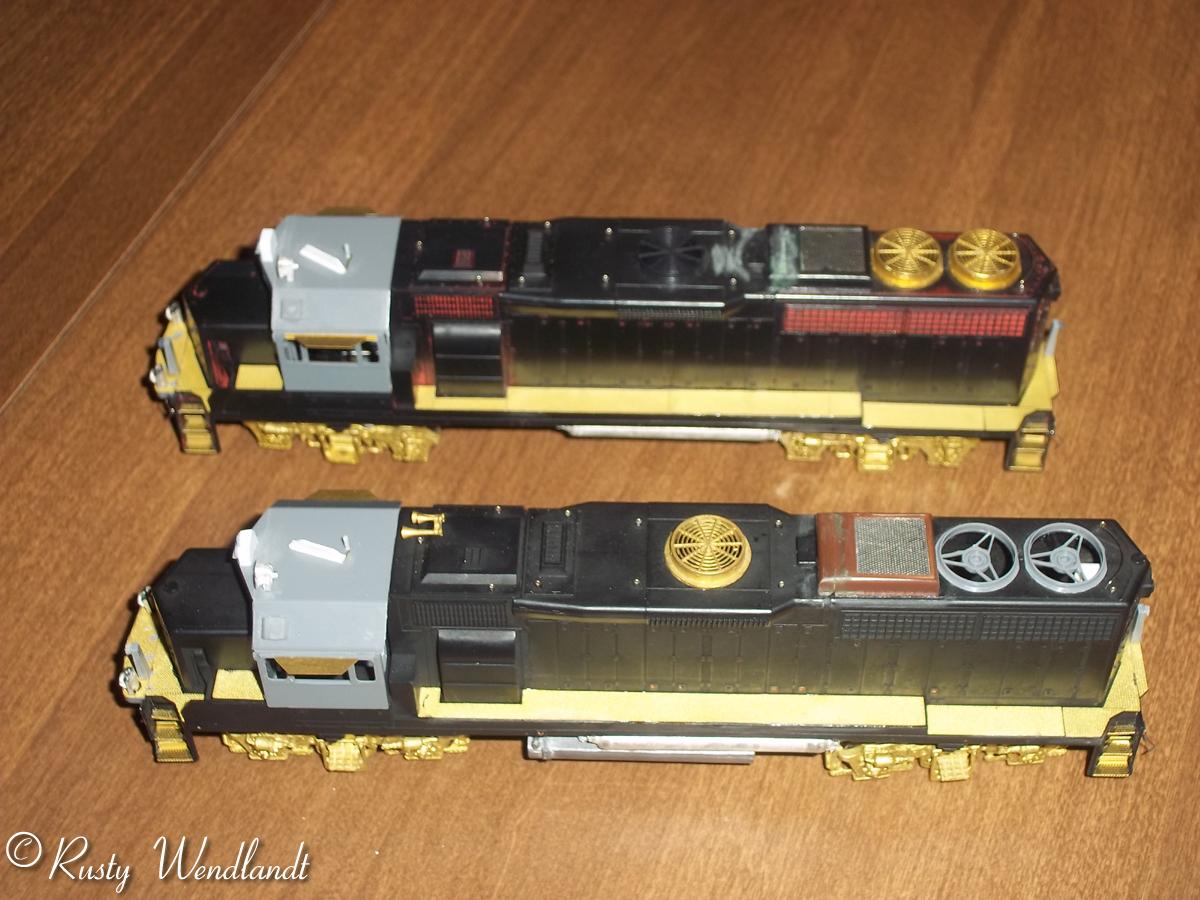
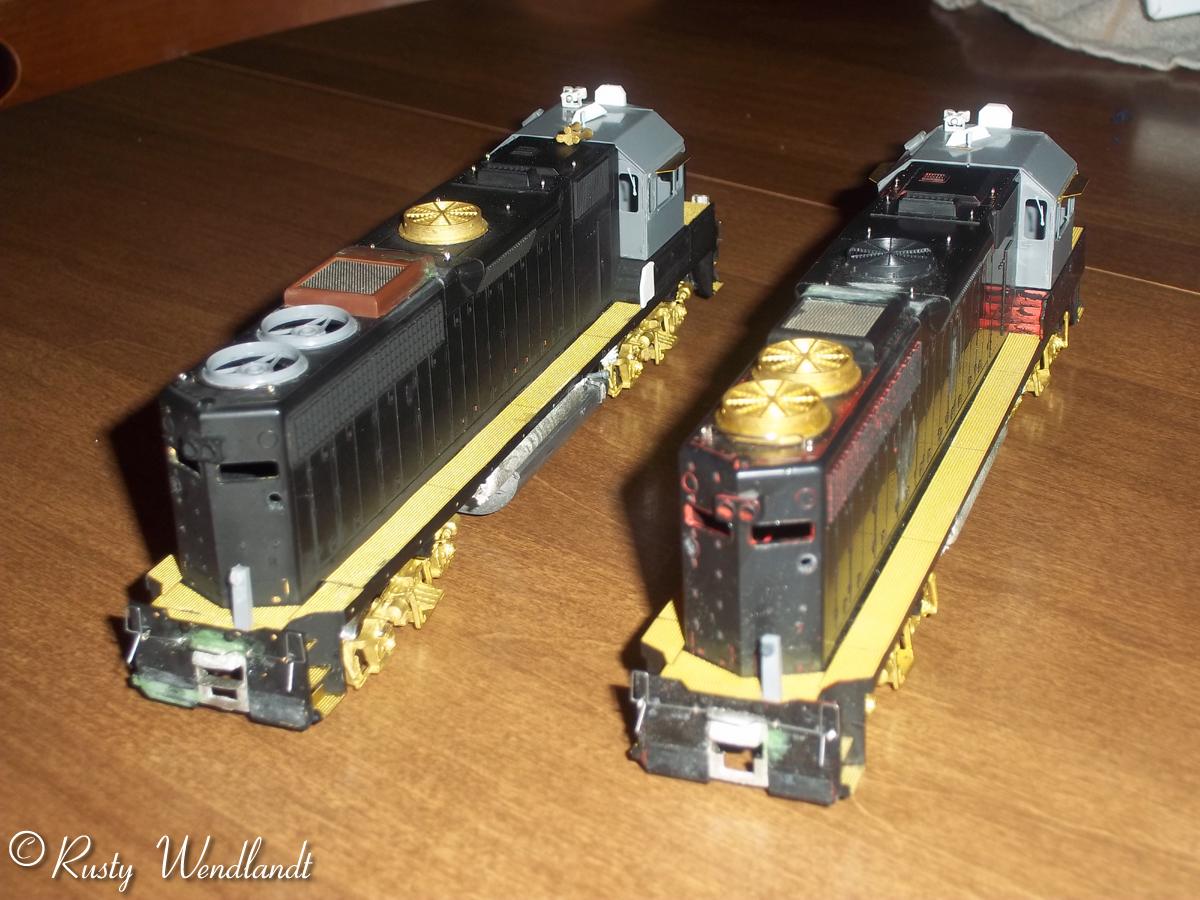
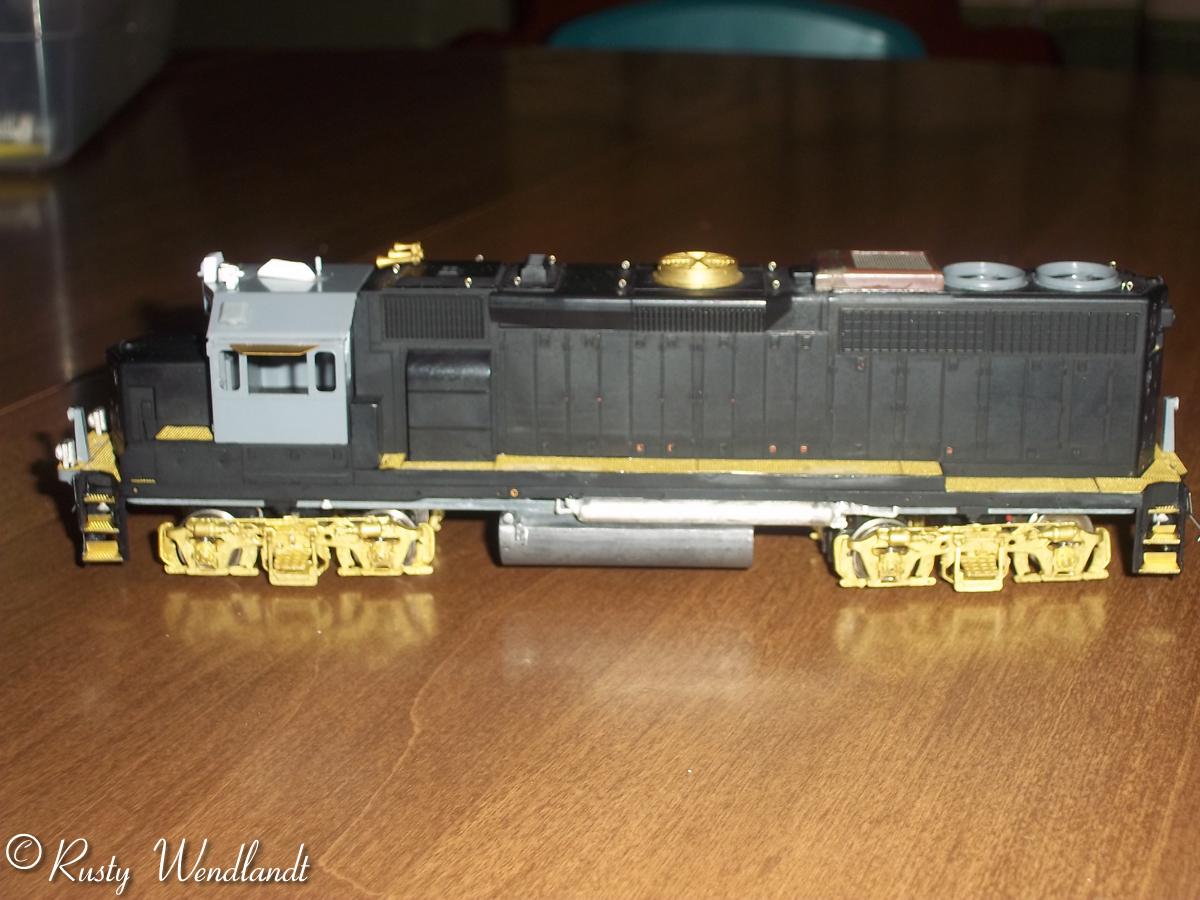
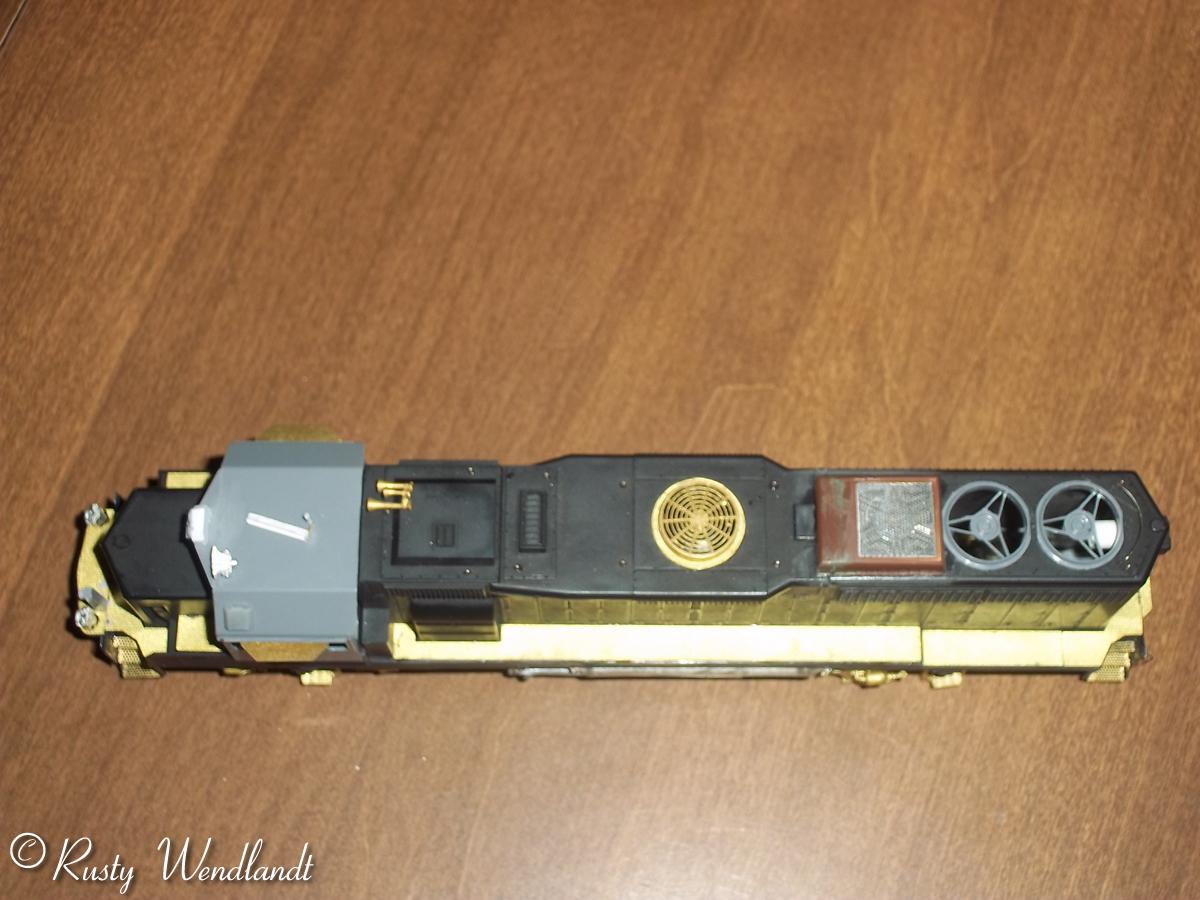
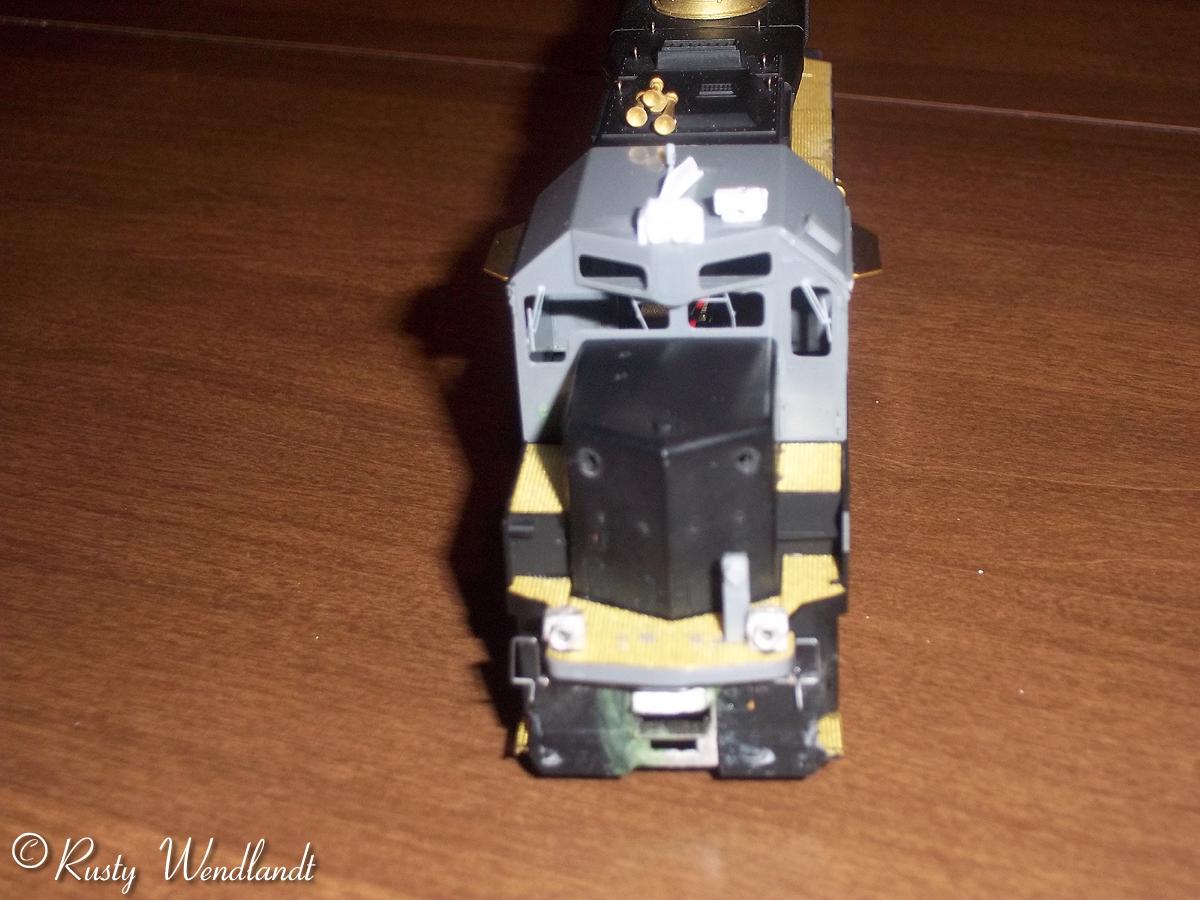
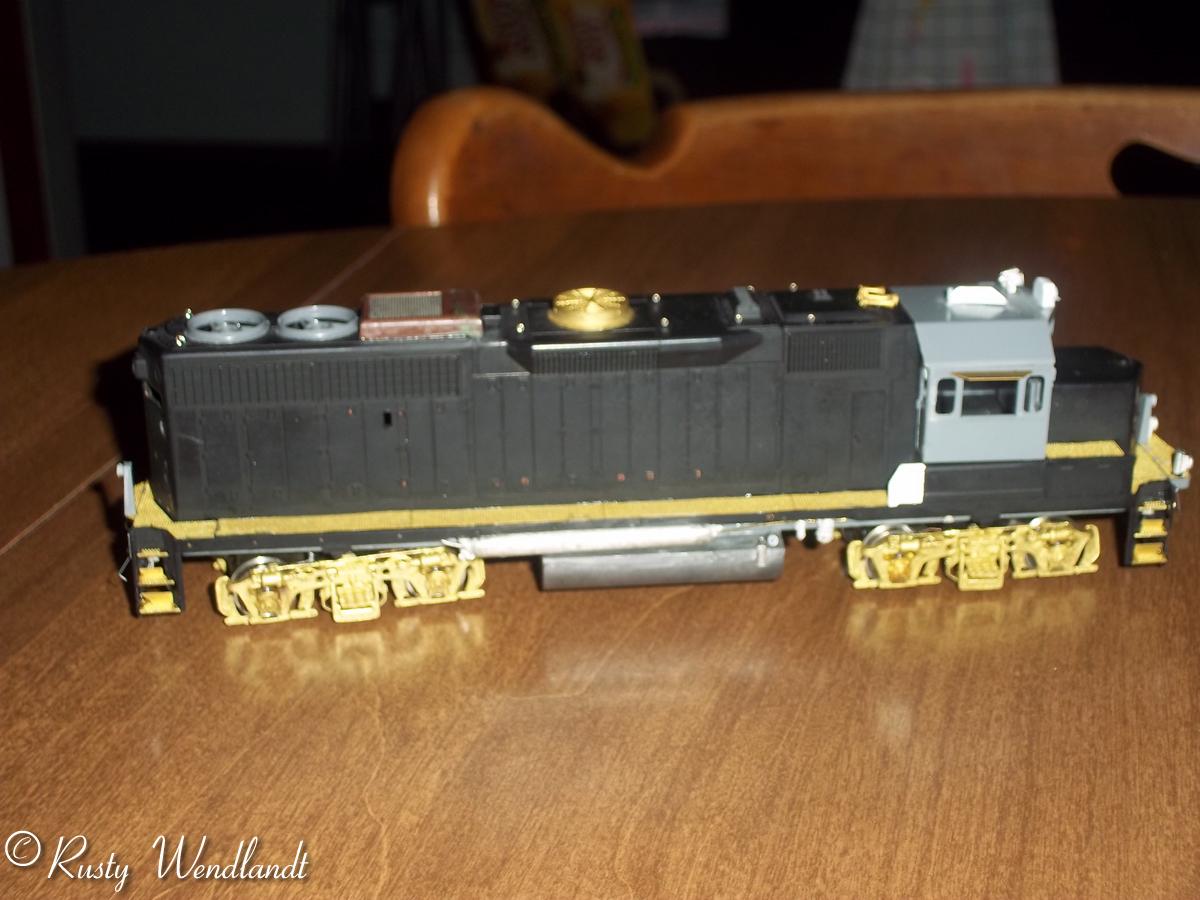
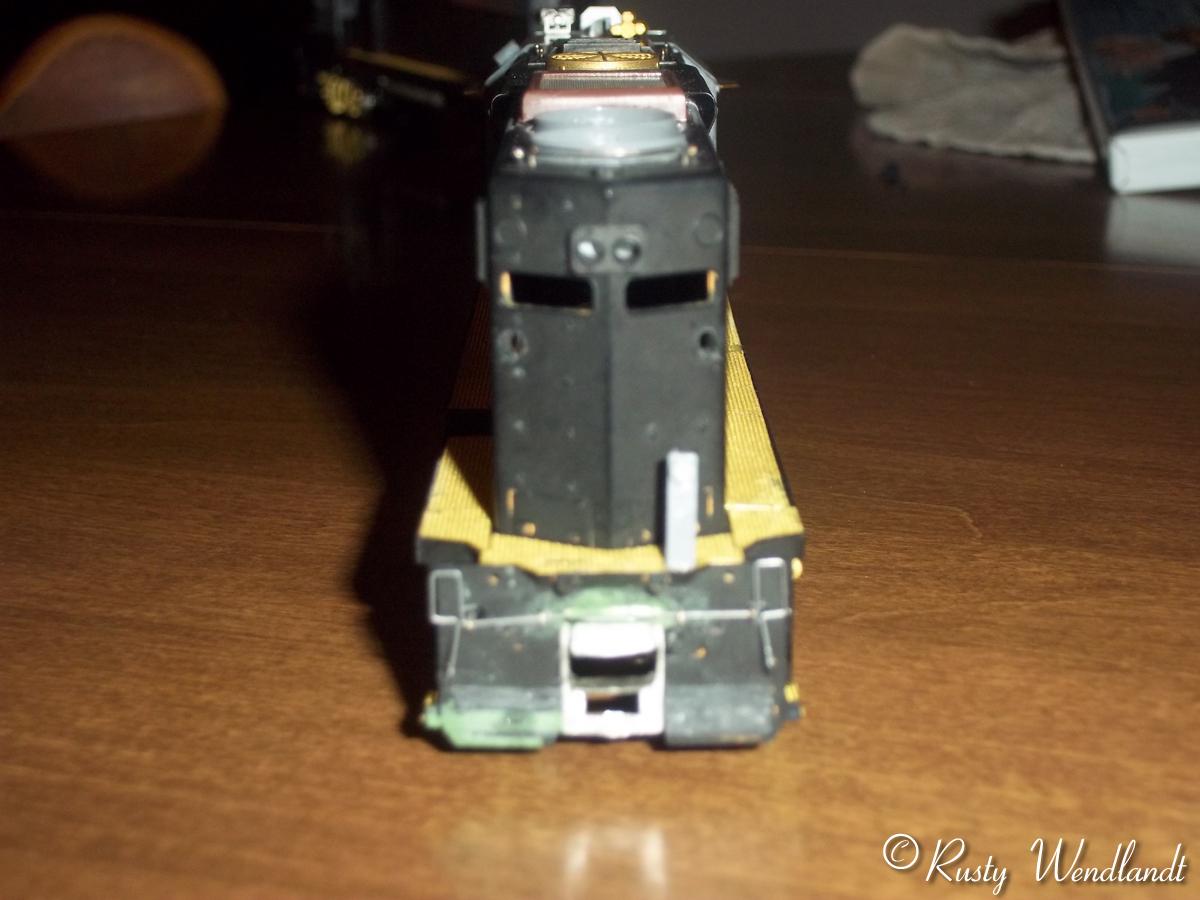
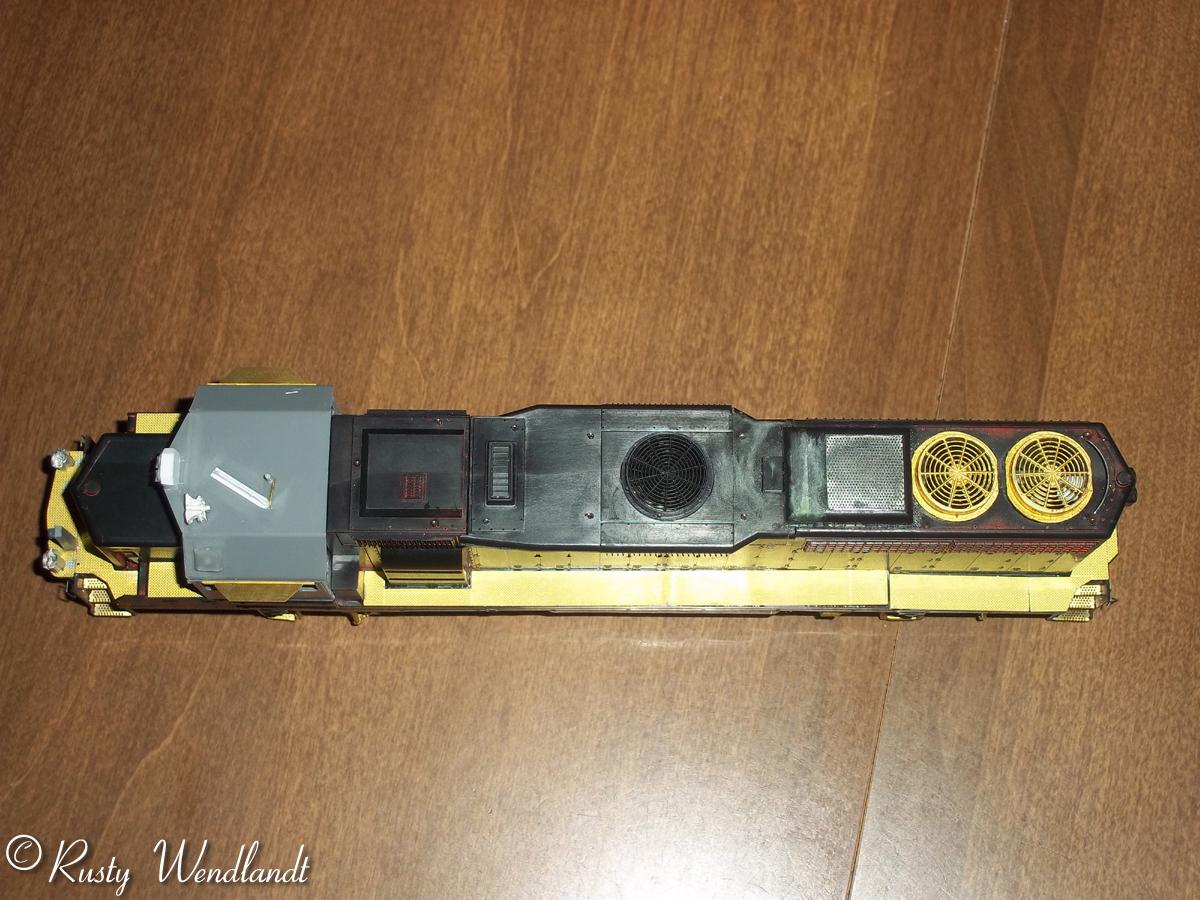
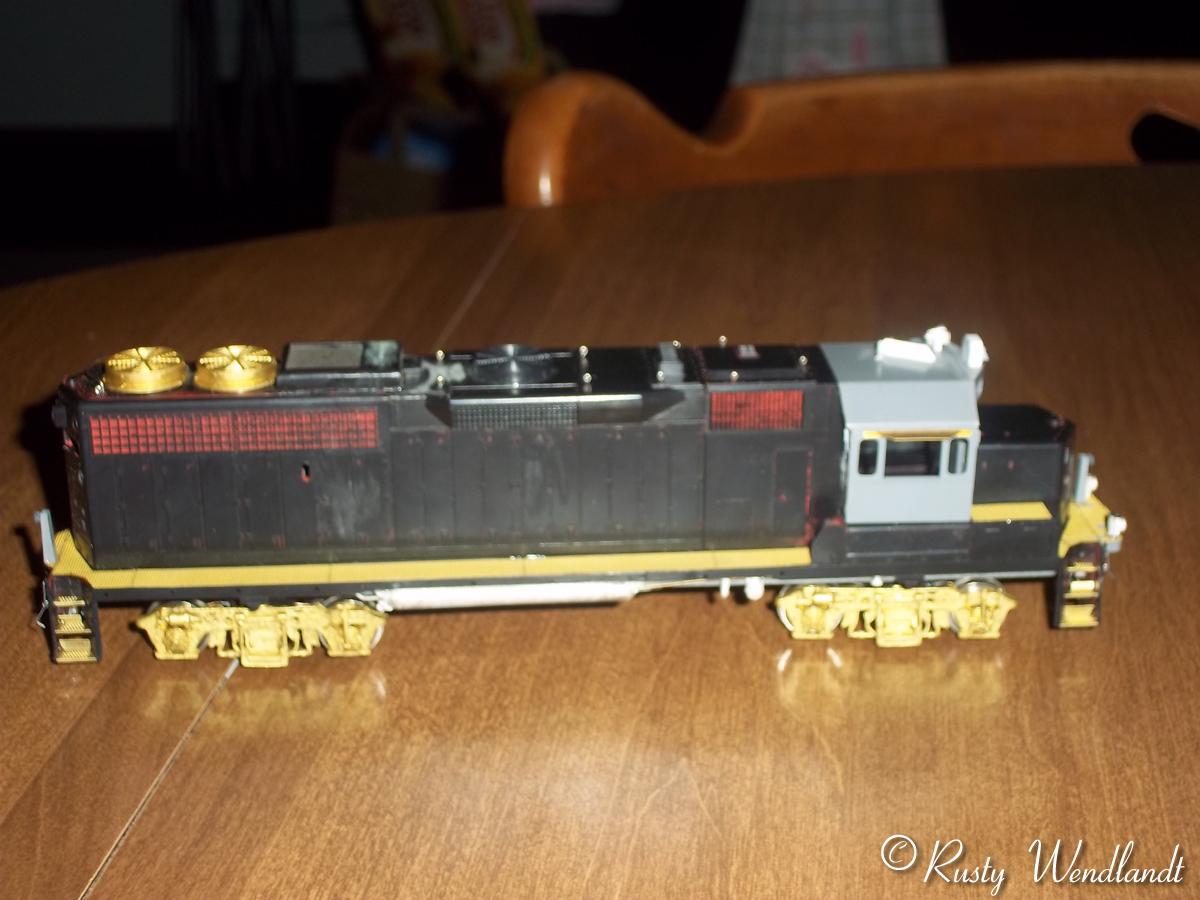
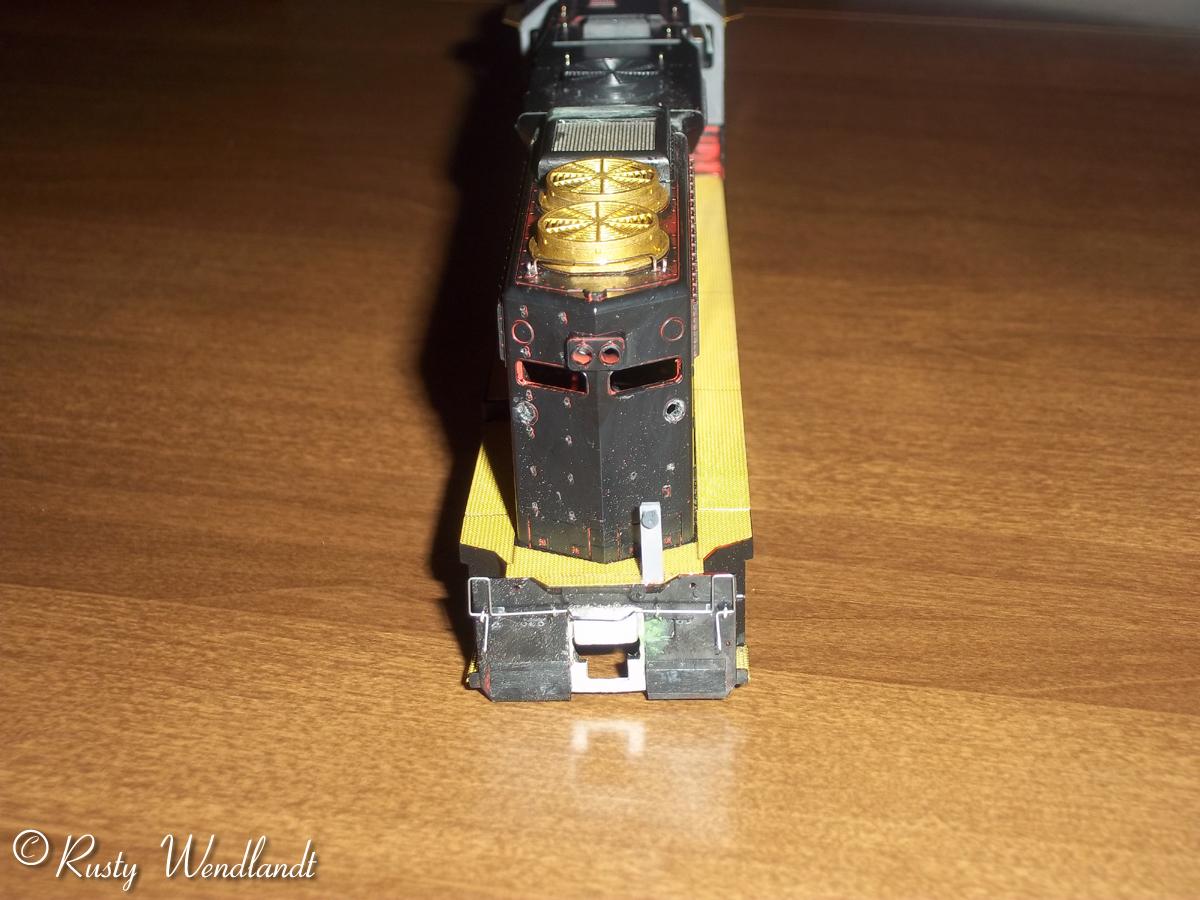
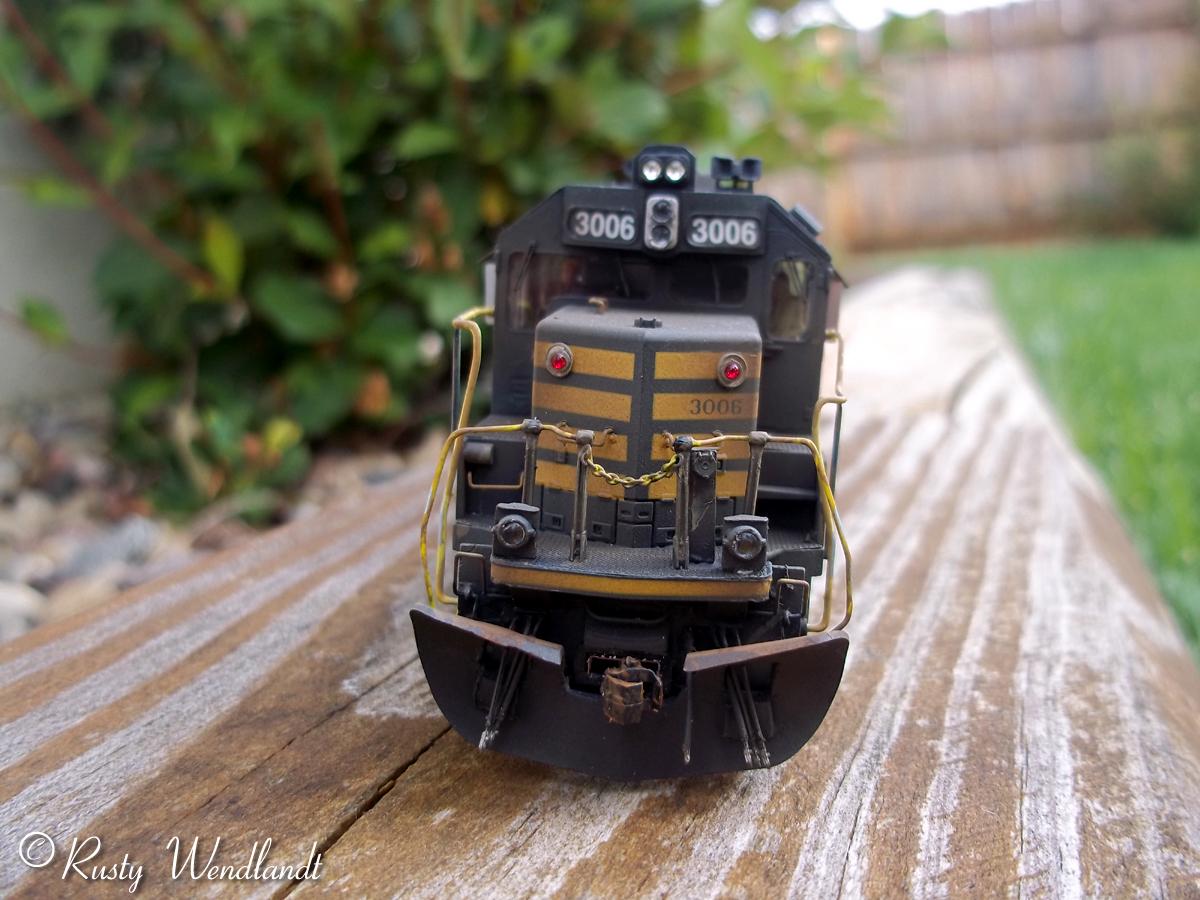
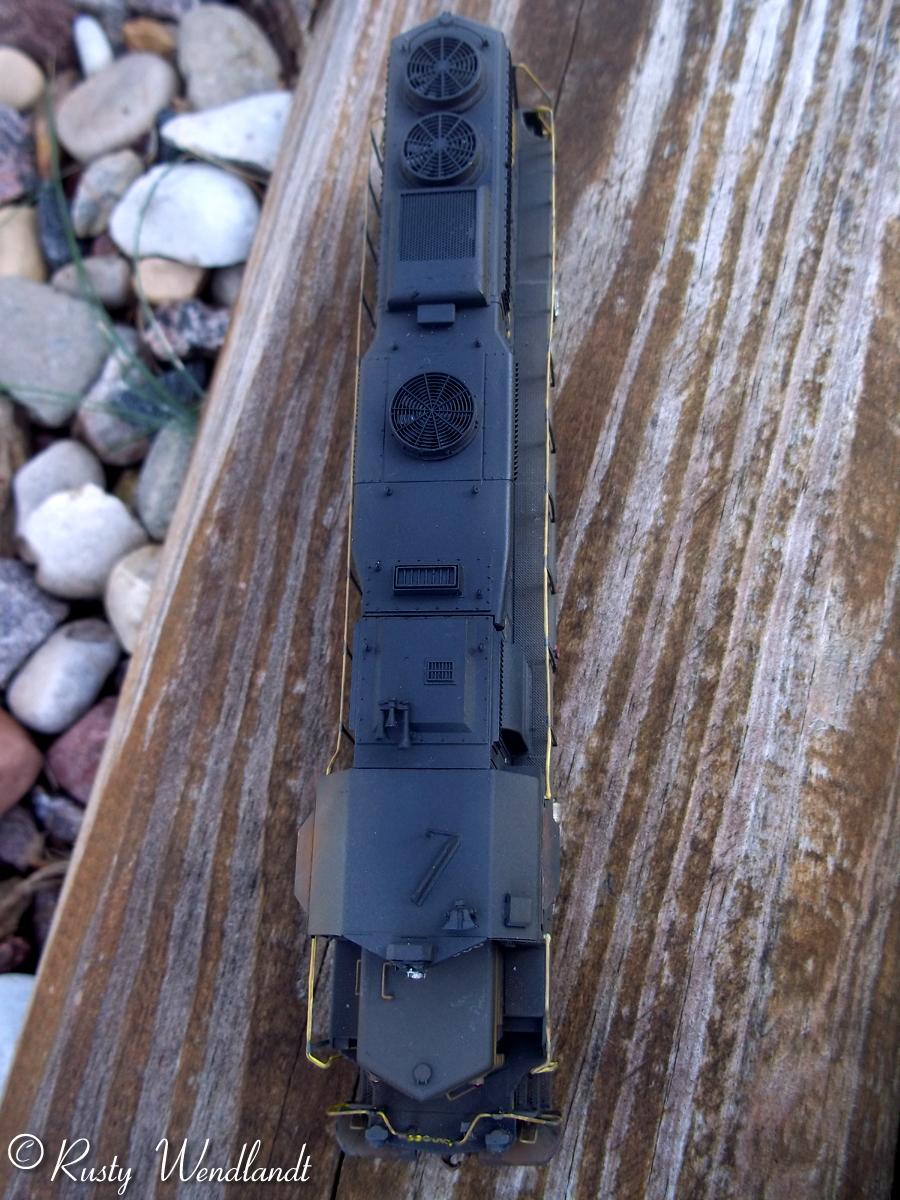
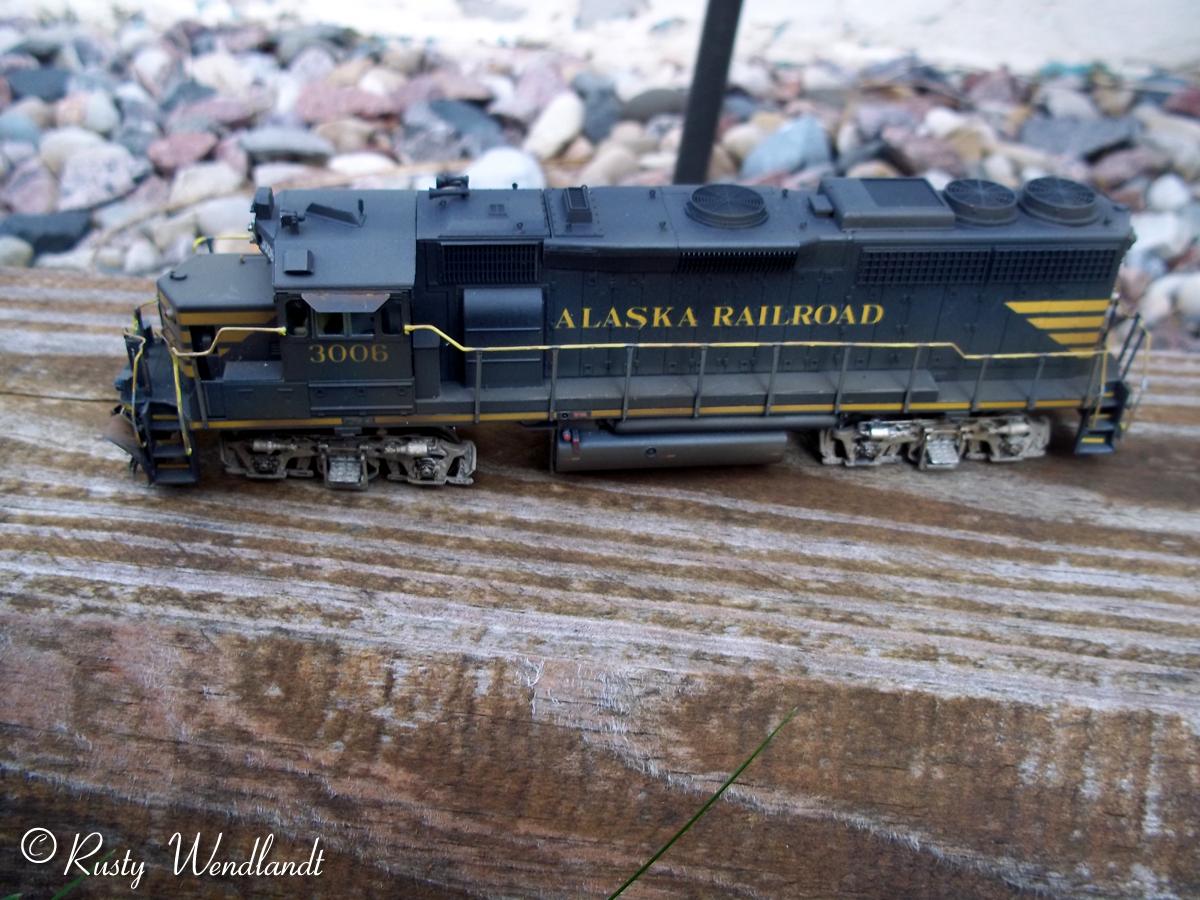
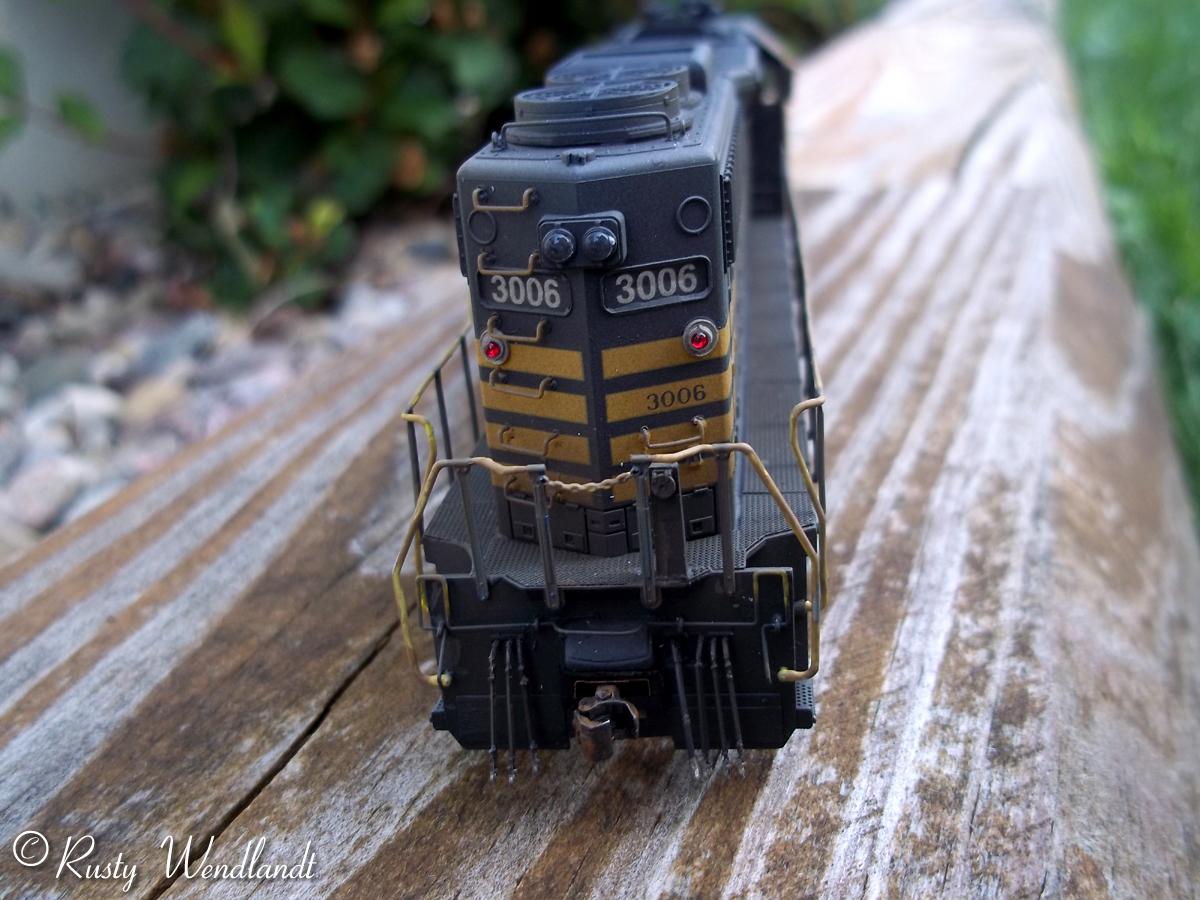
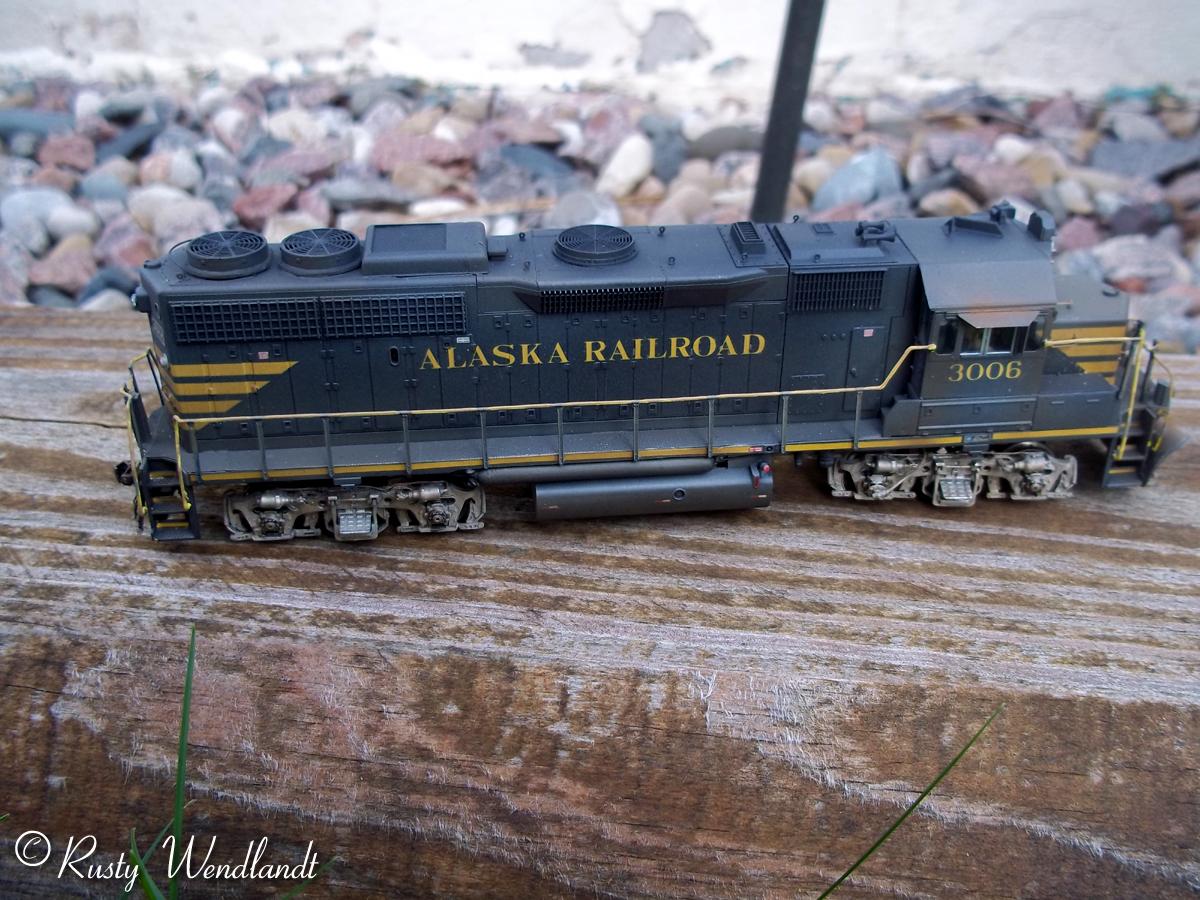
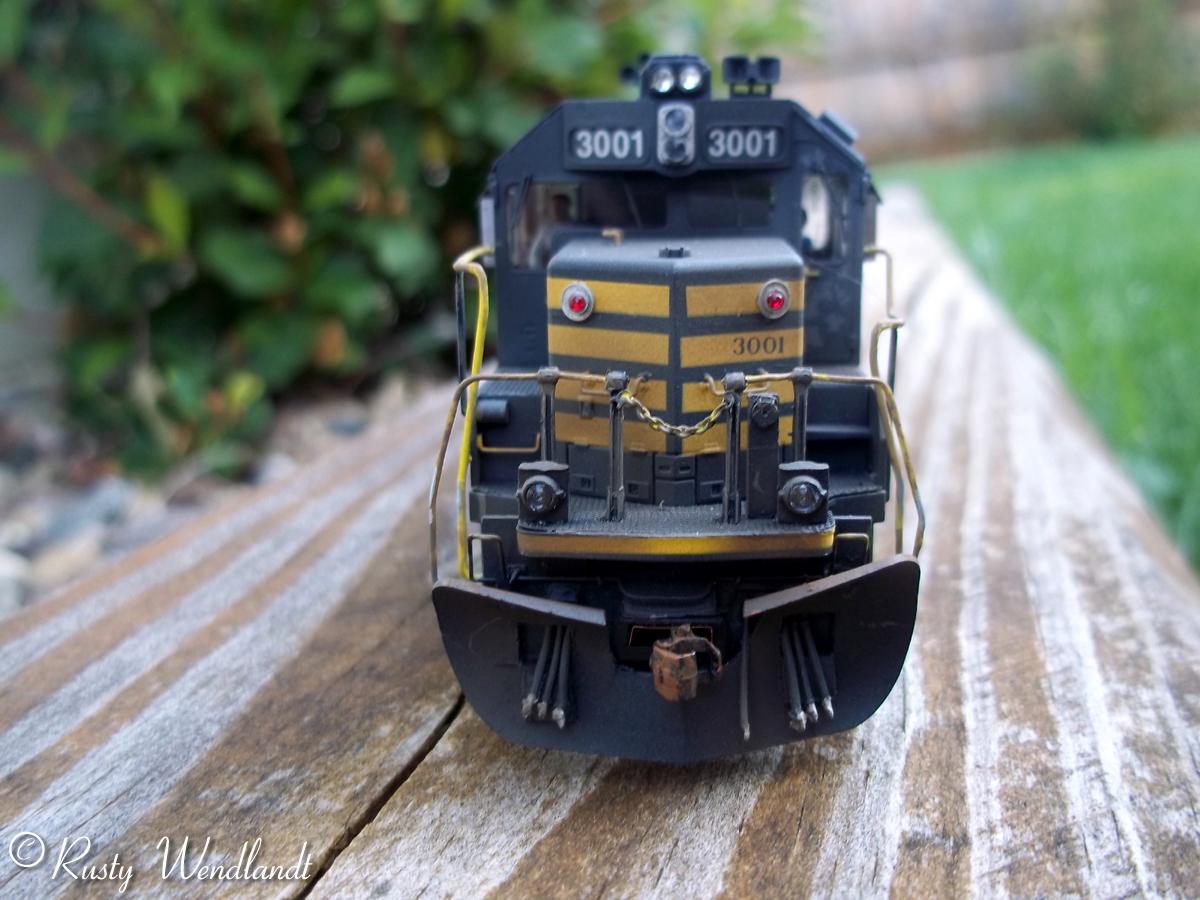
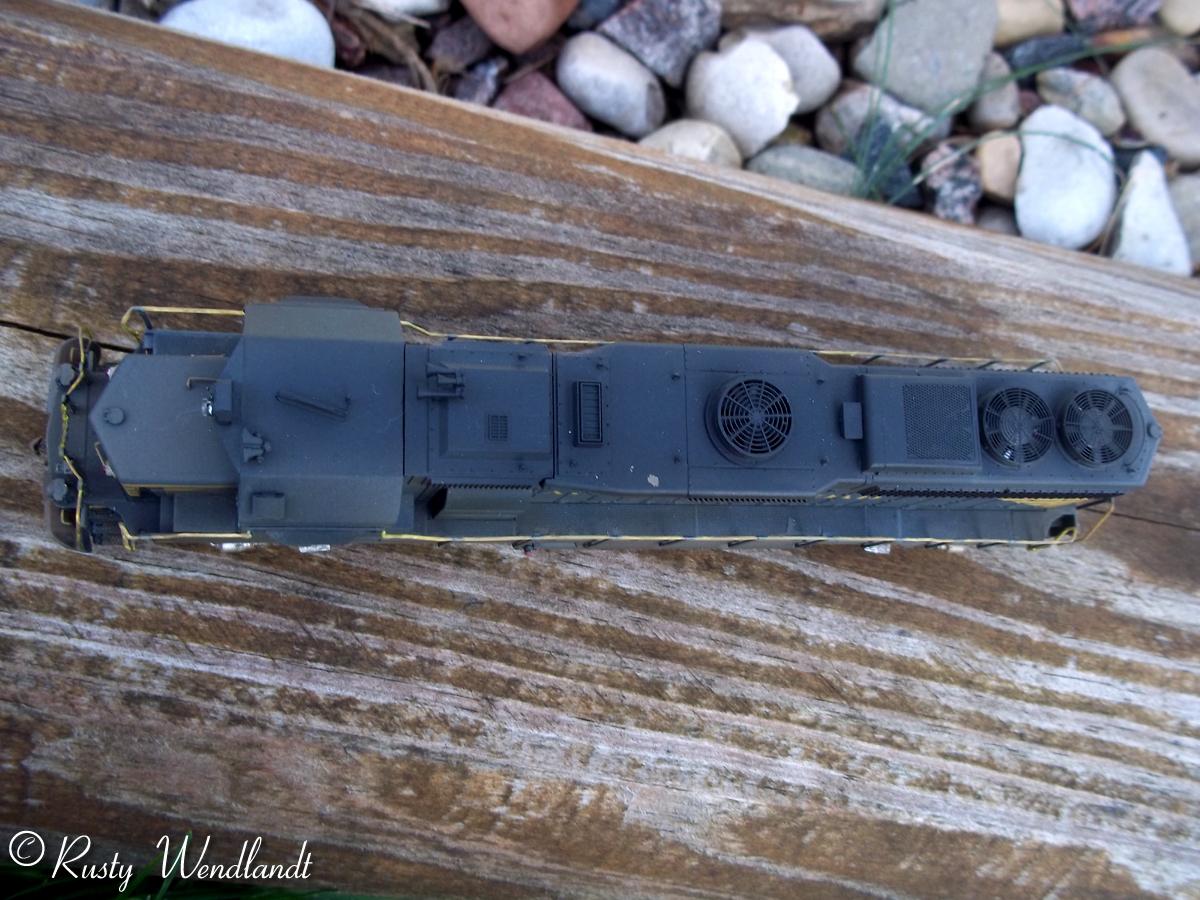
For the build of 3001 and 3006 Athearn blue box GP40-2's were used. The cab was removed and discarded. Remove the dynamic brake hatch and trim out the weight holder. Reinstall the dynamic brake hatch. The extra room will allow for the addition of dcc, keep alive and speaker. The dynamic fan and the radiator fans have to be drilled out. Use a center punch or sharp tool to make a good mark. Start with a small drill bit and work your way up to a 1/2' drill. Depending on the fans that are used the size might vary. I used OMI and Cannon fans were used. I would recommend using all Cannon fans. To make an exact fit I used a round file to get the holes to their exact size. Use a sharp flat blade to make the surfaces are flat and the fans fit flush. Install the lower part of the Cannon fan with mek making sure the directions are read so the braces are in the correct spot. Drill out the holes for the lift rings, grab irons and the rear curved grab. Cut and file out the slots for the buffer plates (only use on the Overland drives or RTR GP40-2's). Use squadron putty to fill any gaps. Use the Overland chassis as the guide for installation because the directions are wrong for them. Drill the holes for the m.u. hoses, air hose and cut levers. Remove the other detail on the pilots. Center punch the molded class lights. Drill a small pilot hole and use a sharp flat blade to remove the rest of the light. Drill the hole for the new class lights. Use the angled class lights from Cannon nose kits for the proper hole size. Glue the Cannon anti-climber into place with mek. Remove the steps and install the Cannon etched steps and walkways. Make sure the directions are read closely. Drill the hole in the front left corner of the air filter bin for the horn. The winterization hatch that was used had to be shortened to fit properly. When assembling the front radiator fan make sure the winterization hatch fits flush. If not remove the center section of the Cannon fan to make sure it fits and glue the fan screen to the bottom of the winterization hatch screen. Paint the radiator fan and glue into place (the other aluminum parts can be painted at this time). Use mek to glue the winterization hatch in place. Flip the body over and remove to mounting pegs that were used on the Athearn chassis (ONLY DO THIS FOR THE OVERLAND DRIVE). The left side of the body needs styrene strips added so the Details West air tanks can be installed. Locate the proper mounting spot and use mek to glue the styrene in place. Drill the holes for the air tank mounting holes. Drill out the end of the air tanks for the piping. Install the air filters with the pipe holes drilled. Use the .015" wire for the piping from the air tank to the filers and out from the filters. Use the Details West piping for the other parts of the tanks. Using the frame as a guide drill holes for the lower cab and step lights. The steps lights are drilled under the upper step (the pictures might be hard to see). The under cab lights have to have styrene glued by them for them to be in the correct spot. Install the The ditch light housings, m.u. stands, and coupler cut levers. For operating ditch lights drill the holes for the wires under the anti-climber.
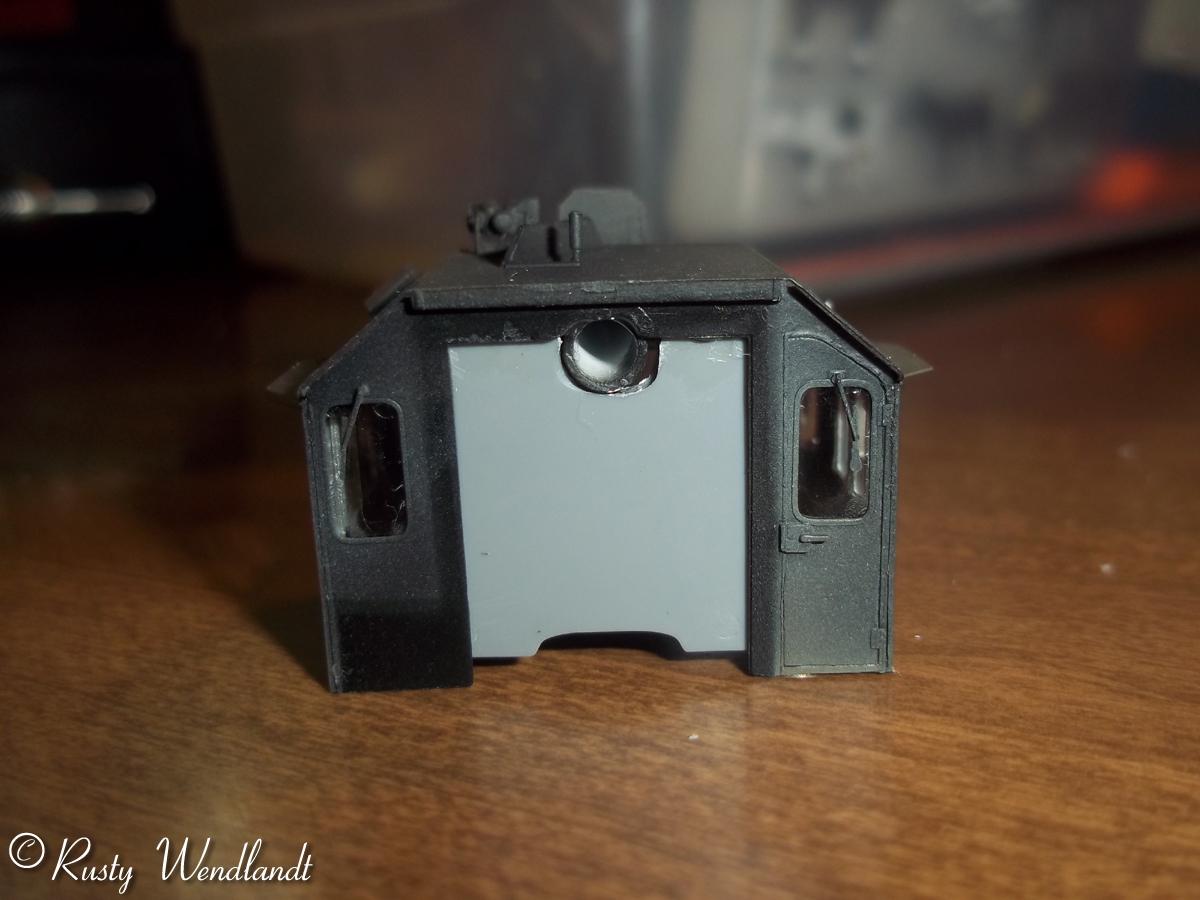
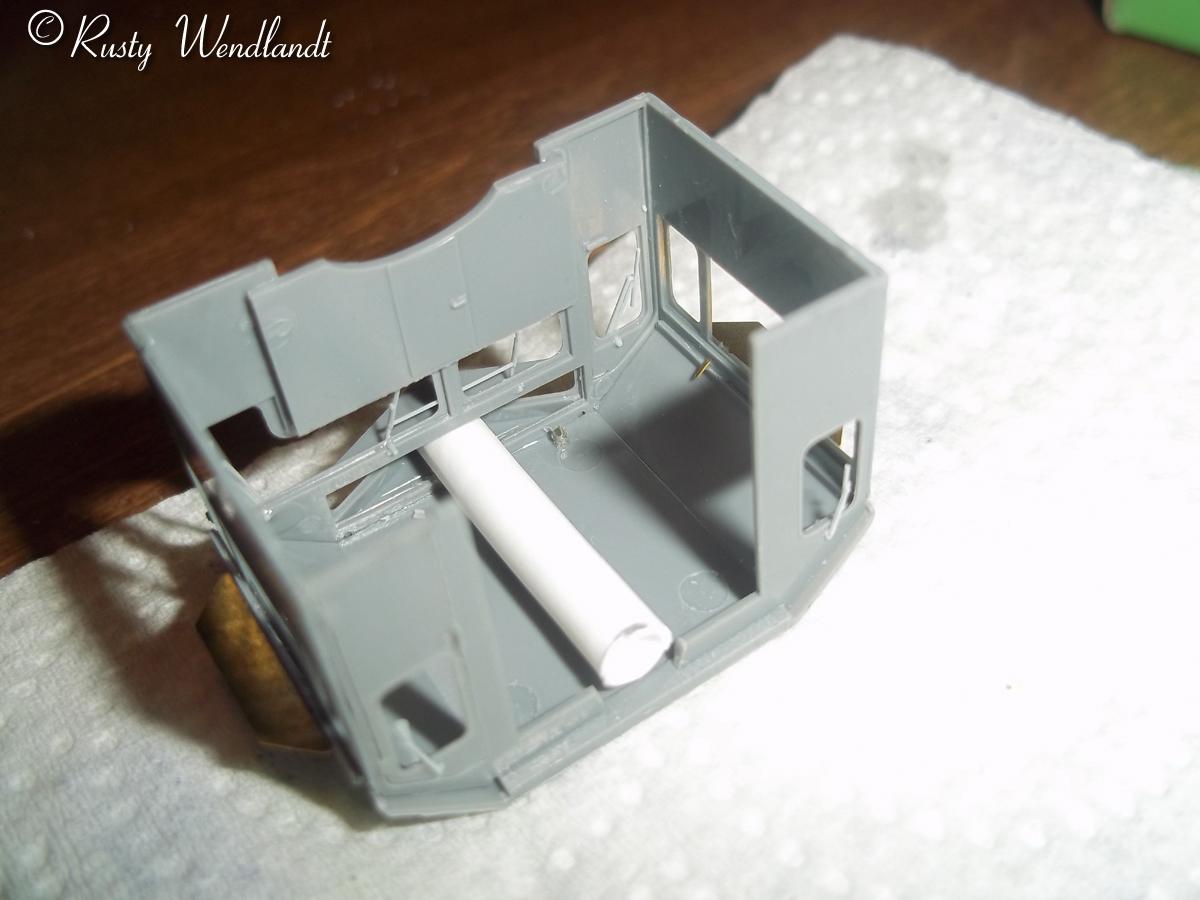
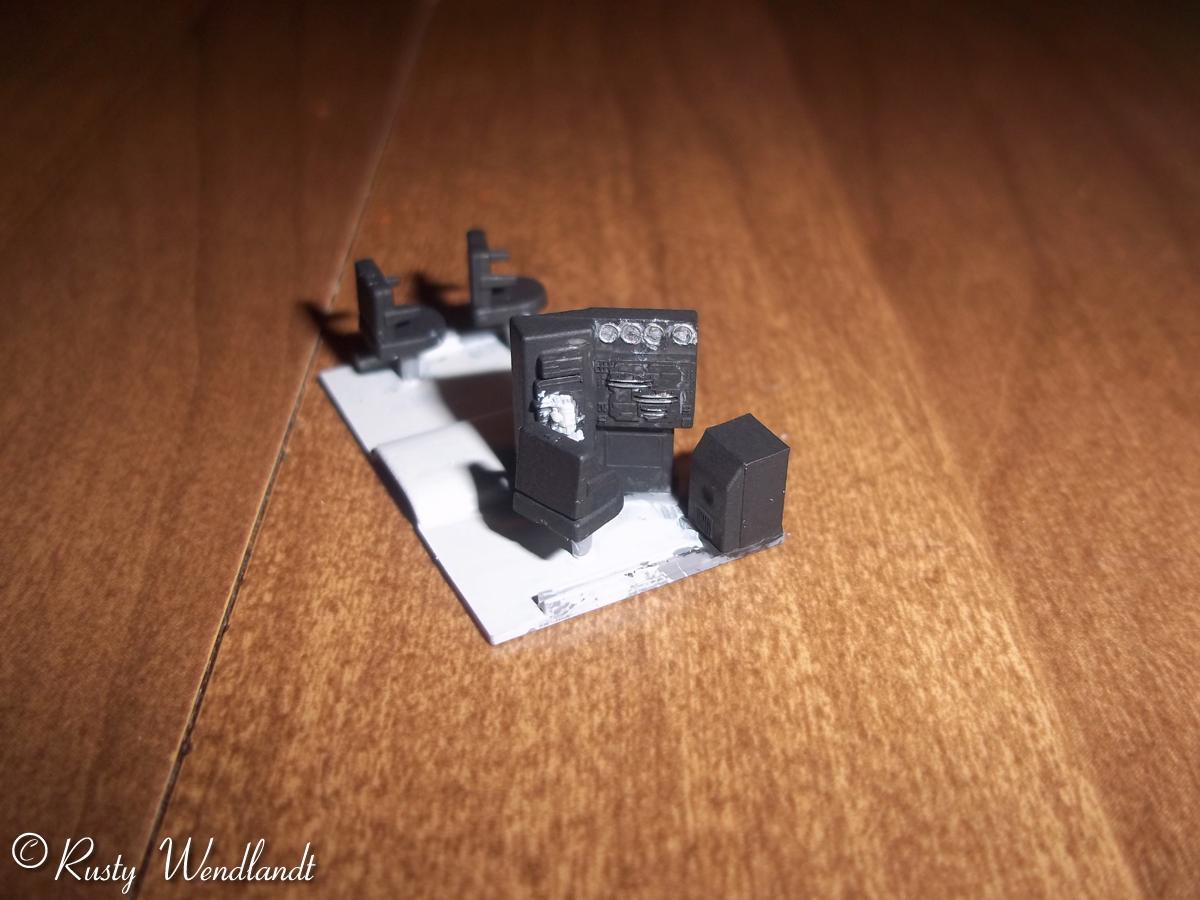
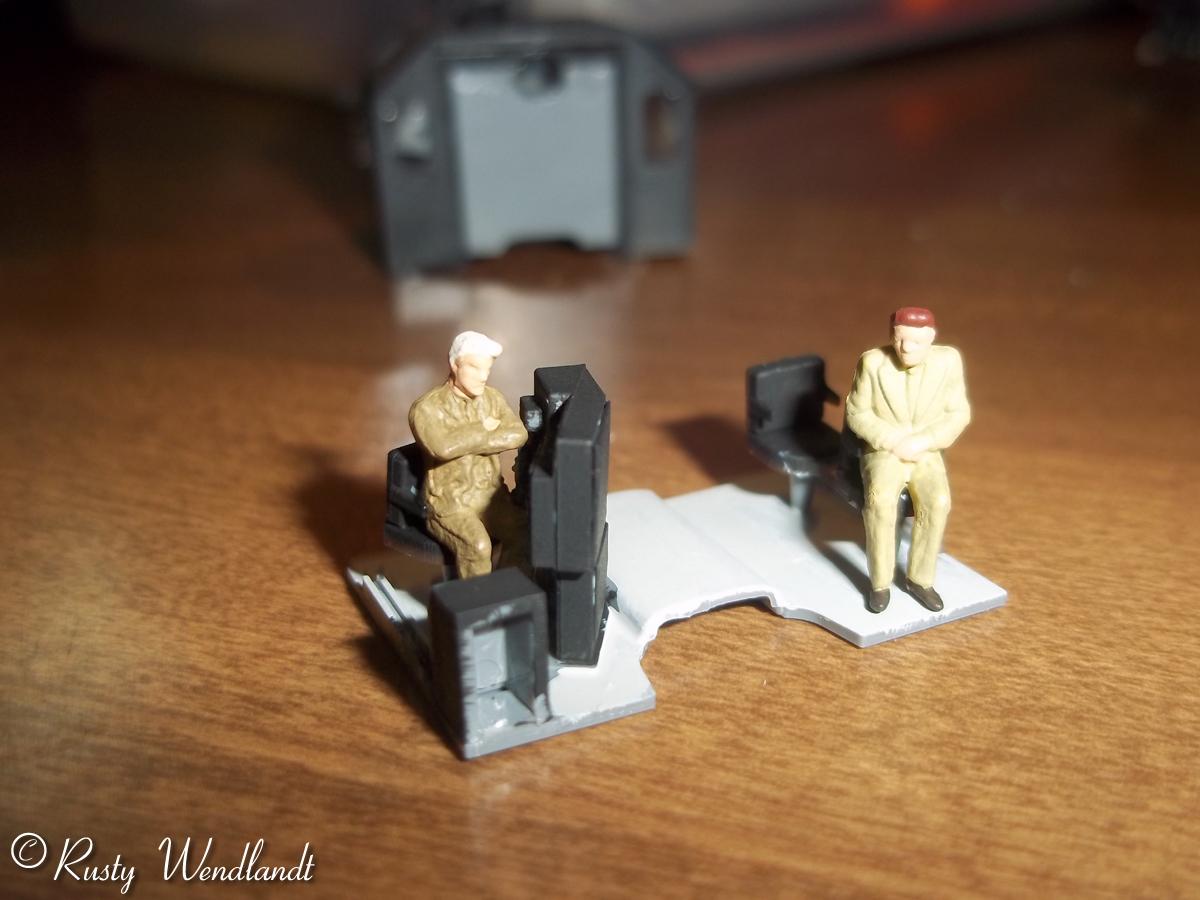
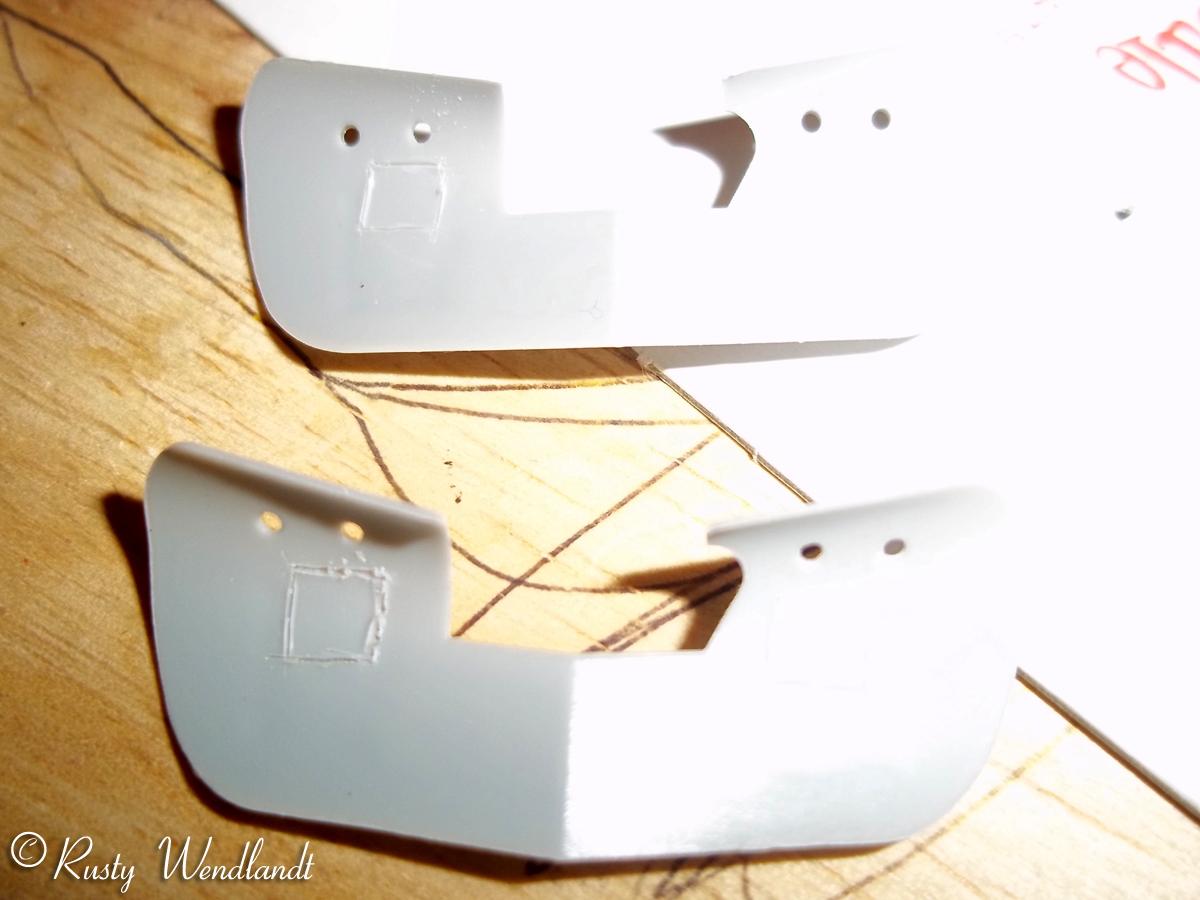
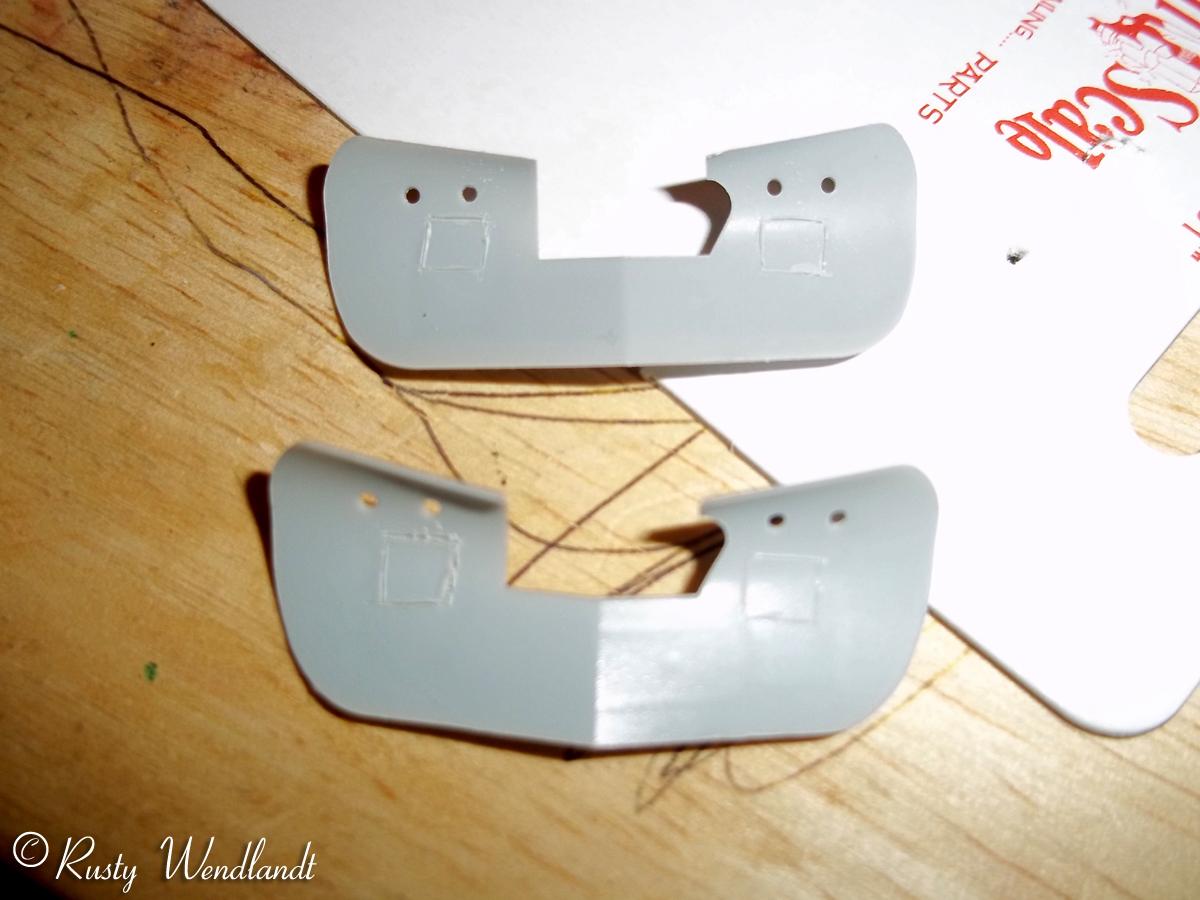
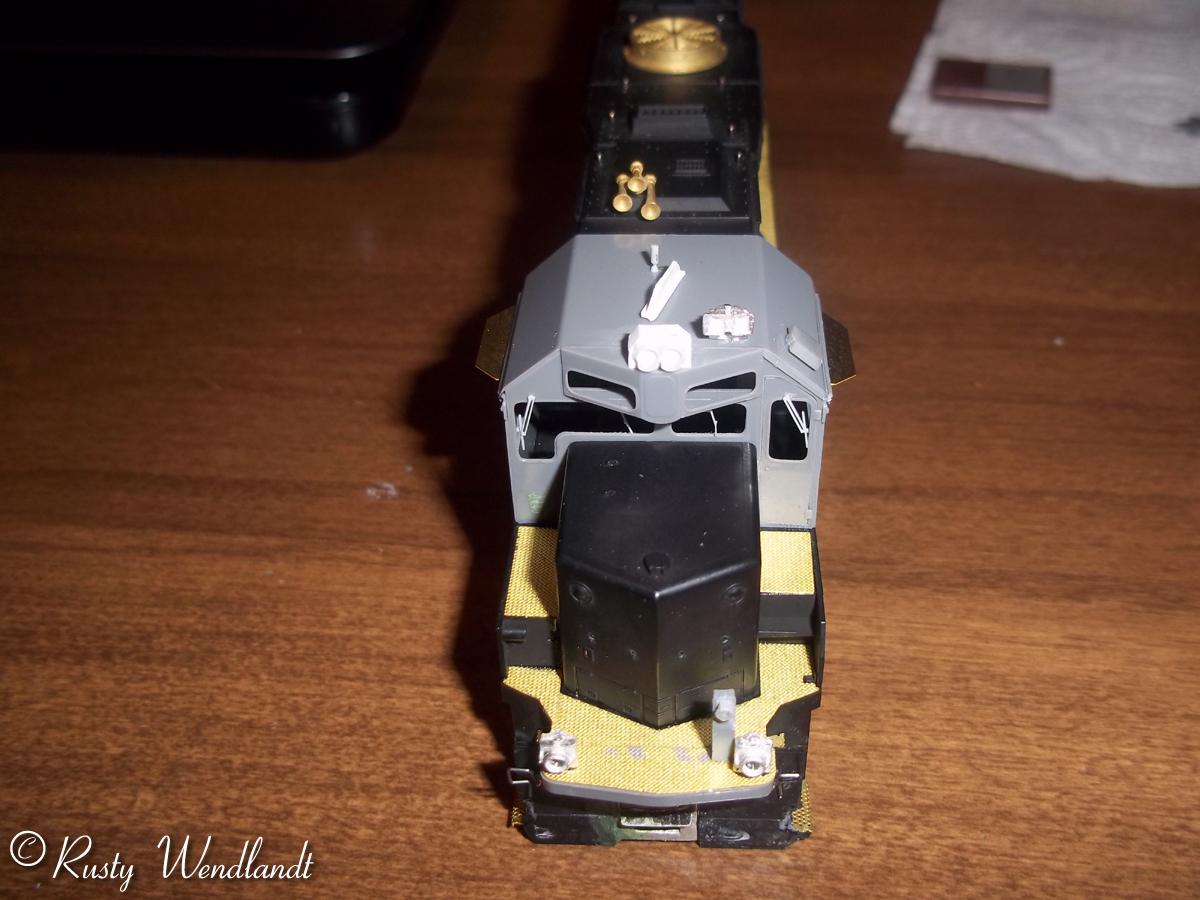
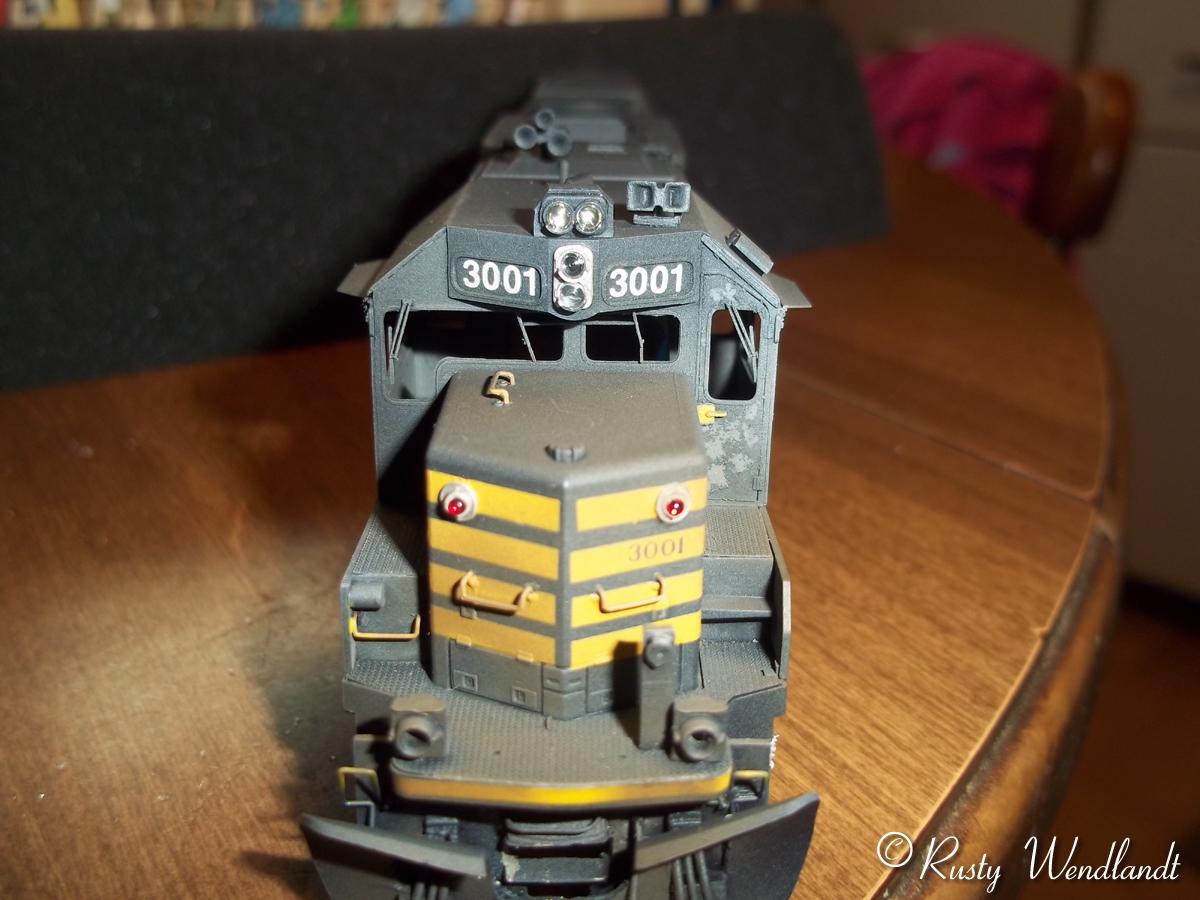
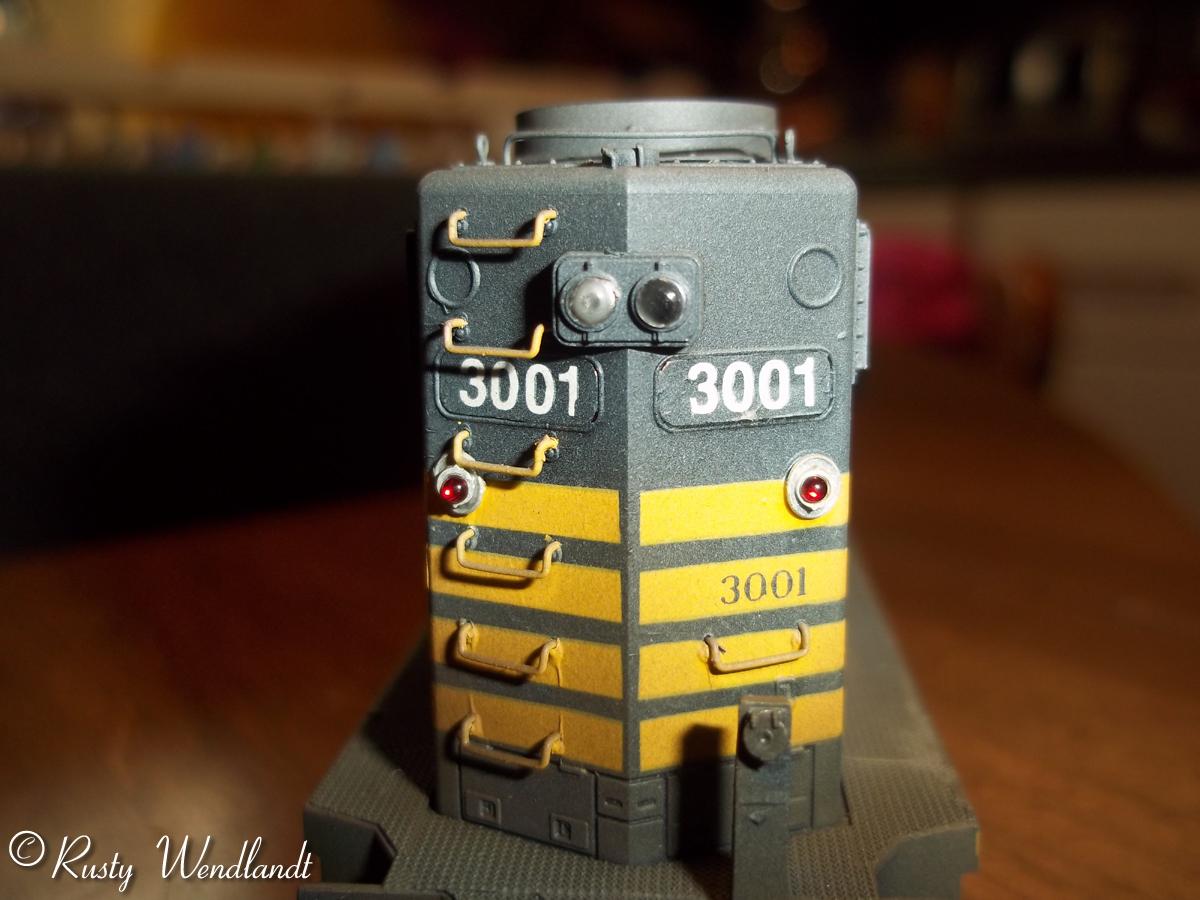
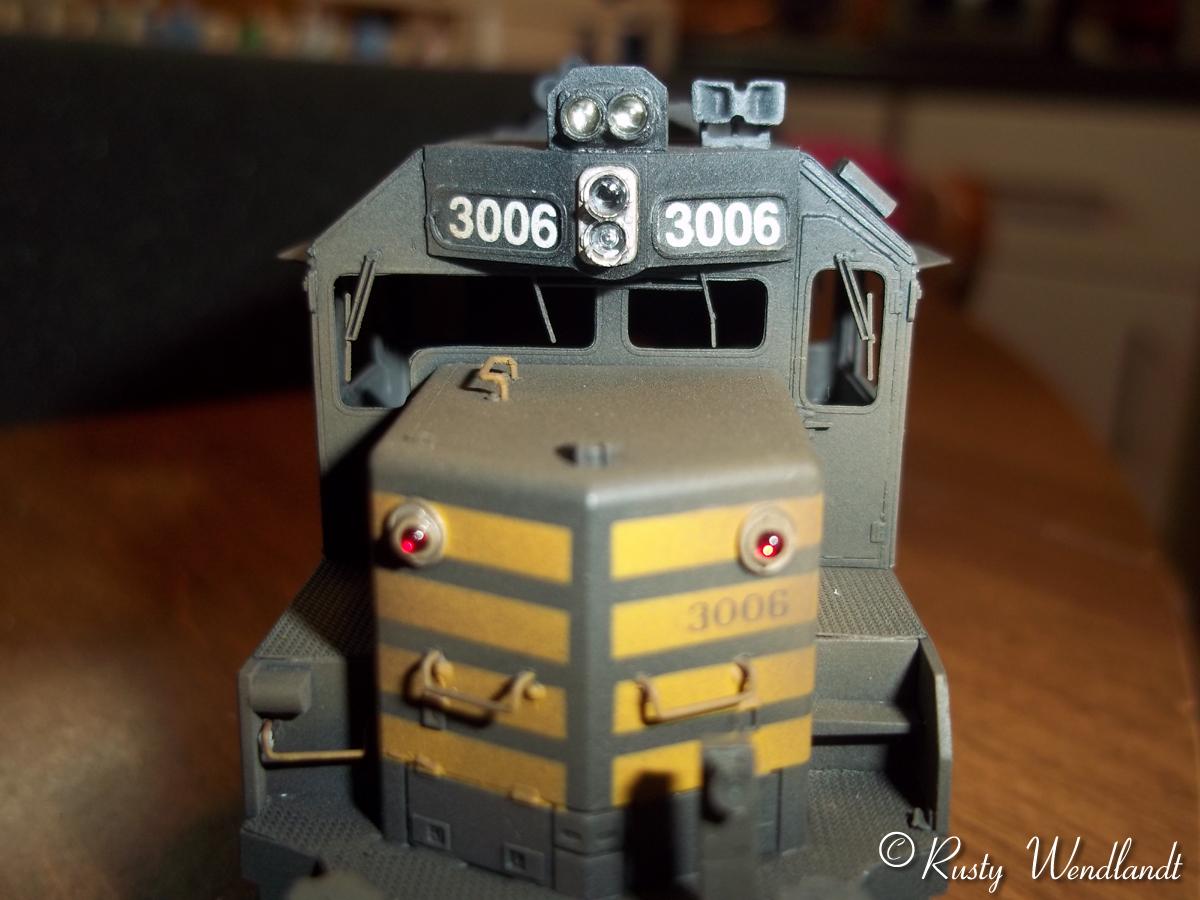
A Cannon cab was used so the correct L-window and the four window cab sides are used (this is my biggest complaint with the Atlas model). Build the cab with the instructions found on their web site. They are very good for someone who hasn't built one before. I would also recommend buying a cab to practice on first. Add the windshield wipers to the cab being careful to keep them out of the grove for the windows. The door handles on 3006 can be installed at this time because they are black. The handles for 3001 should not be installed until after the unit is painted because they are yellow. Install the fire cracker antenna, long ARR antenna, electric bell, upper cab light and cab vent. The long antenna and upper light building can be found on my 2002 build. With the Cannon sunshade rails installed use the brass sunshades just to add a little durability to them. cut and trim the tube for the headlight so it fits into the number board part of the cab. Glue the tube in place.Paint it with a couple coats of heavy black paint. The same tube is used for the long hood. I just has to be cut to fit the angles. paint the cab in primer and use the salt technique when painting the black on the doors to represent the paint peeling. glue the center front part of the cab in place and notch the hole in the rear electrical cabinet part making sure to not glue it. Assemble the cab interior and paint. Add people in the seats. If the Athearn drive is used the center of the cab interior will have to be cut out for the drive shaft.
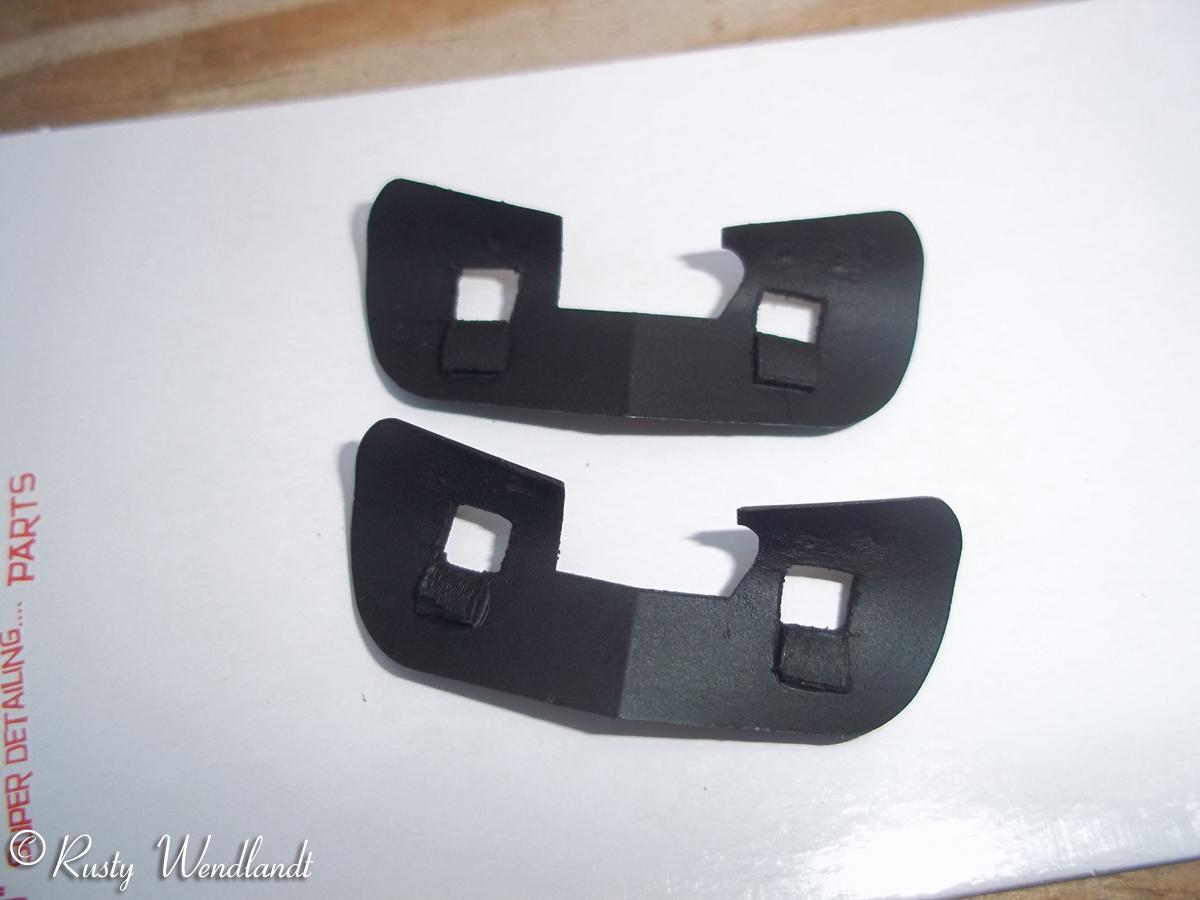
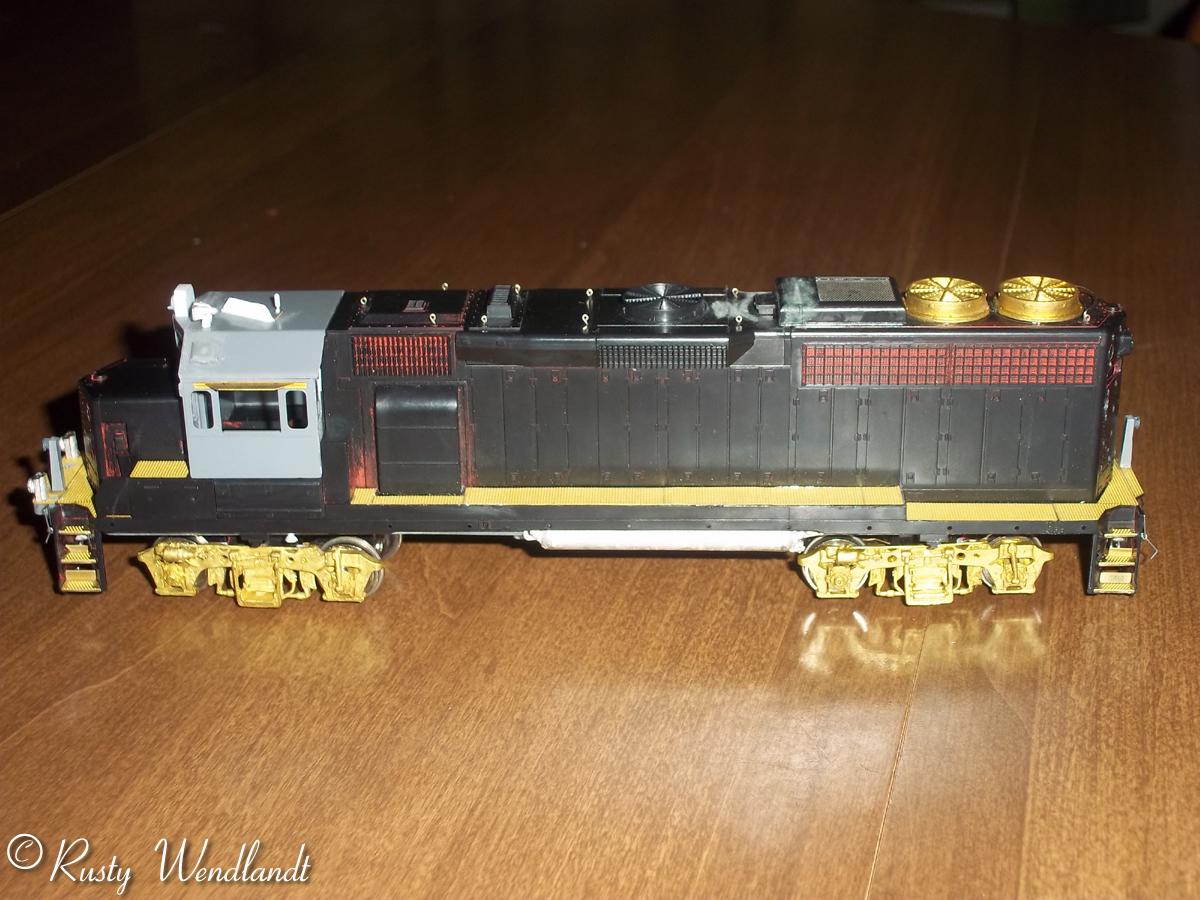
True color paint was used to paint the unit. First paint the unit in primer to give everything a uniform color. Paint the unit with the black paint. Add a coat of gloss paint where the decals are going to go. Prime and paint the grab irons yellow. Use the Fastkolor paint to paint the plastic handrails. Paint the black first and the yellow will have to be hand painted on after. Add the appropriate decals to the unit. Check the front and rear decals for proper length. I had to trim them down on these units. If the unit is to be made modern add the yellow saftey stripes instead of the angled alternating Microscale sill decals. Spray flat paint to seal the decals. Drill the holes for the front stanchions and install the stanchions. Solder or glue the brass wire to them. Cut out the center and add the chain. Paint and glue into place. Install the silver headlight and the angled class light assemblies. Disassemble the frame and remove the electrical parts and trucks.
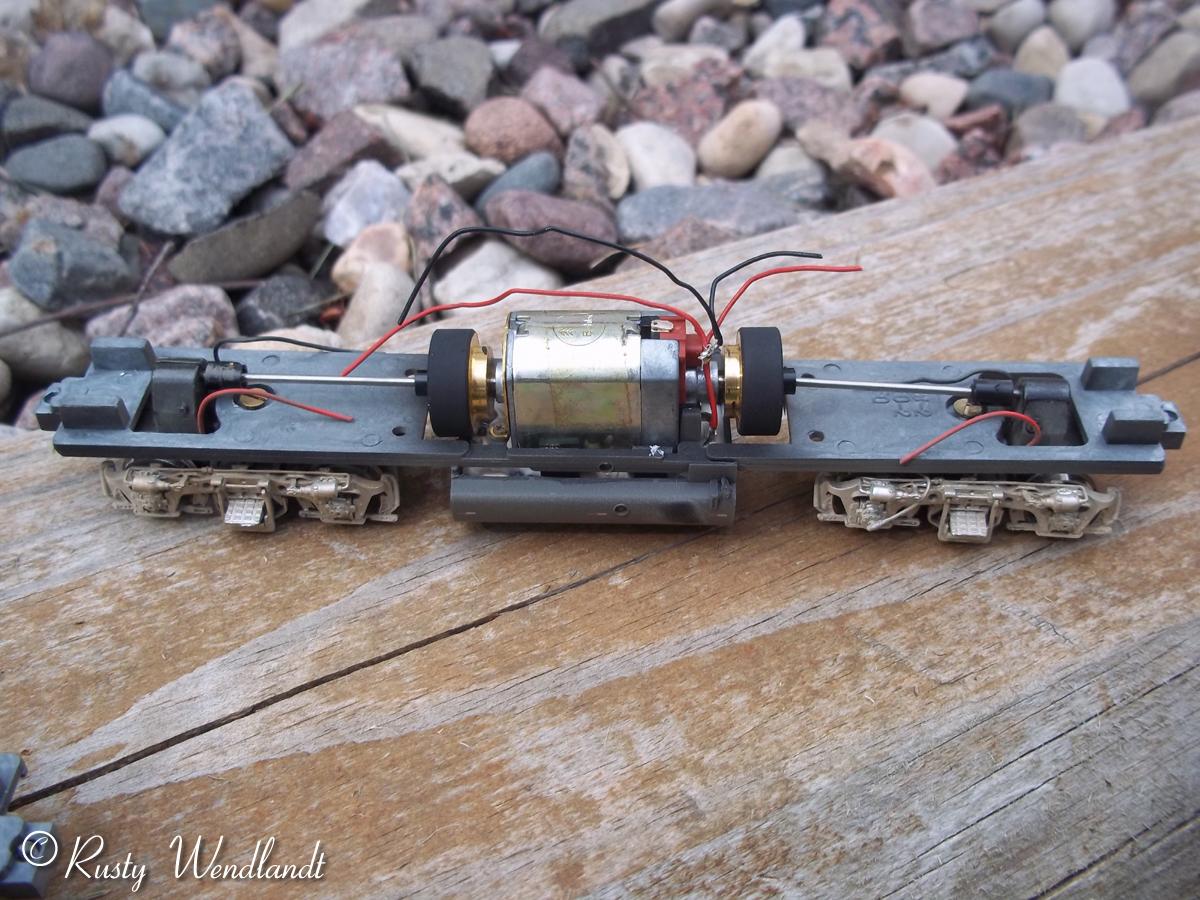
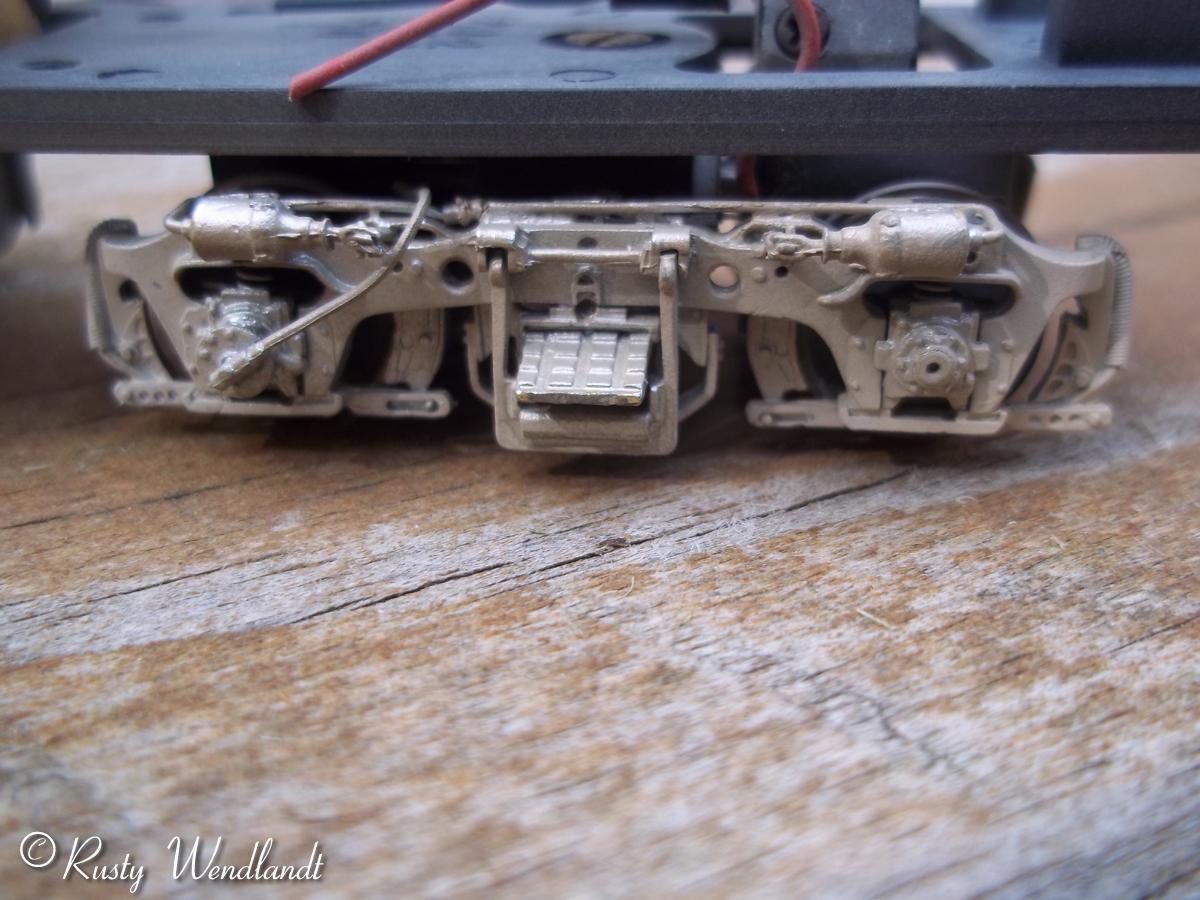
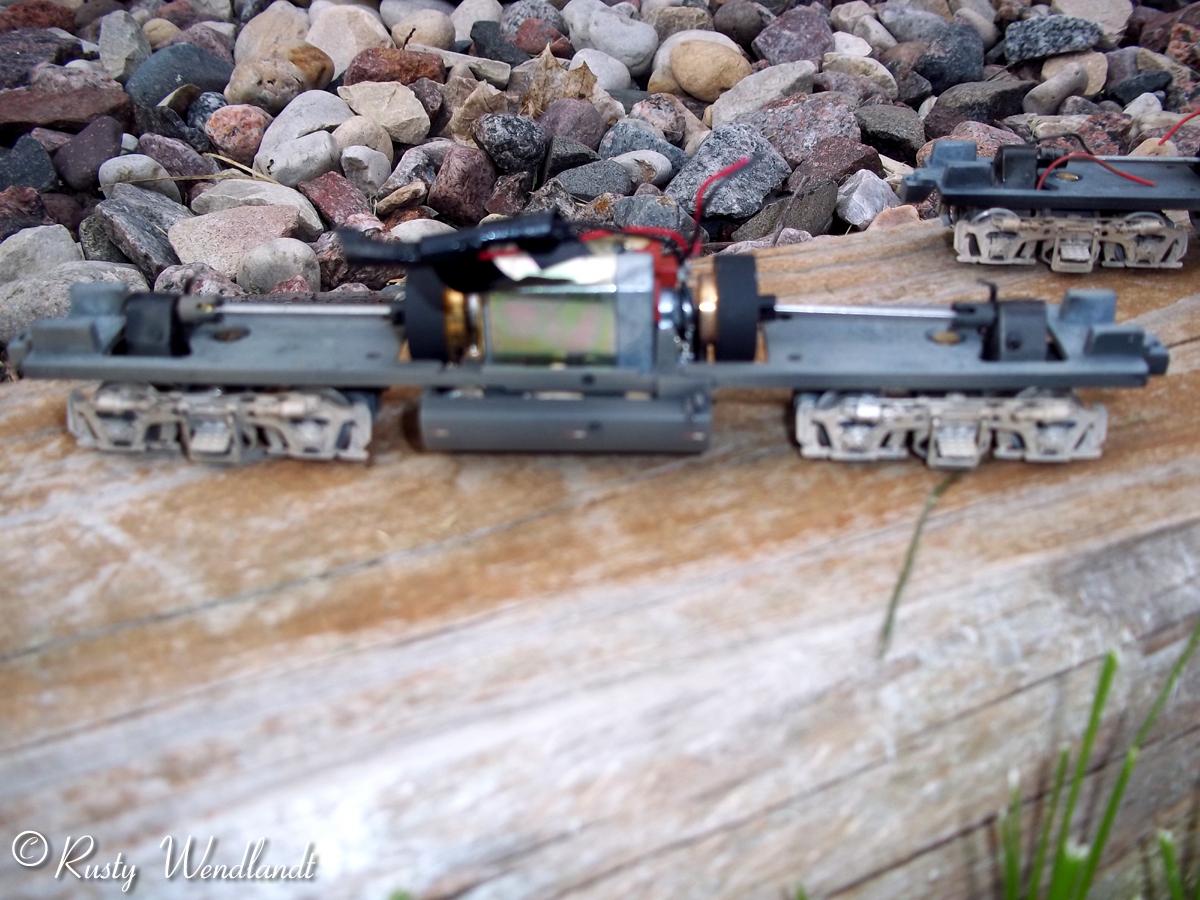
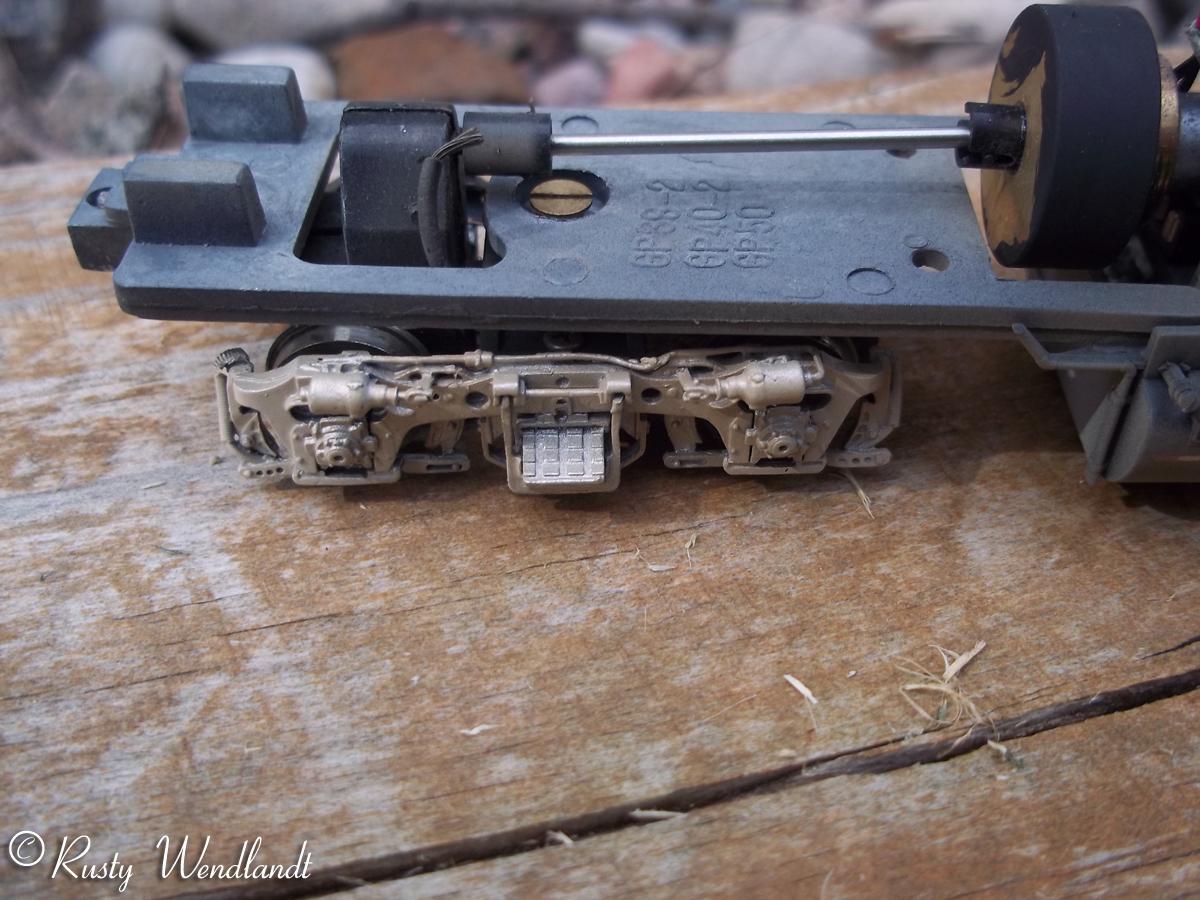
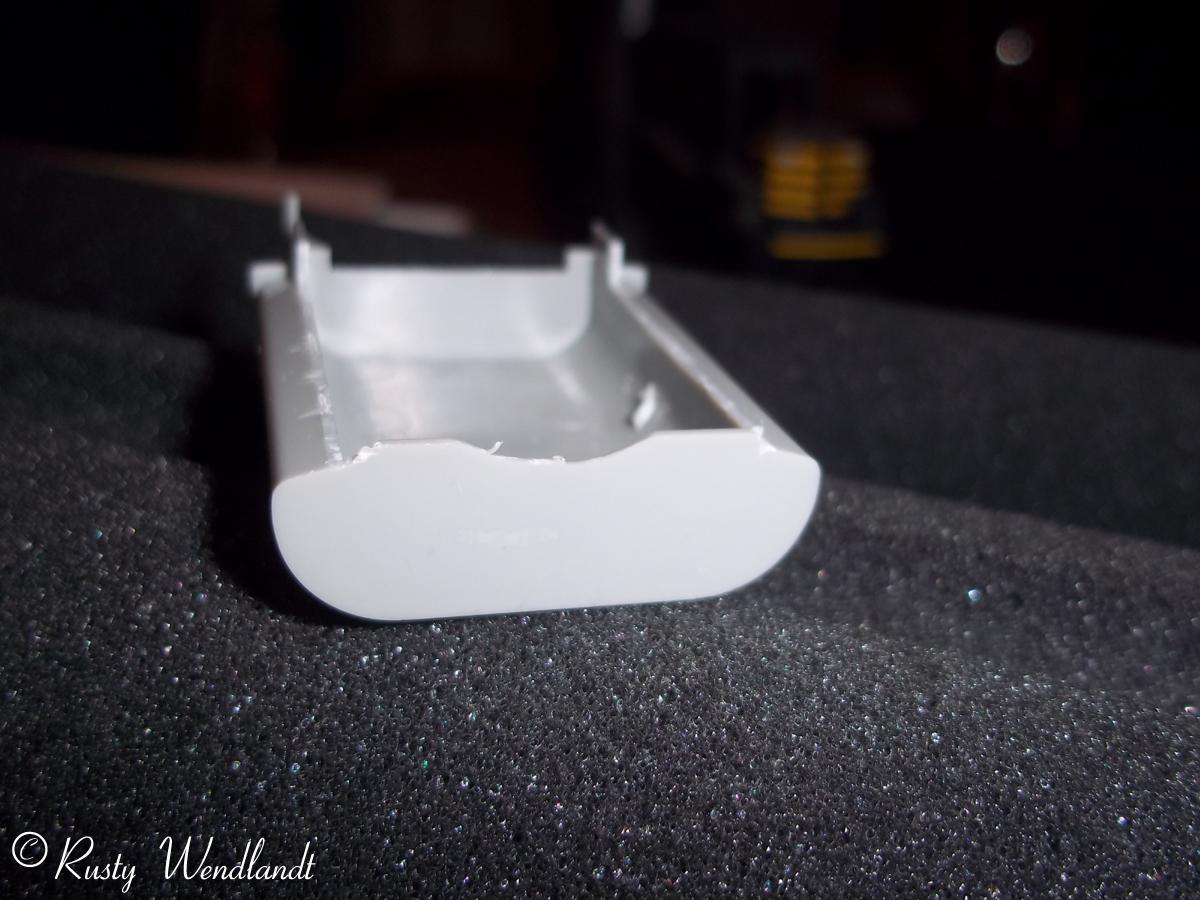
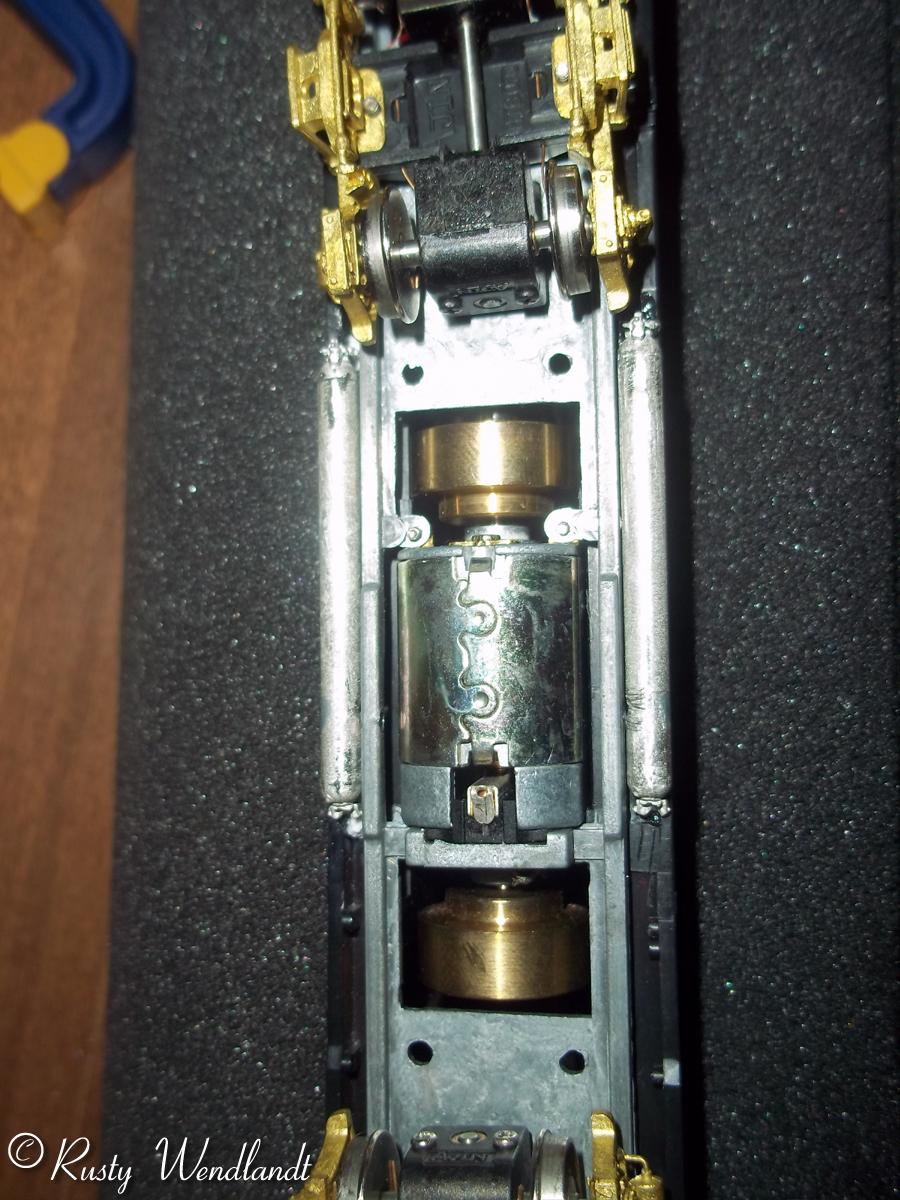
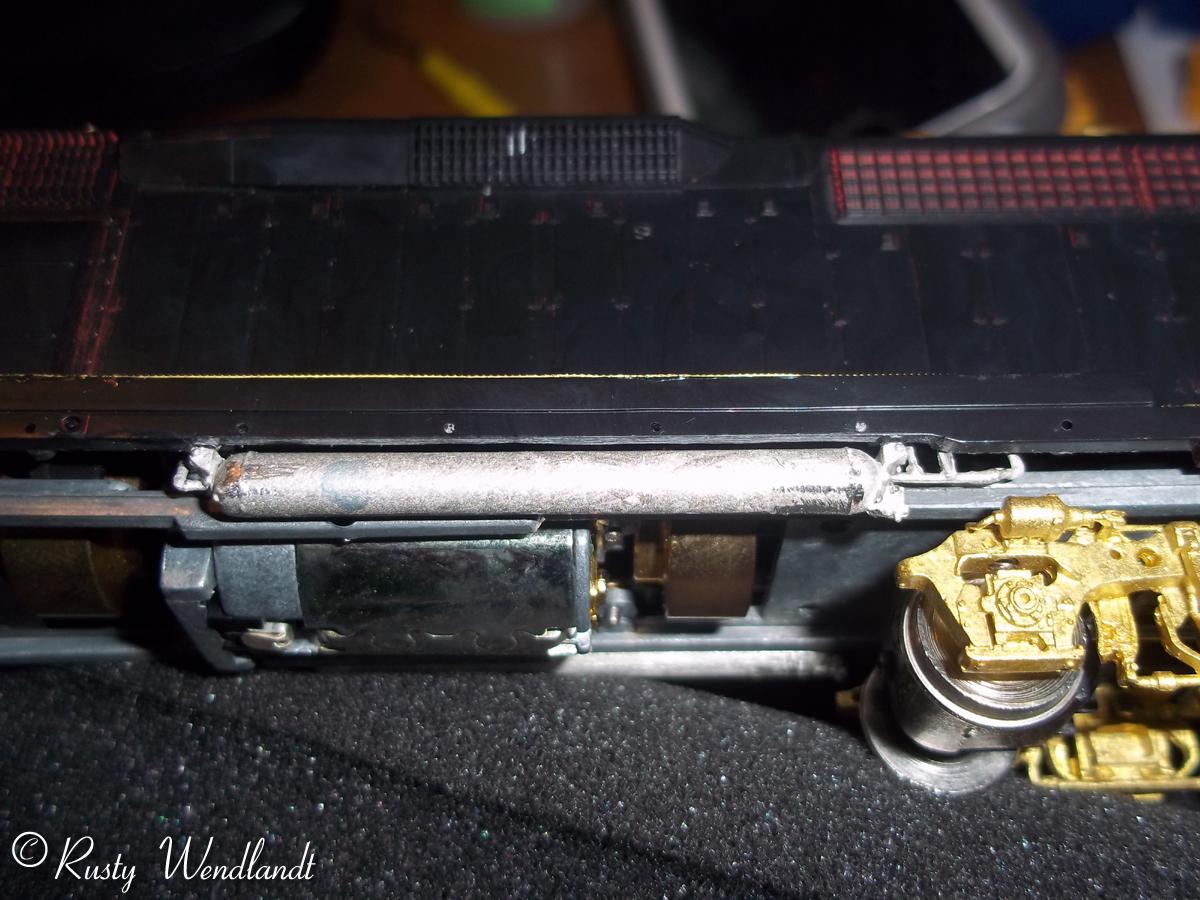
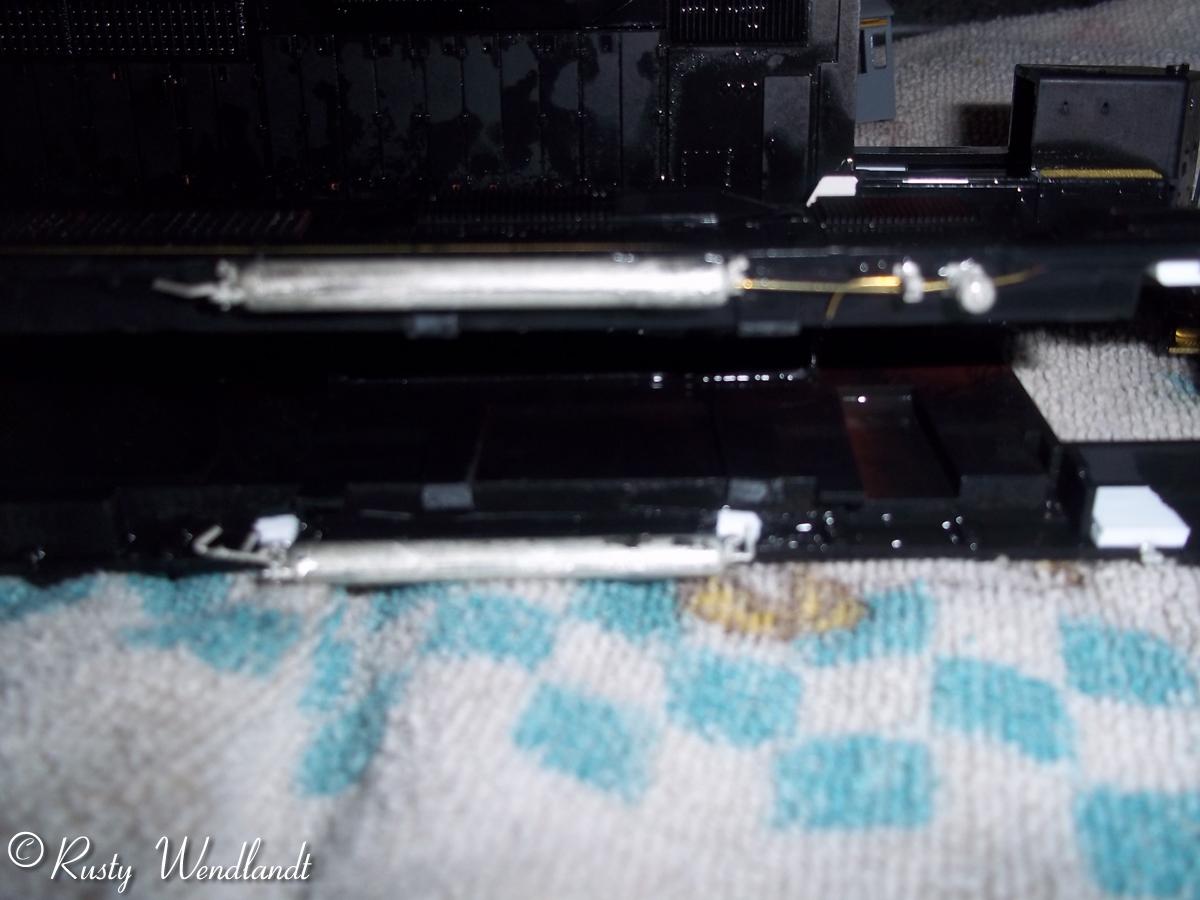
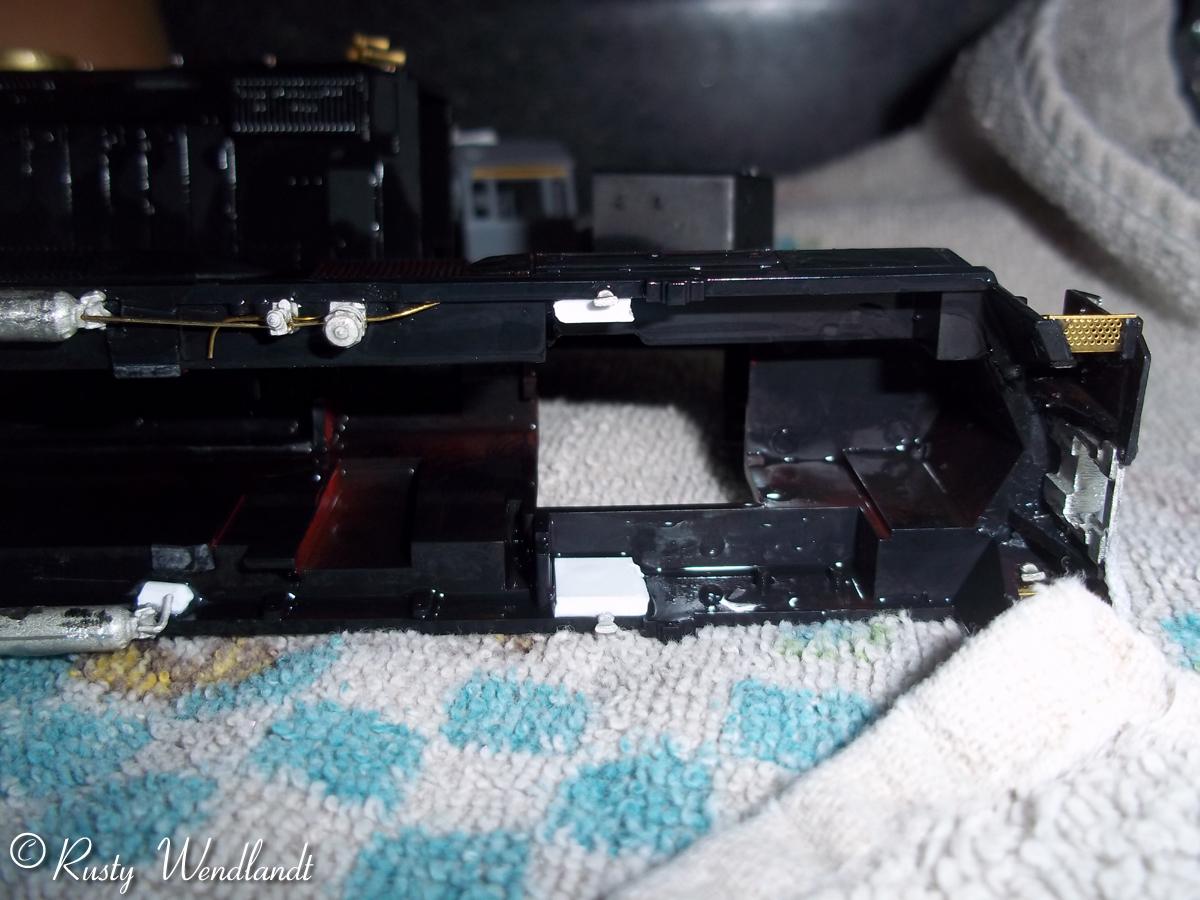
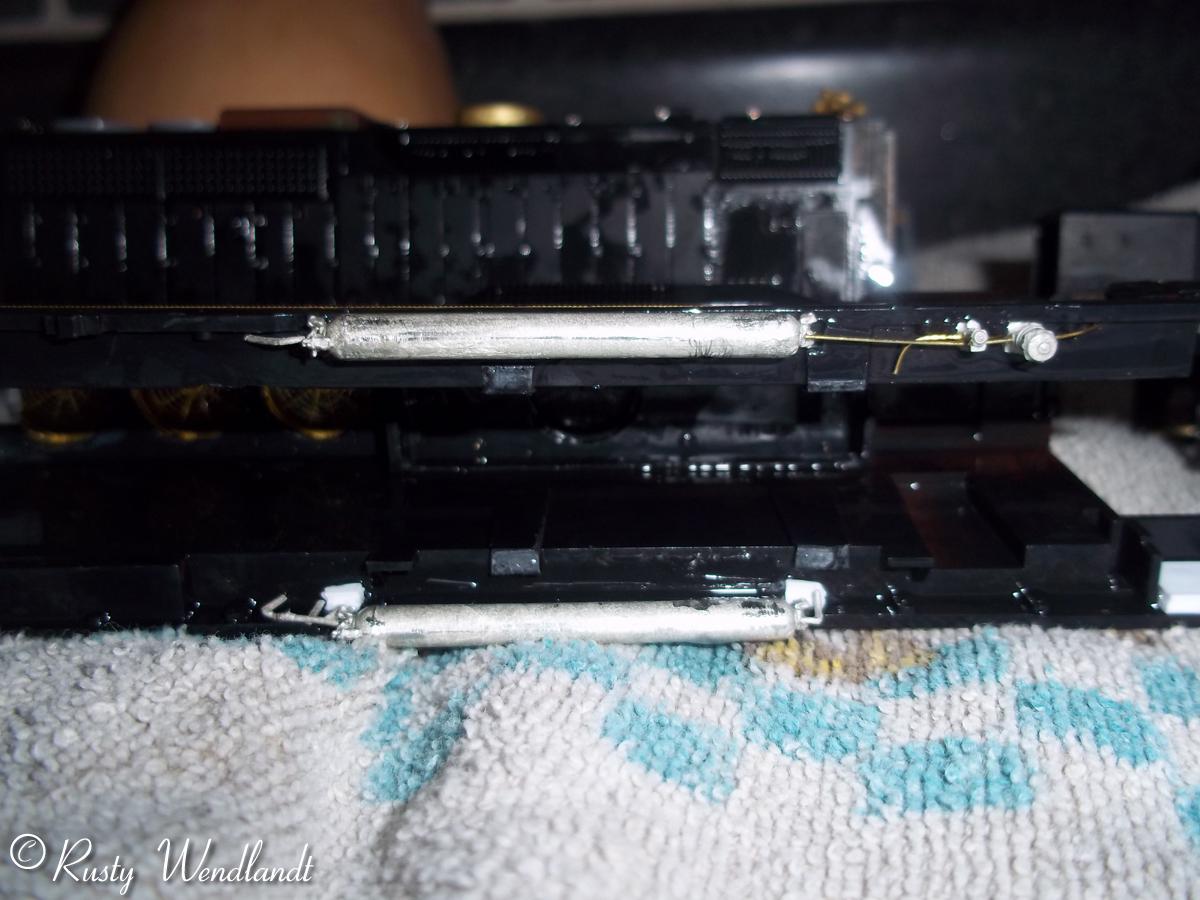
For the plow use the Ca-Scale plow as the starting point. File off the back of the plow until it fits good. Mark and use a sharp #17 blade to cut out the m.u. doors. flip the cut outs down and glue with mek. Use Squadron putty to fill in the upper holes. Test fit the plow into place and make sure the coupler boxes can be removed with the plow installed. Install the m.u. hoses and air lines. Paint the plow. set into place and use mek to glue the plow into place. Use styrene strips to brace the bottom of the plow and glue into place. The fuel tank is going to be used is the medium Atlas tank. Trim the sides and rear to allow it to fit on the Overland drive. Styrene strips were glued in place to make latches to hold the tank in place on the frame. Some lead fishing weights were used in the tank to add some weight and glued into place with silicone calk. Make sure that the weights don't hit were the motor mounts. Install the Cannon tank detail parts to the tank and paint. Paint the frame and trucks. Install the tank to the frame and reinstall the trucks and motor. Install the safety decals to the tank and seal.
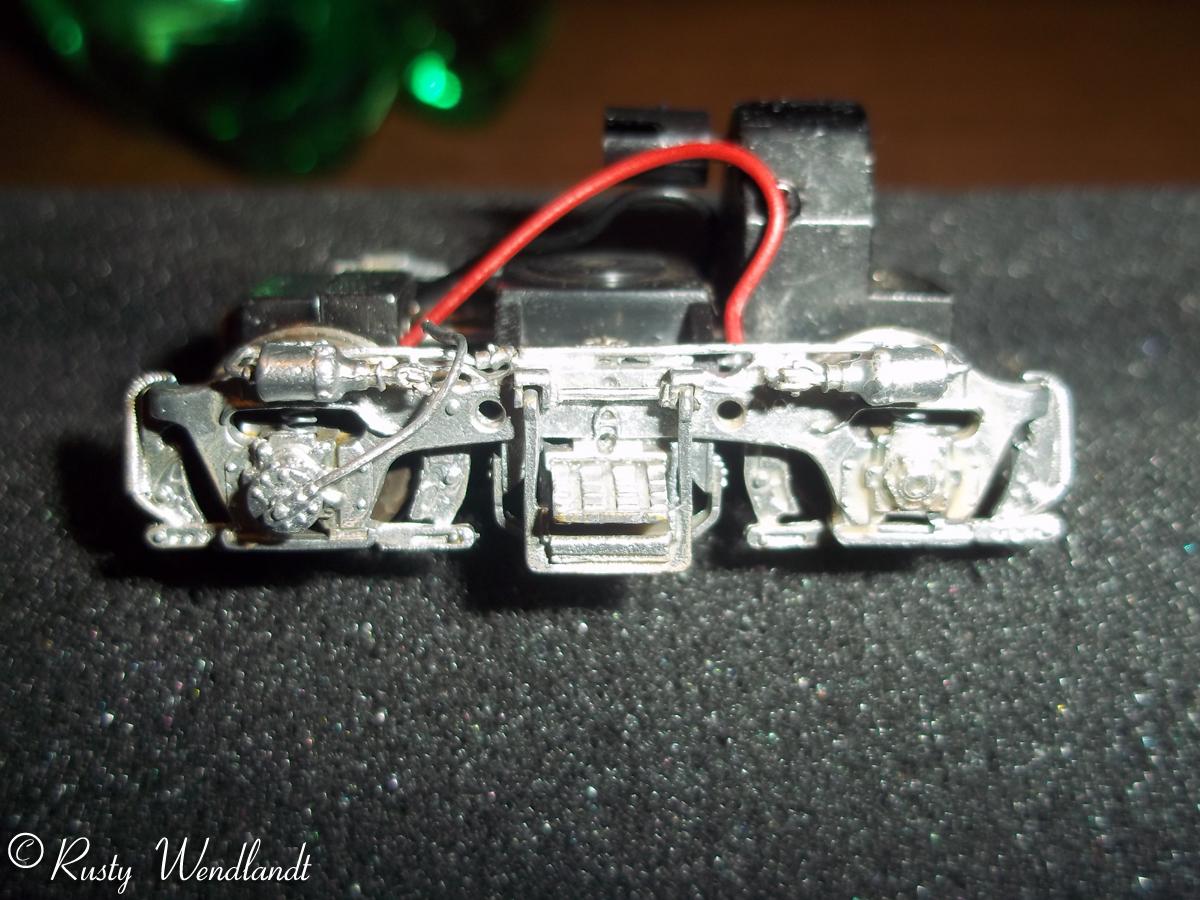
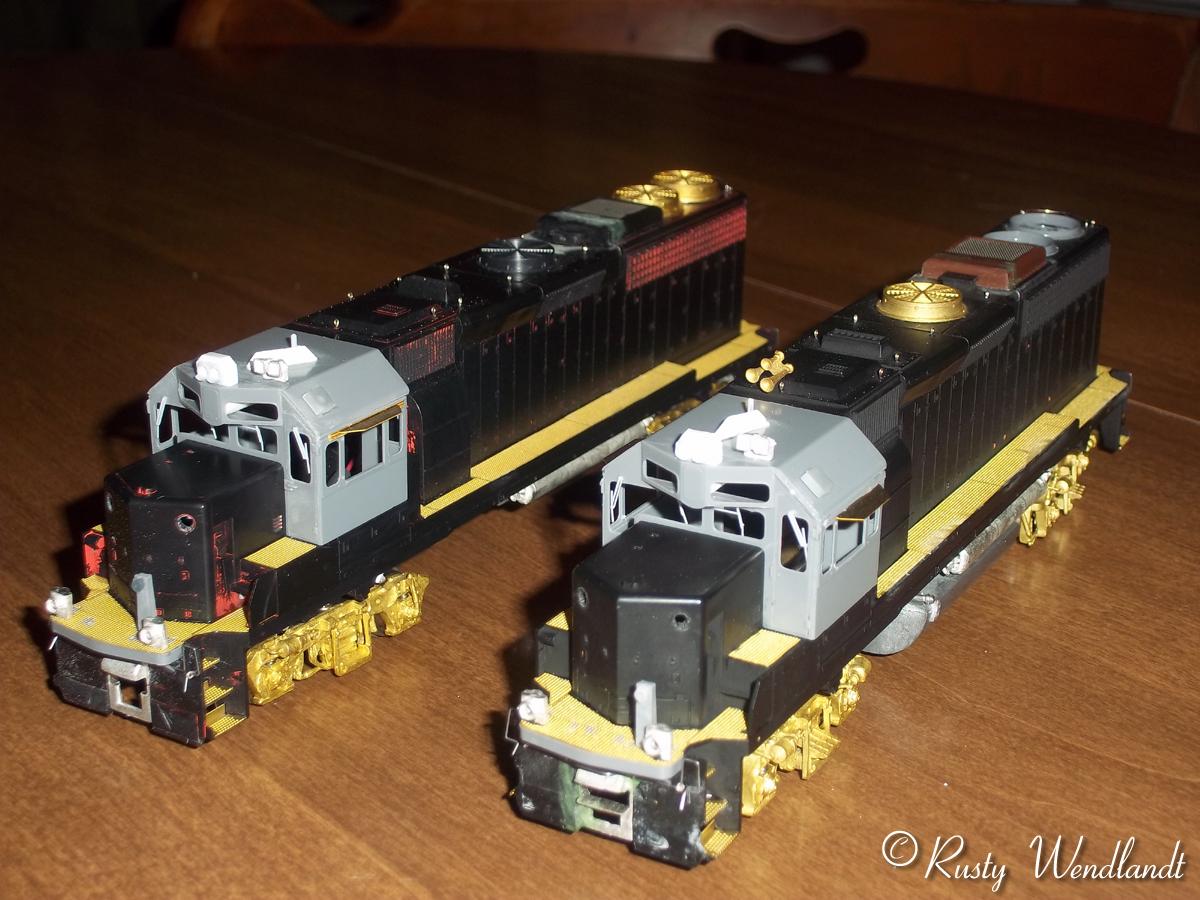
When everything has been painted and ready for final assembly the cab was taped into place from the inside. Weather the unit before the windows and lenses are installed. The unit was weathered with Polly Scale paints and an air brush. Photos were used to make sure the unit was weathered prototypical. The loco was then sealed with Floquil flat paint. Install the windows and secure with Kristal clear. When that is dry install the switching mirrors. Glue the cab interior in place and secure the rear cab wall and the cab. Install the red class lights and lenses. Install the ditch lights first if powered ditch lights are installed. If dcc is used Install the led bulbs into the light tubes. Monster surface mount led's were used for the ditch lights. Surface mount led's fit into the 1.5v bulb holes perfectly. A Loksound decoder was installed with a TCS keep alive. A dual speaker enclosure that fit the inside of the shell was used. Install them facing up. Hook up all the wires and secure them nice and tidy. Check the operation of the decoder and lights before the body is installed. The benefit of the Overland drive is the low profile leaves a lot of room for all the dcc parts.Install the body being careful to not pinch any wires. Recheck the operation of the locomotive to make sure everything still operates ok. If everything is still ok the locomotive is ready to use.
NOTE: These directions can also be used as a general guide for The blue box Athearn, RTR Athearn or the Atlas model.
DETAIL PARTS
| Part number | Description |
| DA 2316 | tandem wipers |
| A line 116-29200 | single wipers |
| CANNON 191-1501 | cab kit |
| CANNON 191-1507 | 4 window cab |
| CANNON 191-1554 | cab interrior |
| DA 229-1903 | cab vent |
| DW 235-337 | electronic bell |
| DW 235-365 | cab shades |
| CANNON 191-2103 | anticlimber |
| DW 235-195 | buffer plate |
| DA 229-2206 | lift rings |
| omi fan | |
| CAL 190-522 | cut lever |
| CANNON 191-2001 | tread and steps |
| Kadee #58 | couplers |
| CANNON 191-2156 | fuel tank kit |
| DA 229-6503 | curved grabs |
| DA 229-2505 | .15 wire |
| CANNON | radiator fans |
| CAL 190-555 | plow |
| DW 235-304 | Air tank kit |
| DW 235-139 | air filter set |
| DA 229-1502 | tall M.U. Stand |
| DA 229-2014 | winterization hatch |
| DW 235-172 | step lights |
| flat styrene | |
| 3/16 tube | |
| custom ARR | antenna |
| CAL 190-545 | horn |
| Titchy 3015 | grab irons |
| DA 229-1024 | |
| Smokey Valley 190 | stanchions |
| CAL 190-557 | wind deflectors |
| DW 235-228 | ditch lights |
| MV 516-19 | clear lenses |
| MV 516-301 | red lenses |
| DA 229-1805 | firecracker antenna |
| DW 235-266 | M.U. Hose |
| Hi-Tech 331-6036 | air hose |
| DW 235-284 | speed recorder |
| CANNON 191-1105 | nose kit for light housings |
| AL Mayo warm white | ditch lights LED |
| Miniatronics 12-310-05 | LED headlights |
| Fastkolor 40002 | yellow |
| Fastkolor 40001 | black |
| Microscale 87-280 | ARR decals |
| Microscale 91106 | yellow safety stripes |
| Microscale 87-527 | EMD data |
| OMI | drive |
| Athearn RTR | GP40-2 handrails |
Cab
|
|
|
|
Fuel Tank and Truck Frame
 |
 |
 |
 |
 |
 |
 |
 |
 |
 |
Plow
 |
 |
 |
 |
 |
Assembly
 |
 |
 |
 |
 |
 |
 |
 |
 |
 |
 |
 |
 |
 |
 |
 |
 |
 |
 |
 |
 |
 |
 |
 |
 |
 |
 |
 |
 |
 |
 |
 |
 |
 |
 |
 |
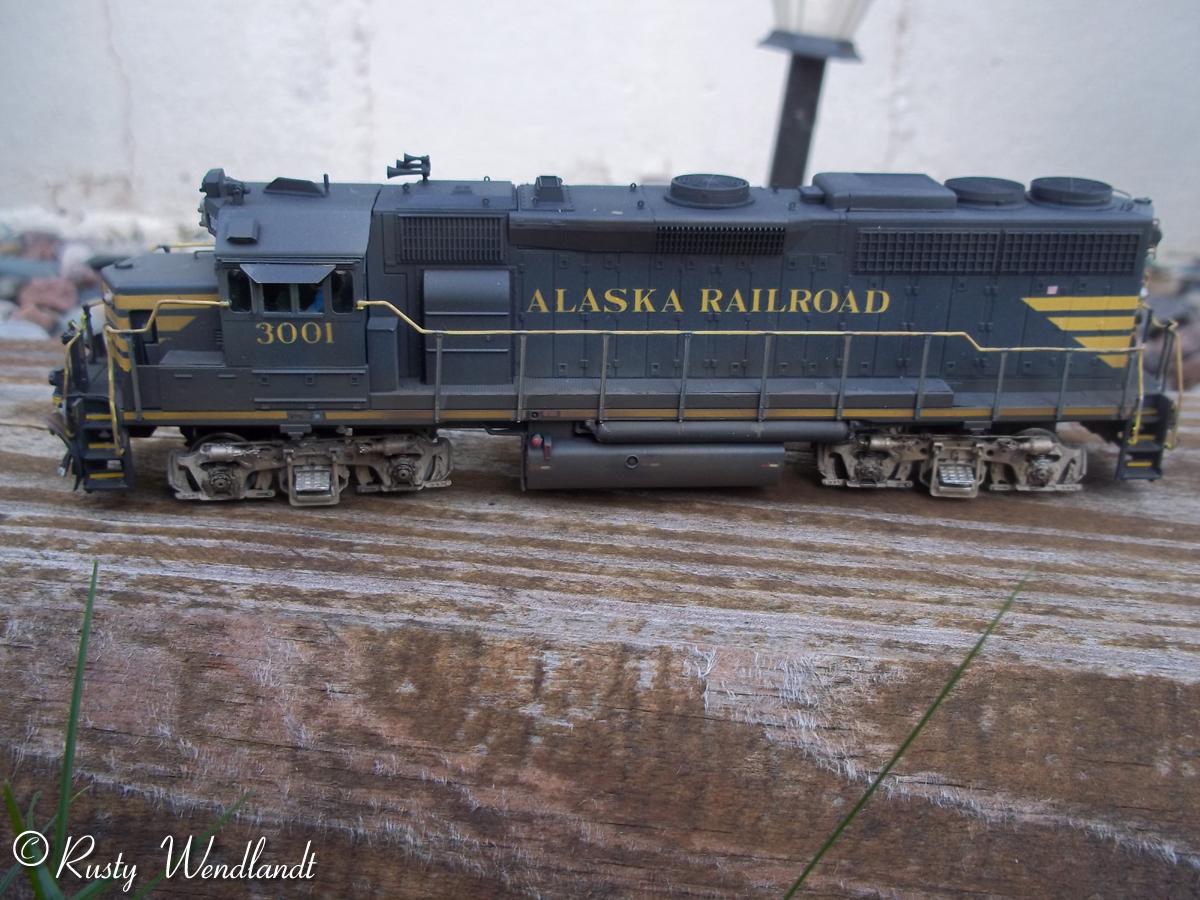
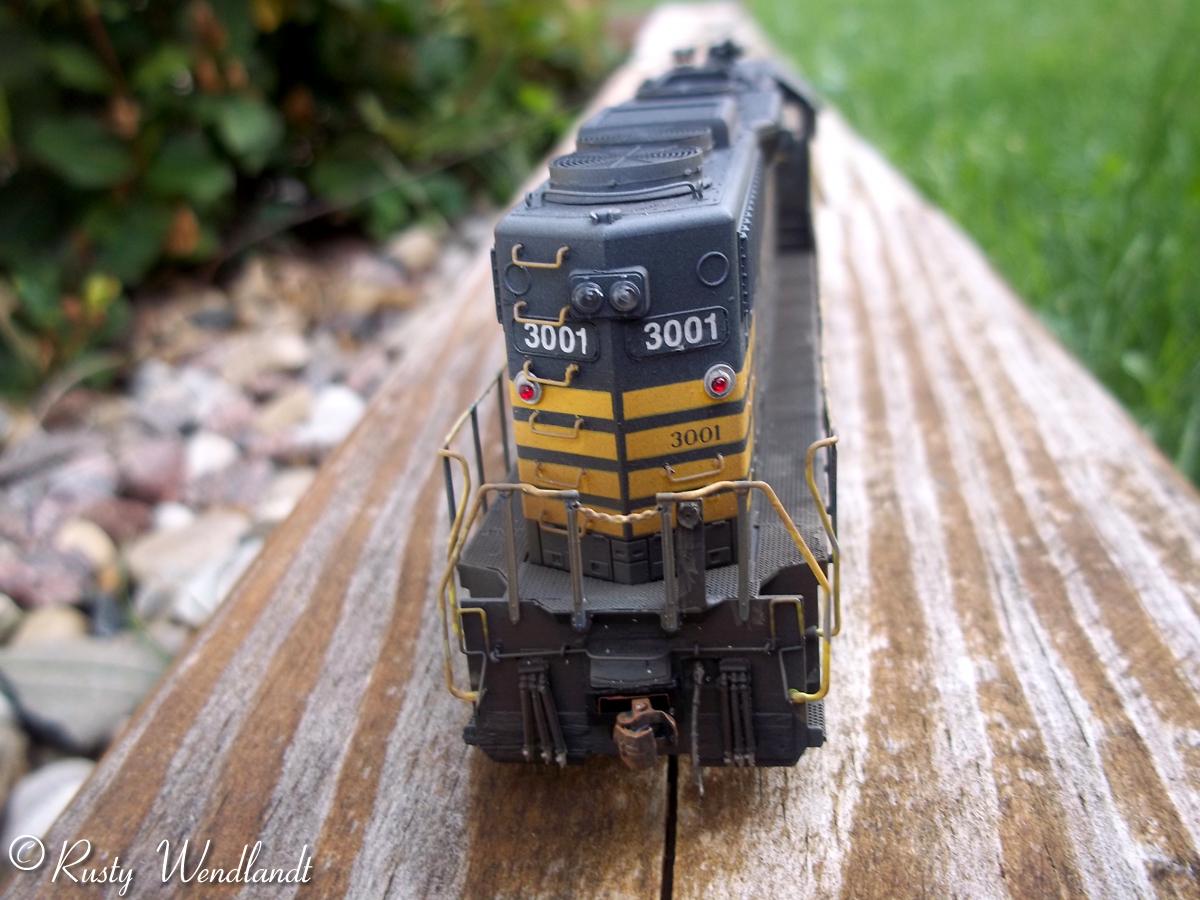
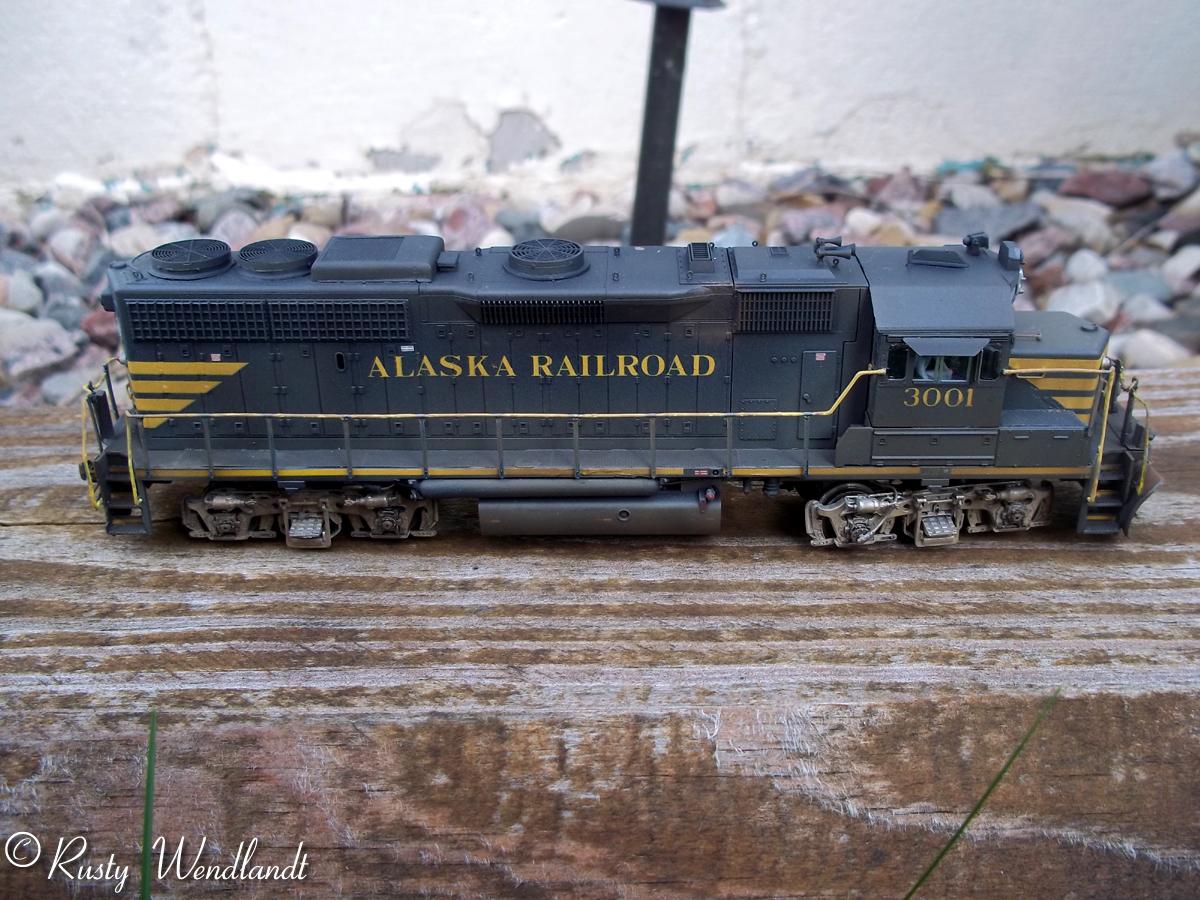
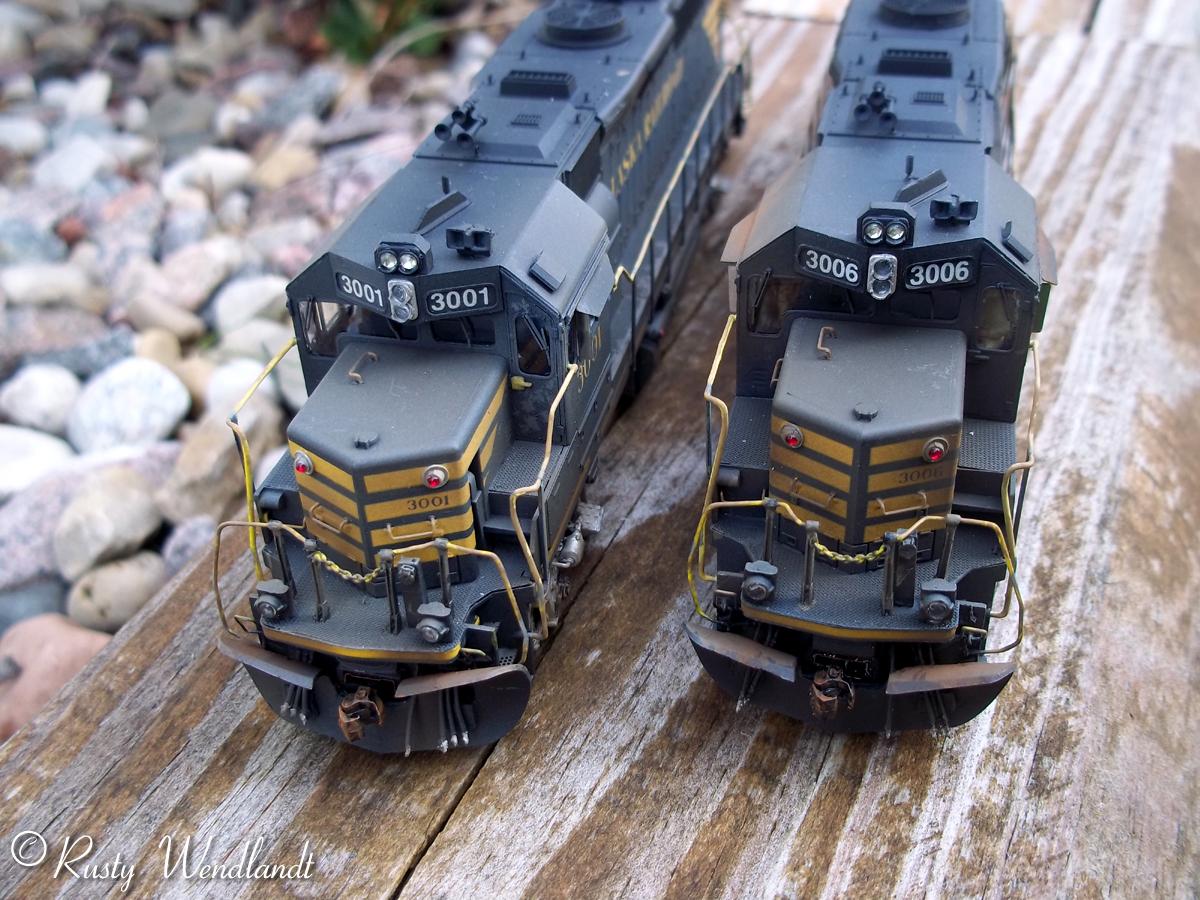
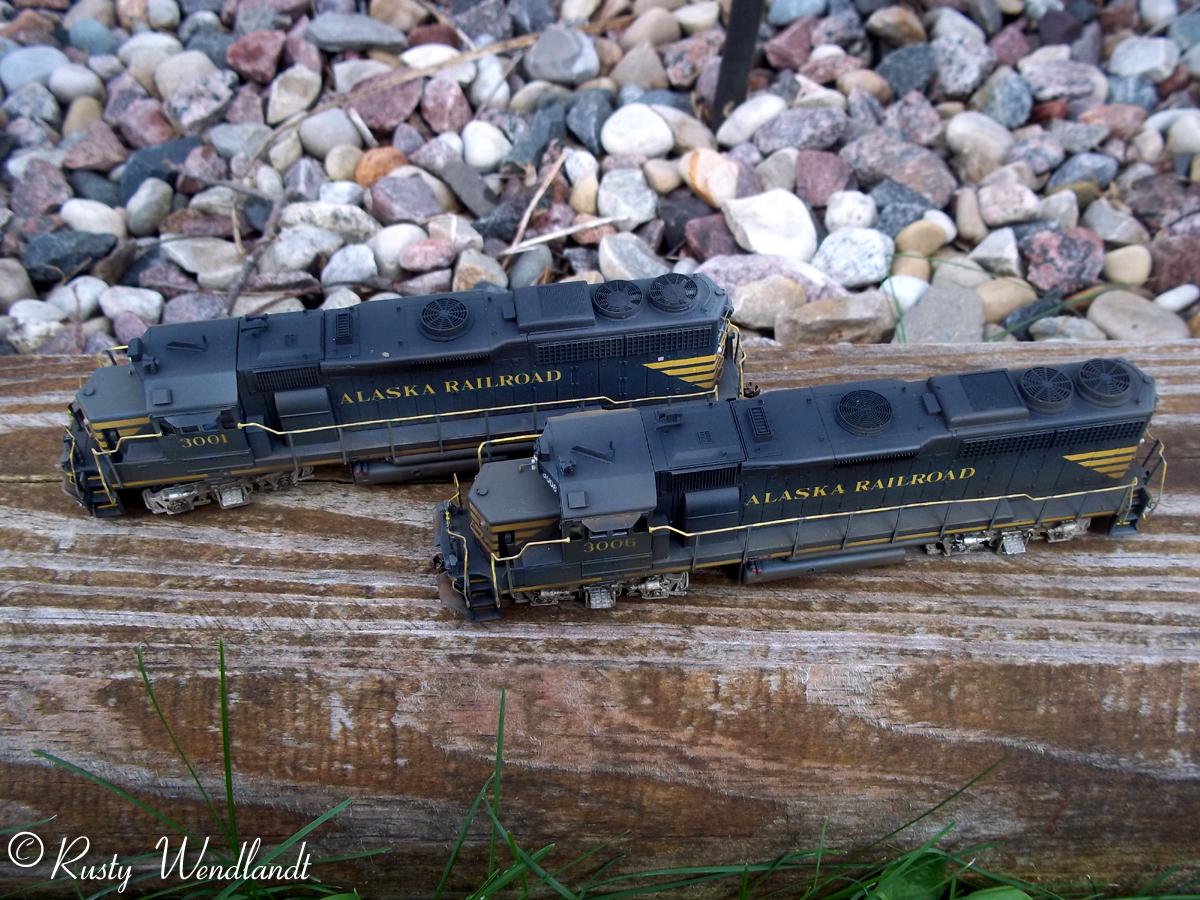
Finished
 |
 |
 |
 |
 |
 |
 |
 |
 |
 |
 |
 |