What a great job, to take something
old and make it look brand new again! And who would know better than the meticulous
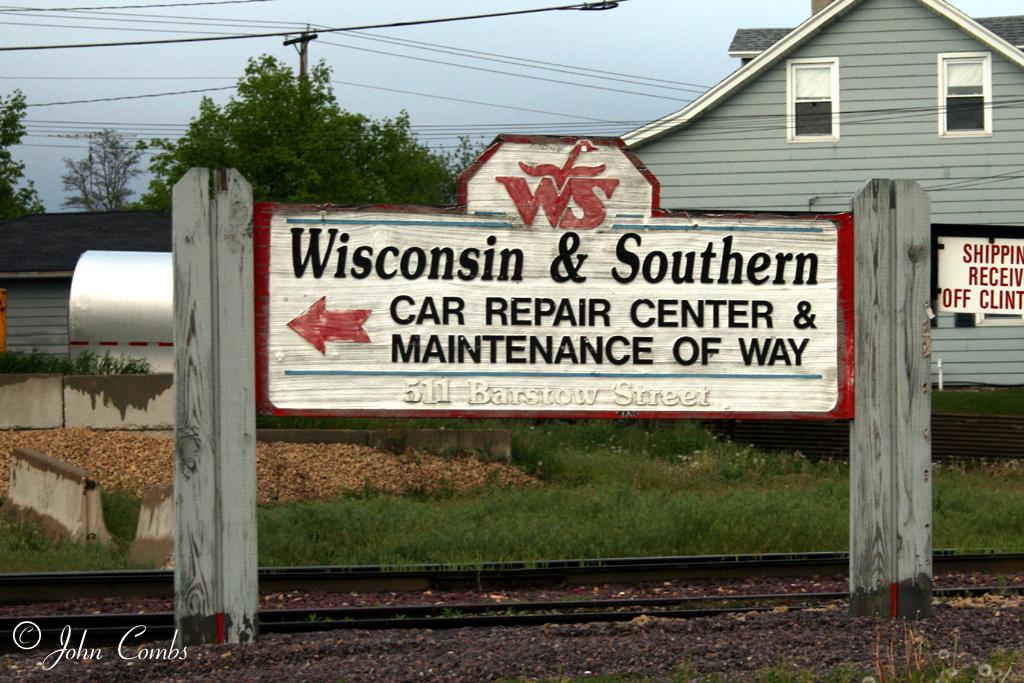
nine-man crew at Wisconsin Southern Railroad’s Horicon paint shop.
In 2006, the Alaska Railroad decided it was time to repaint GP40 numbers 3002,
3004 and 3005 (using the new paint scheme) and thus put out a request for bids.
Although NRE at Dixmoor, Illinois was the winner, they became overbooked and
deferred to the boys at Horicon.
Before work can begin, some initial tasks must take place. Engineering drawings are sent, paint and vinyl decals are ordered and the work is scheduled. Finally, the locomotives are sent from Alaska, first via barge from Whittier to Seattle and then via train from Seattle to Horicon.
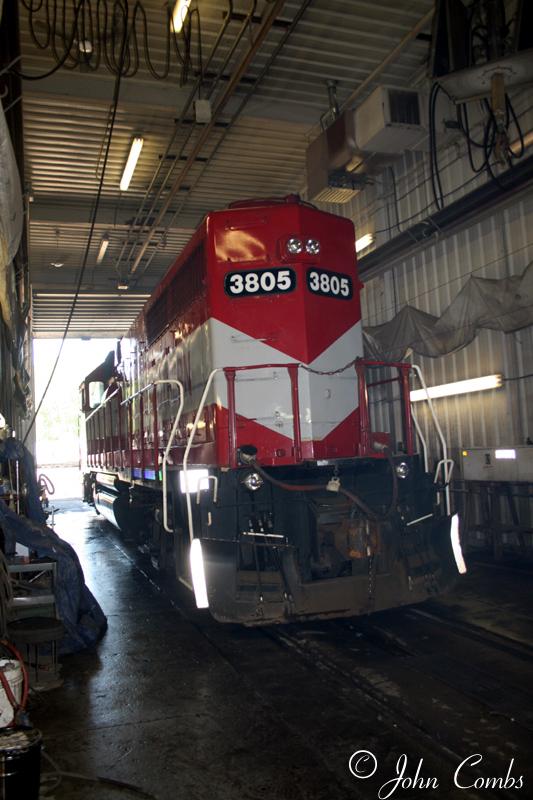
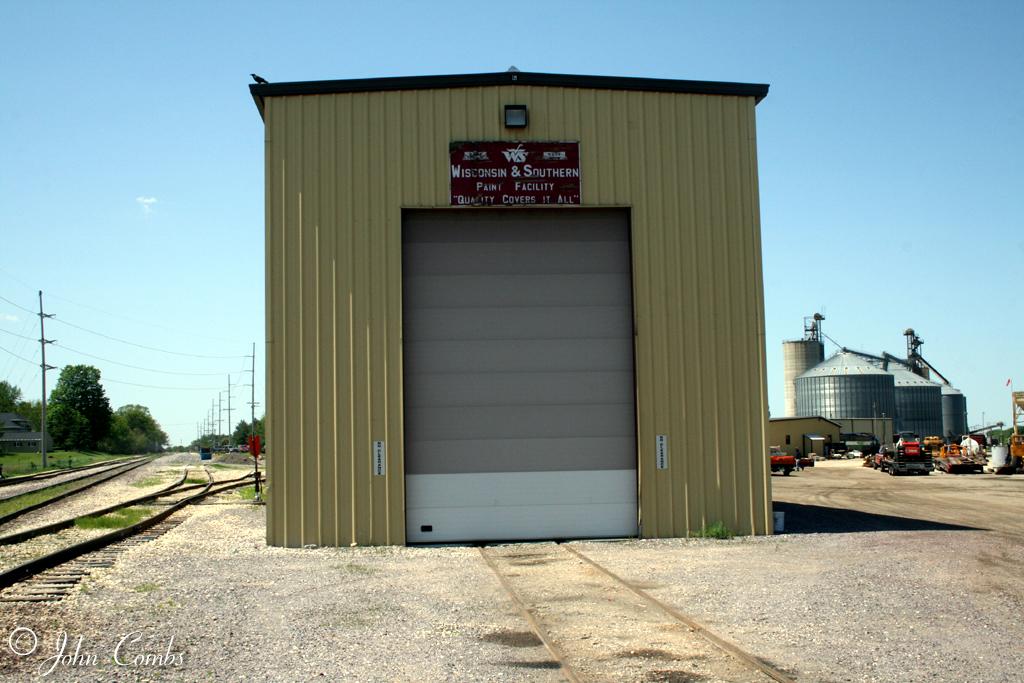
In May 2007 the Horicon magicians went to work to make our ladies sparkle again. The first stop is the Washout Facility where the unit receives a degreaser and a good steam cleaning. Hostlers then move the locomotive to the Paint Shop Facility.
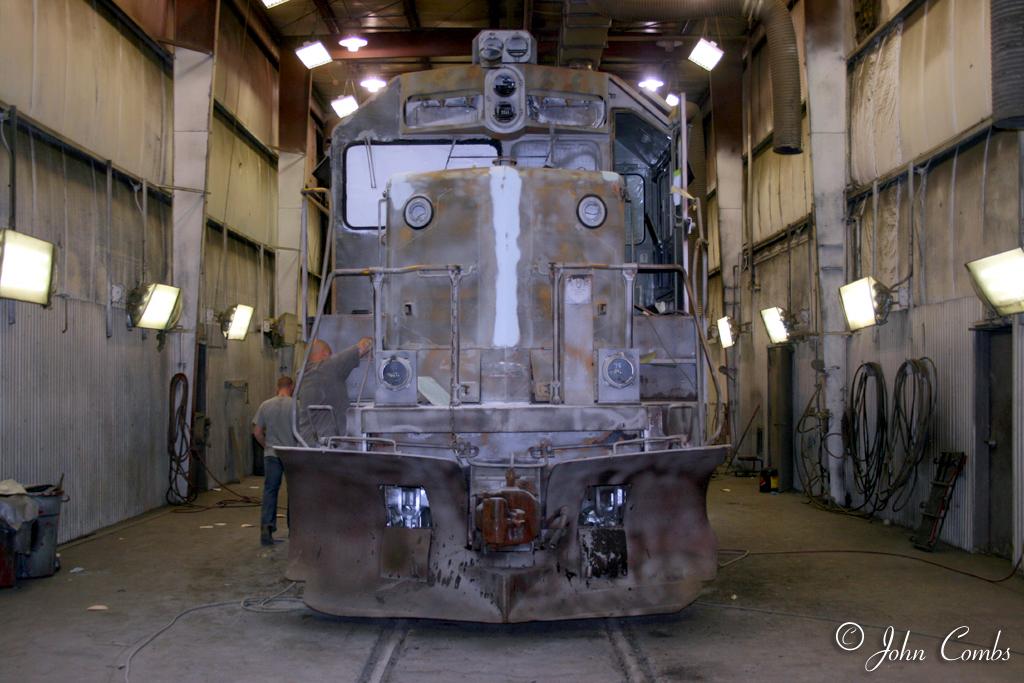
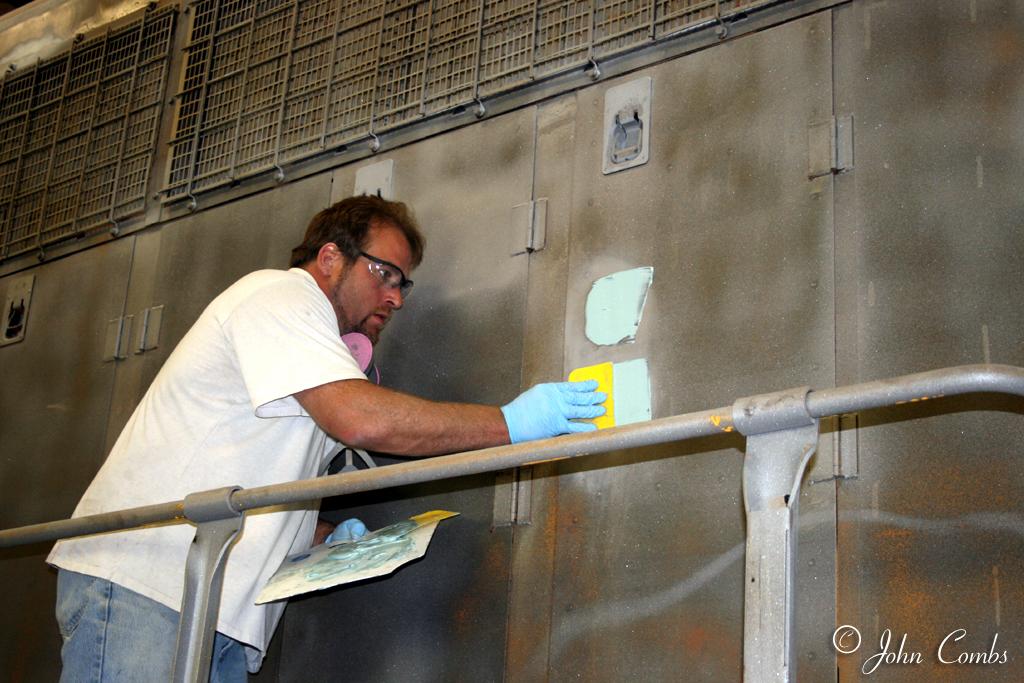
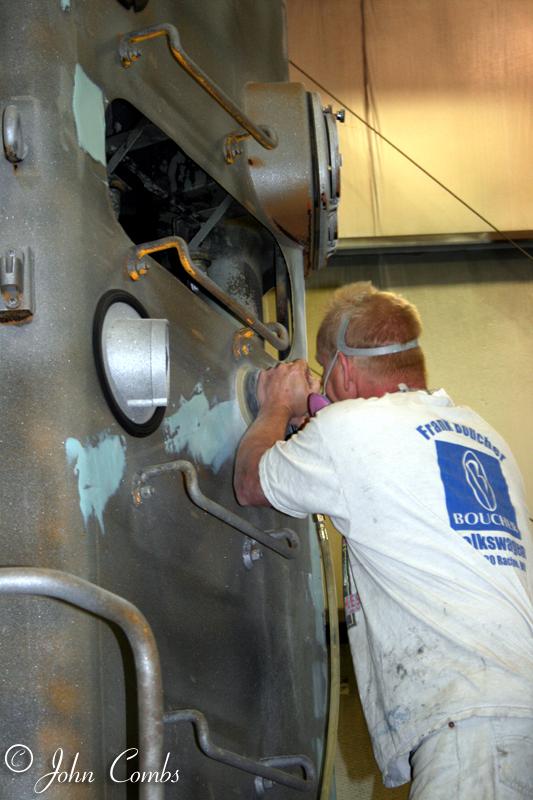
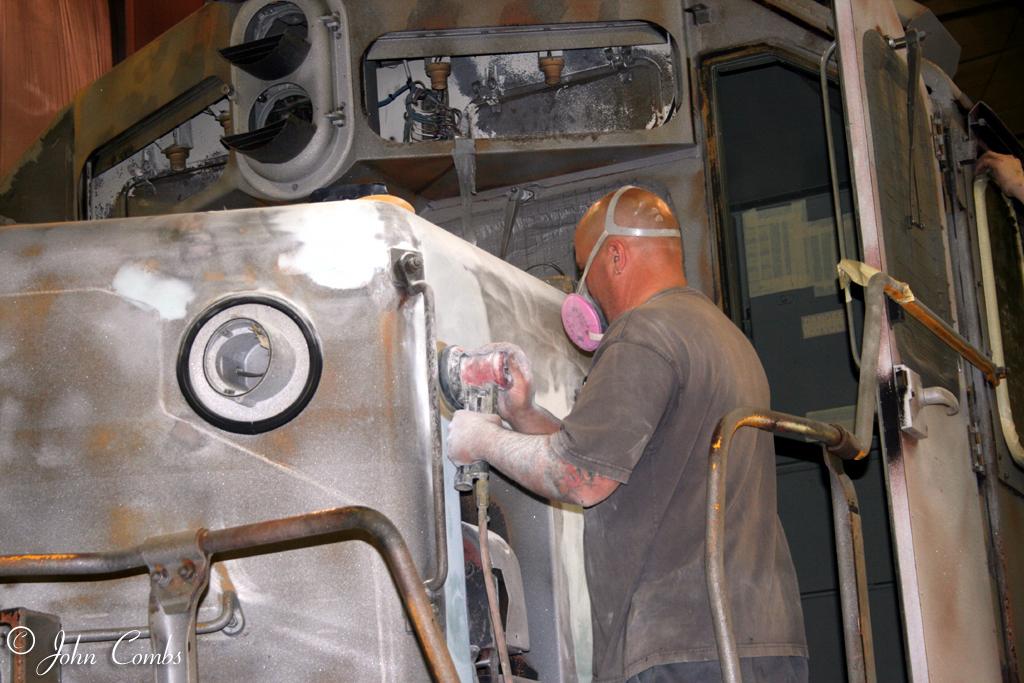
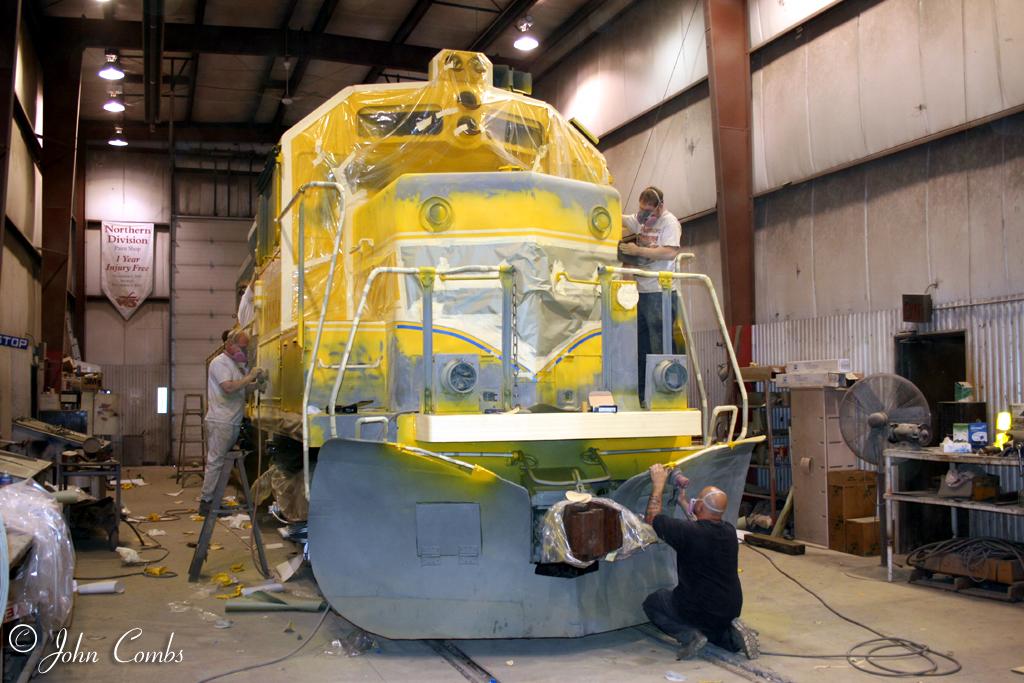
First, the old paint is removed by brush blasting the units with coal slag. The slag is preferred since it does not cause respiratory problems. Once this is complete, the unit moves further into the facility to receive exterior bodywork. All dings, dents and other imperfections are covered with a fast drying bondo and then sanded smooth. Workers also remove components that do not require painting such as number boards, crew seats, etc.
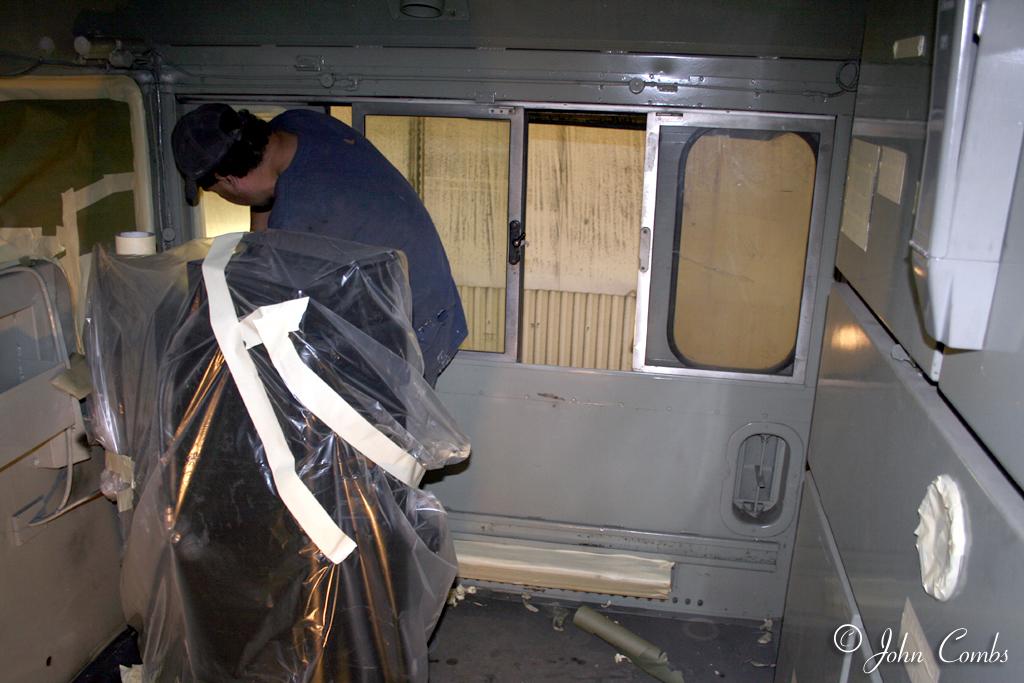
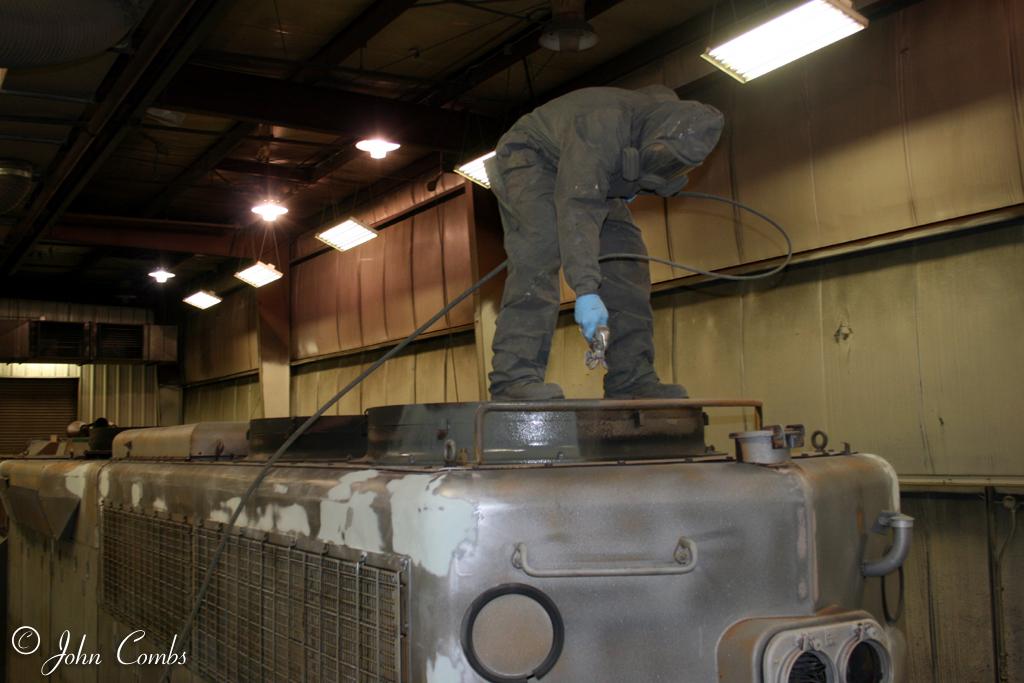
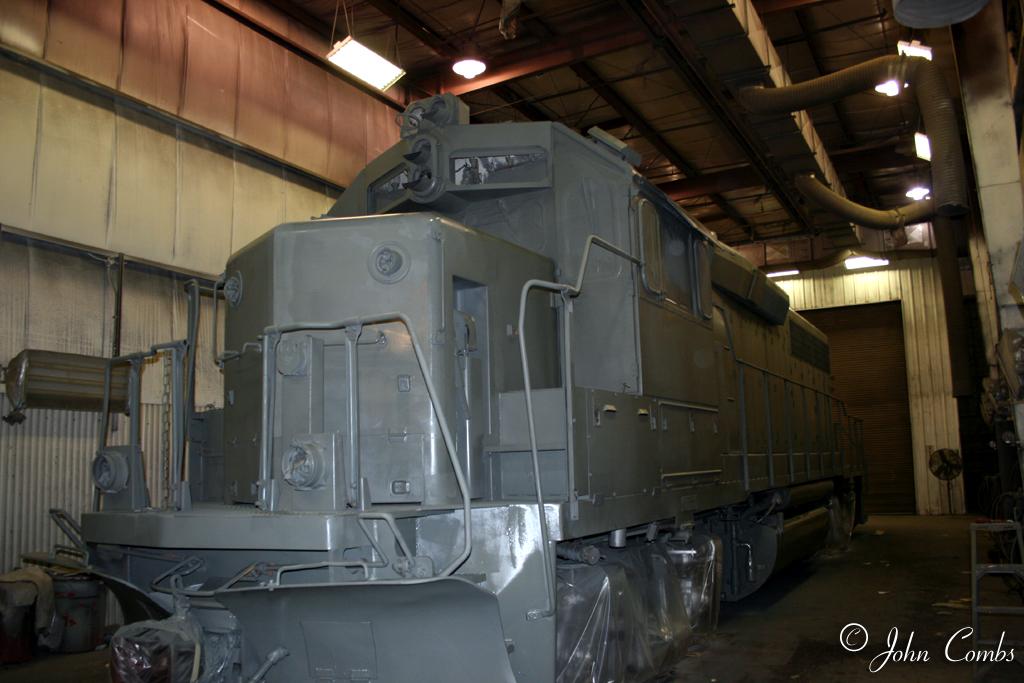
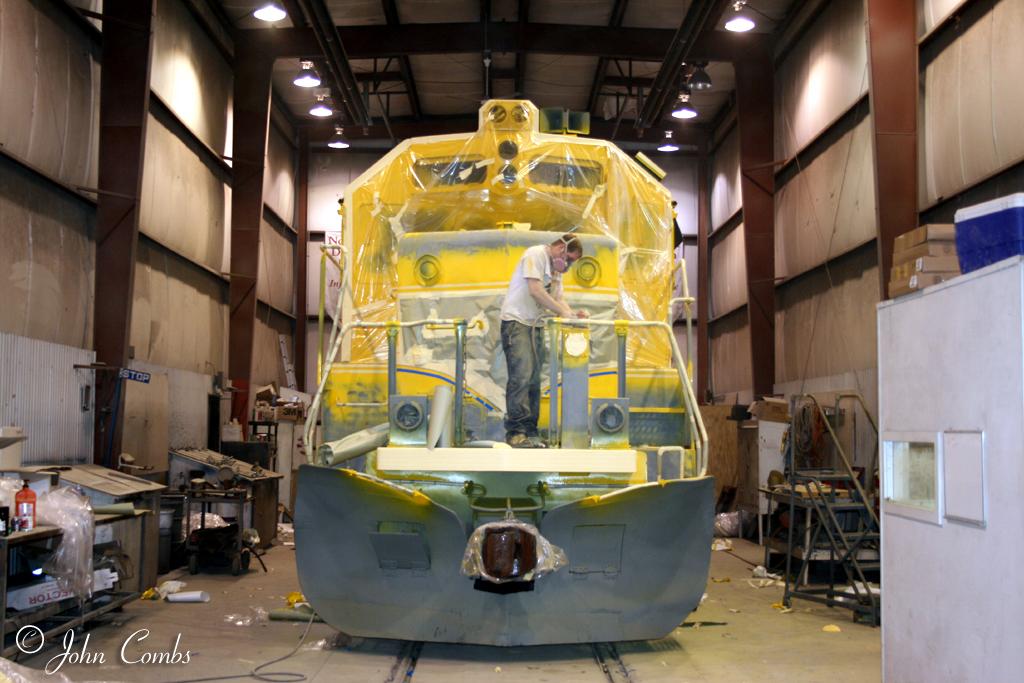
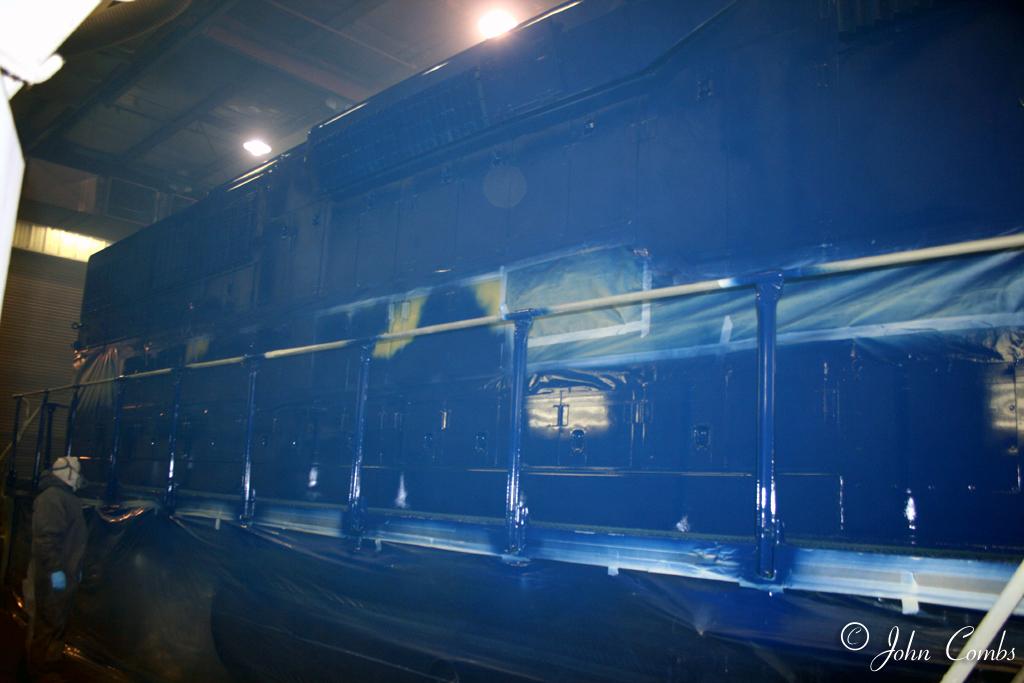
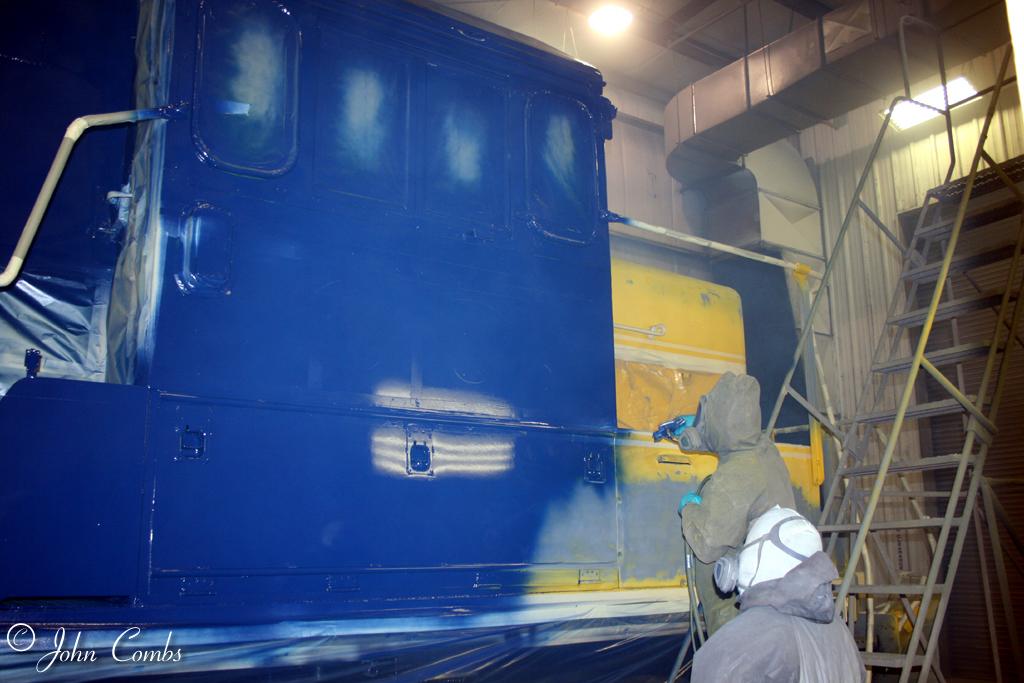
Now the painting process begins. The trucks are painted first and they receive a coat of shiny silver paint. Next, is the application of epoxy primer. However, before this can be applied, all areas not requiring primer must be covered. The trucks and couplers are covered in plastic sheeting while the windows and control stand are covered with paper and special masking tape. While the primer is being mixed and paint hoses are laid out, the other half of the team is donning respirators, cloth ski masks and plastic hooded body suits. Primer is first applied to the top of the locomotive and finally to the body from the bottom up. The cab interior and inside of the motor cabinets now receive a coat of beige paint.
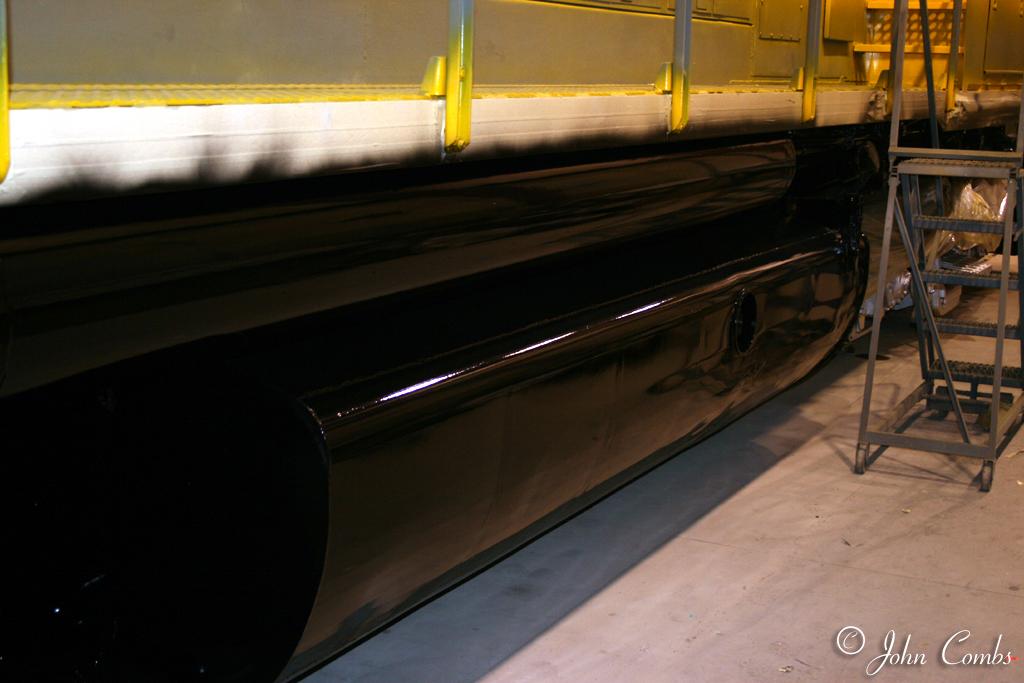
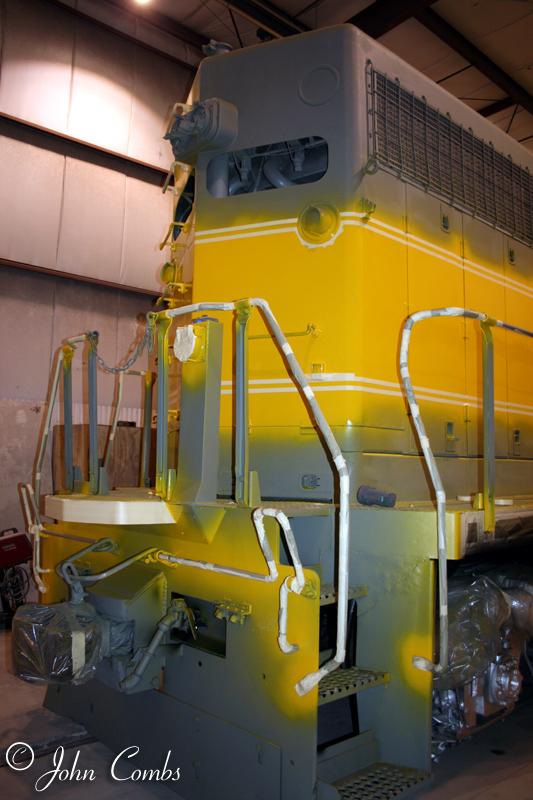
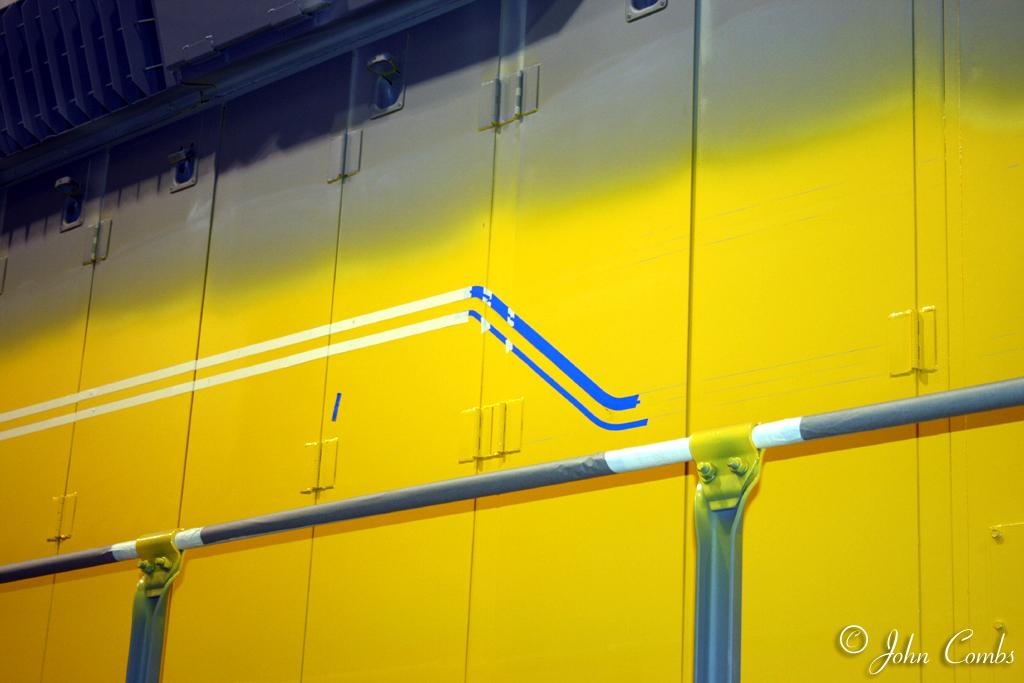
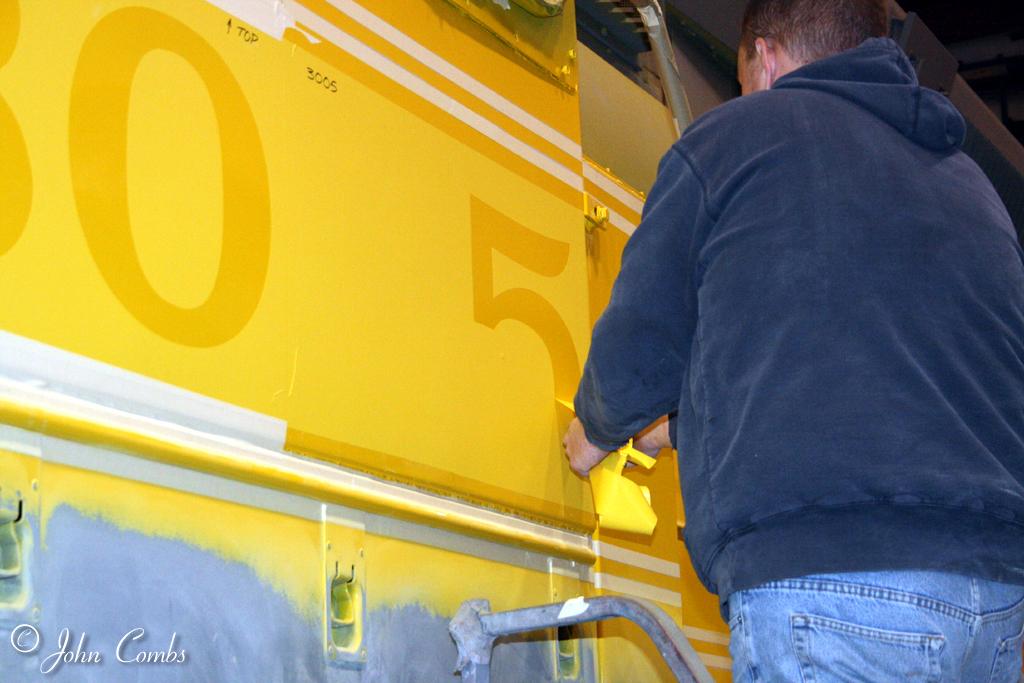
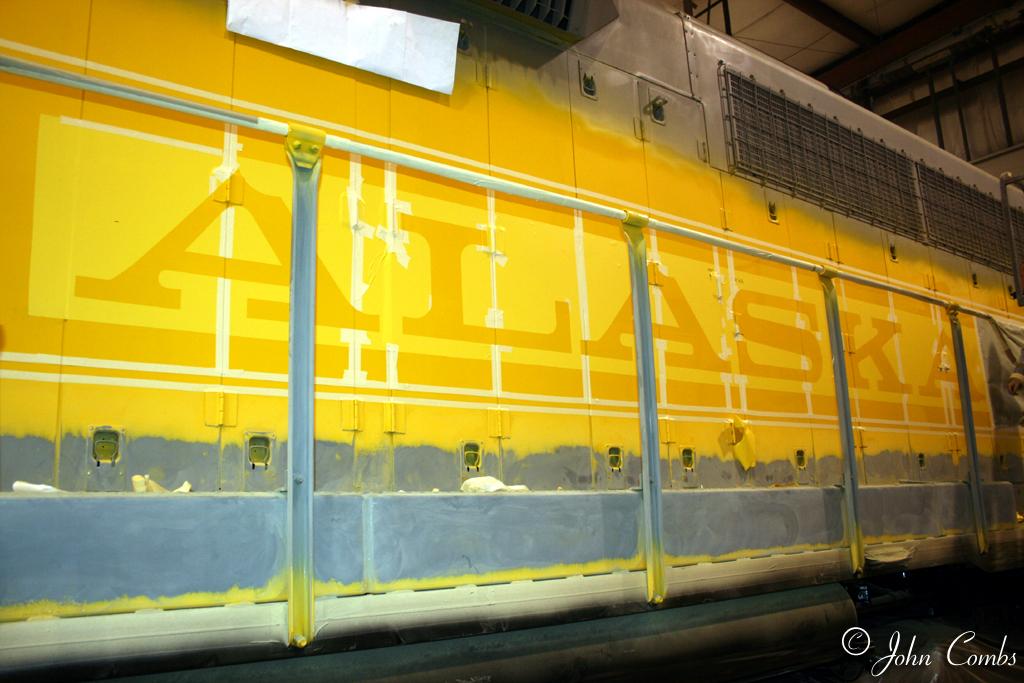
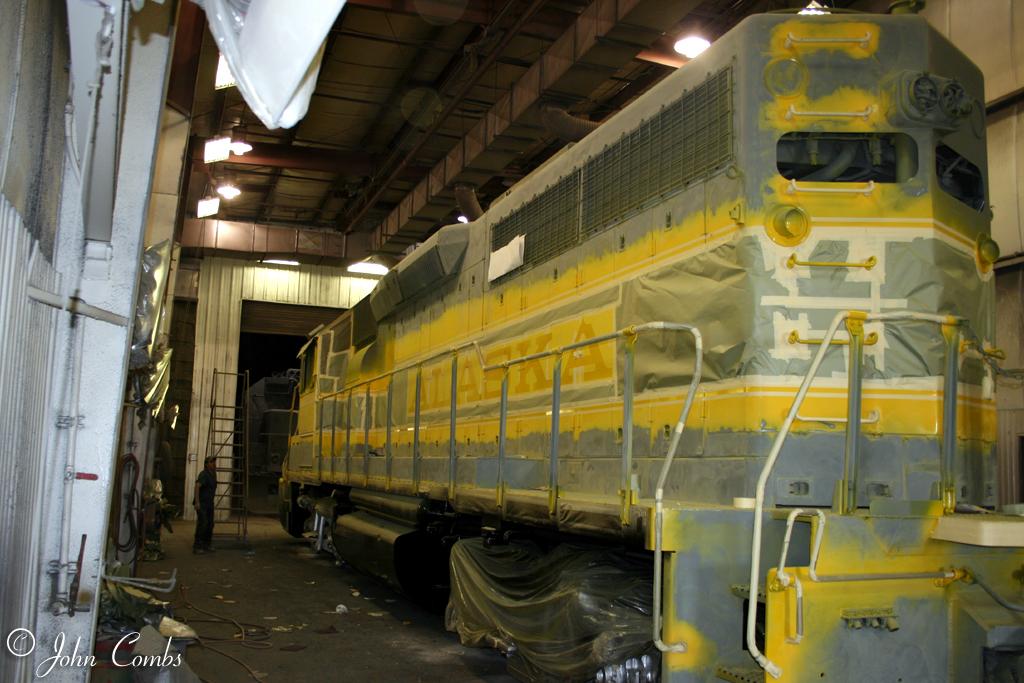
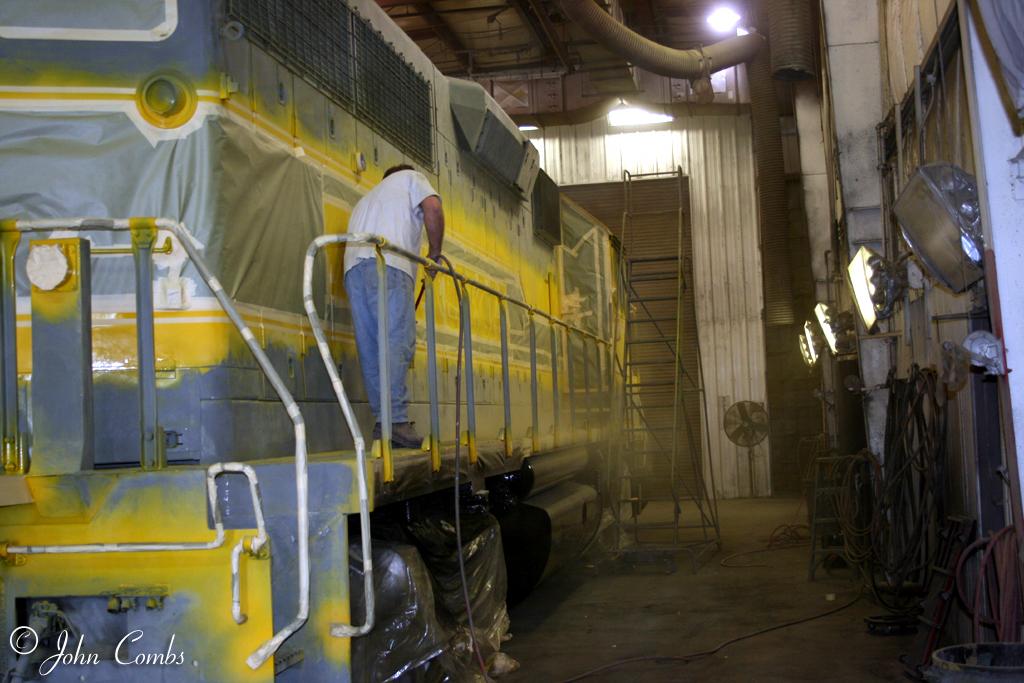
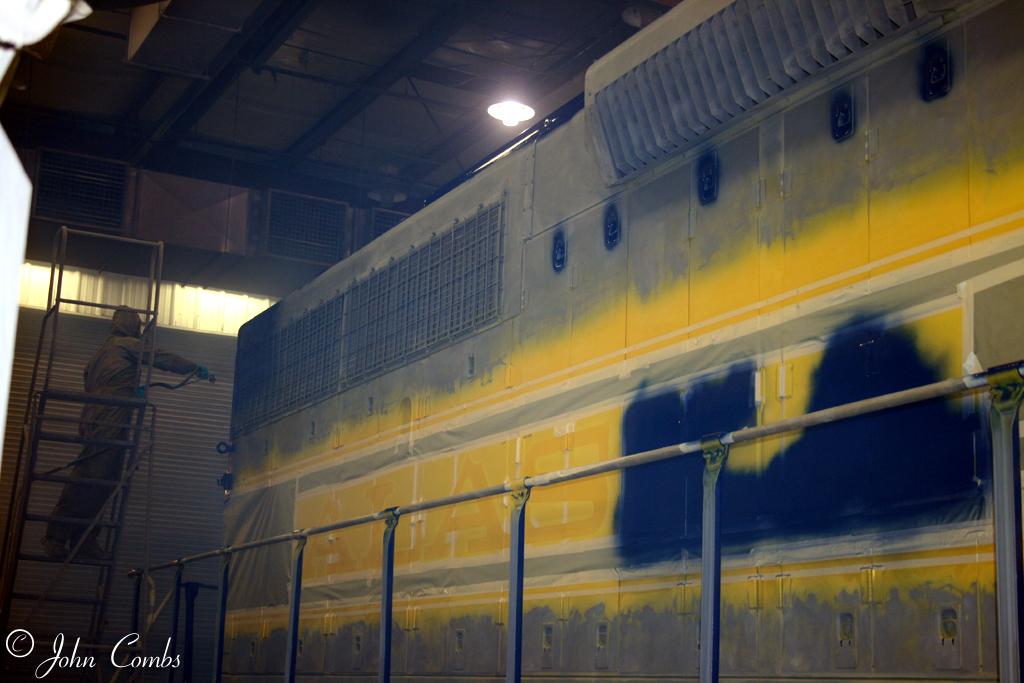
Next vibrant yellow is applied to the front, steps, sill, handrails and mid-body. Black paint is then shot on the fuel tank and underbody. Once this is completely dry, it is time for a major masking party. Four workers mask off the areas that need to remain untouched by the future spraying of blue paint. Another worker masks off the area for the long blue stripe. Adhesive stencils for the unit name and the giant “Alaska” are then applied to each side. Finally, the brilliant blue paint is sprayed and the stencils are removed.
Now just a few details remain. A large ARR vinyl logo is applied to the nose and all seats, number boards, etc are re-installed. Finally, a clear coat is applied over all the blue and yellow paint to increase its longevity and give it a beautiful shine. Now our ladies are ready to return home.
A few foot notes:
Although the above commentary implies a single assembly line process, in actually two or three locomotives are worked on simultaneously in the facility. For example, on the first day I was there, one half of the crew sprayed primer on #3002 while the other half masked off #3005.
The cost to paint a locomotive is in the range of $10,000-$40,000 and 300-400 man-hours. Cost and labor varies with type of paint, size of locomotive and complexity of the artwork.
Many thanks goes to John Smet, Sales Manager of the Car and Paint Shop, and his management at the Wisconsin Southern Railroad for allowing me to spend two days on site learning about this process and meeting the fine folks at the paint shop. I must admit I was very impressed by the hard work and focus of the paint crew. Thanks also to the Alaska Railroad for giving me permission to photograph their locomotives at the Horicon paint shop.